When creating art for Pixelcade, there are a few nuances when working with LEDs with the main caveat being low contrast (colors with a small difference between them) look bad on the LEDs. It’s highly recommended to use black backgrounds as opposed to a solid color background. When using a black background (LEDs off), your artwork will be much more visible on the LEDs.
Pixelcade has a 9-bit color palette for a total of 512 colors, the same color palette as the Sega Genesis, Sega Nomad, and TurboGrafx-16 video game consoles. If you use colors outside of Pixelcade’s color palette, that’s ok too and Pixelcade’s software will find the closest color in the palette.
Most users use Adobe Photoshop to create pixel art. Here is a tutorial on how to covert a higher res image to a 128×32 PNG image for Pixelcade.
Download Photoshop and Illustrator Color Palettes (Optional)
Export your animation in animated .GIF format. Pixelcade has 128×32 or 4,096 total LEDs for 2 panels or 64×32 or 2,048 LEDs for 1 panel, each LED = 1 pixel. If your animation is a higher resolution, that’s ok too, Pixelcade will automatically re-size it. Just keep in mind a high resolution image isn’t going to look good. Use the same frame rate for each frame in your GIF, Pixelcade will not play different frames at different speeds and will rather use the frame rate of the second frame in your GIF for all frames. If creating a still image, then export in .PNG format.
You can add specific LED marquees for your favorite games by creating a 128×32 PNG or GIF. Simply name the PNG or GIF to match the rom name and place in < your pixelcade install \ emulator >.
Note that every game will not have corresponding artwork although the major arcade / mame games should . That said, some romsets using different naming conventions so if a particular game marquee is missing, refer to the Pixelcade Listener window (For Windows users) or open the file < Your Pixelcade folder > / pixelweb.log. In the example below, the arcade front end sent the rom name “4dwarrio” so Pixelcade will look in the mame sub-folder for 4dwarrio.png or 4dwarrio.gif. If this file does not exist, then instead a generic mame marquee will be displayed. So you can overwrite 4dwarrio.png with your own creation or add it if it was missing.
arcade handler received: /arcade/stream/mame/4dwarrio?event=FEScroll
STREAM MODE
Console Before Mapping: mame
Console Mapped: mame
Game Name Only: 4dwarrio
# of Times to Loop: null
Looking for PNG: /userdata/system/pixelcade/mame\4dwarrio.png
Looking for GIF: /userdata/system/pixelcade/mame\4dwarrio.gif
PNG image found: file:/userdata/system/pixelcade/mame/4dwarrio.png
Note also that some games have multiple rom versions. For example, the game 1941 has the following:
- 1941.zip
- 1941j.zip
- 1941r1.zip
- 1941u.zip
So you would create one .PNG design and make 4 copies of it with the names:
- 1941.png
- 1941j.png
- 1941r1.png
- 1941u.png
And then place them in D:\Pixelcade\mame for example where D:\Pixelcade is the directory of your Pixelcade installation. If on Raspberry Pi, then place them in /home/pi/pixelcade/mame.
Be sure and use the .PNG or .GIF extension and not the extension of the rom.
If you add both a GIF and a PNG (ex. pacman.gif and pacman.png), then Pixelcade will play the GIF animation for one loop and then will stay on the PNG marquee still image.
If the game selected in your front end does not have a specific PNG or GIF, then a generic PNG for the selected emulator will be displayed or scrolling text.
You can also edit the existing artwork. Let’s say for example you want to make your own marquee for the game Firefox which has an existing marquee, specifically firefox.png and firefoxa.png. You would edit one of them in your favorite image editor (Photoshop, MS Paint, GIMP, etc.) and then over-write both of the existing files with your new creation in 128×32 resolution.
Pixelcade can also display up to 3 different GIFs per game selecting one at random on each game select. To use this feature, name your files like this:
- citycon.png
- citycon_01.gif
- citycon_02.gif
- citycon_03.gif
In this example, the rom name passed to Pixelcade is “citycon”. When this game is selected from the arcade front end, Pixelcade will at random select one of the three GIFs and then stay on citycon.png after the selected GIF has completed one loop.
And if you can, please also share your creations with the community on the Pixelcade Art Exchange.
![]()


A free utility called ImageMagick works nicely for converting existing images (PNGs) and animations (GIFs) in batch.
The command below will traverse sub-directories and will also convert your existing files so be sure and make a backup of the originals before running them. Some manual touch ups are recommended after running these commands for optimal results.
This PNG conversion command line will resize PNGs to 128×32, increase the contrast, combine similar colors, add a black background, and remove some (not all) semitransparent pixels.
find . -name '*.png' -execdir mogrify -verbose -resize '128x32!' -background black -flatten -contrast-stretch 30%x0% +dither -colors 16 -channel A -threshold 75% +channel {} -contrast \;
This GIF conversion command line will resize GIF animations to 128×32 and increase the contrast.
find . -name '*.gif' -execdir mogrify -verbose -resize '128x32' -contrast-stretch 10%x0% -black-threshold 10% {} \;
This command will replace a specific color hex code (#93c9d6 in this example) with black across multiple layers in a gif
convert original.gif -fill "#000000" -opaque "#93c9d6" new.gif
This command will create PNG thumbnails for gifs in a directory including sub-folders
find . -iname "*.gif" -type f -exec sh -c 'sips -s format png "$0" --out "${0%.gif}.png"' {} \;
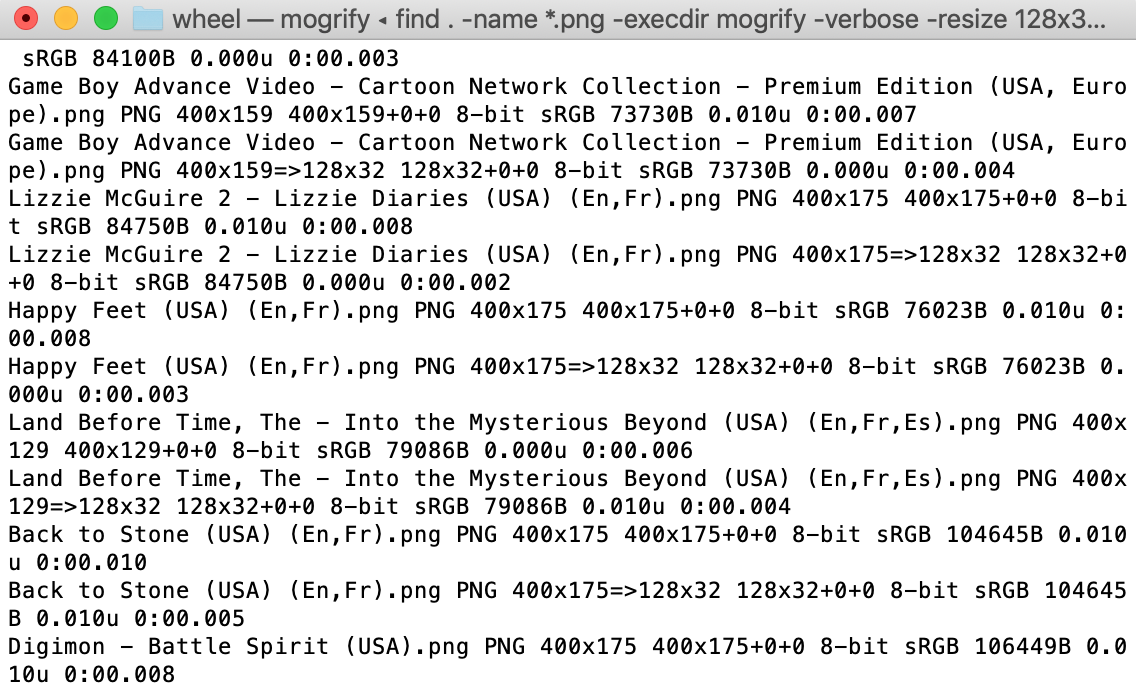
Example Command Line Output
Example High Contrast Images that Look Good
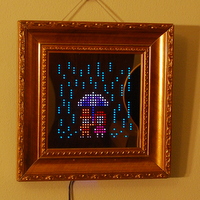 | 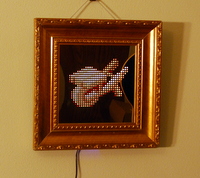 | 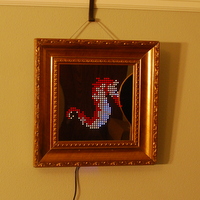 | 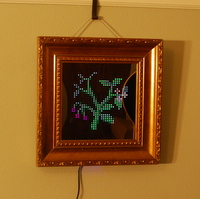 |
Example Low Contrast Images that Look Bad
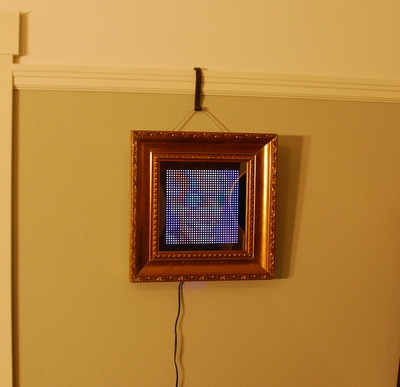 | 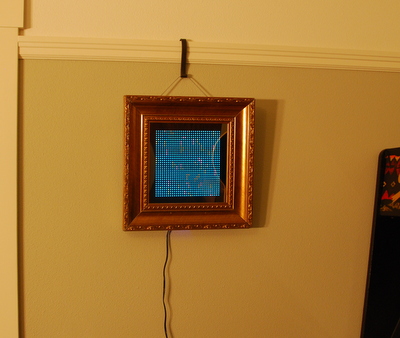 |
Use Black Backgrounds
Use a black background for images that don’t take up the full canvas. Images with white backgrounds won’t display well. Note that a PNG saved with a transparent background is the same as a black background.
 | 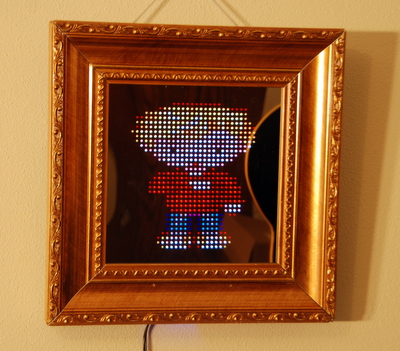 |