Super Pixelcade LCD
Super Pixelcade™ LCD including the marquee mount are available for:
For other cabinets, a custom mount must be fabricated to the dimensions of your cabinet. Choose a LCD marquee size that is closest to your cabinet marquee area and the custom fabricated mount will also include a front bezel that covers the extra space. The cost includes the Pixelcade™ LCD marquee, power supply, custom fabricated mount, and custom fabricated front bezel.
- 21″ LCD // 1920 x 360 resolution // Dimensions: 22.64″ x 4.92″ x .90″ – $680 USD + shipping
- 24″ LCD // 1920 x 360 resolution // Dimensions: 24.12″ x 5.24″ , 613 mm x 132 mm – $680 USD + shipping
- 28″ LCD // 1920 x 360 resolution // Dimensions: 28.68 in” x 6.22″, 728 mm x 158 mm – $880 USD + shipping
Before ordering, fill out this form and we’ll contact you to confirm the custom mount design for your cabinet.
If your inner marquee dimensions are greater than the LCD dimensions, then a flush mount design will be possible which gives the best look.
Marquee Block Install
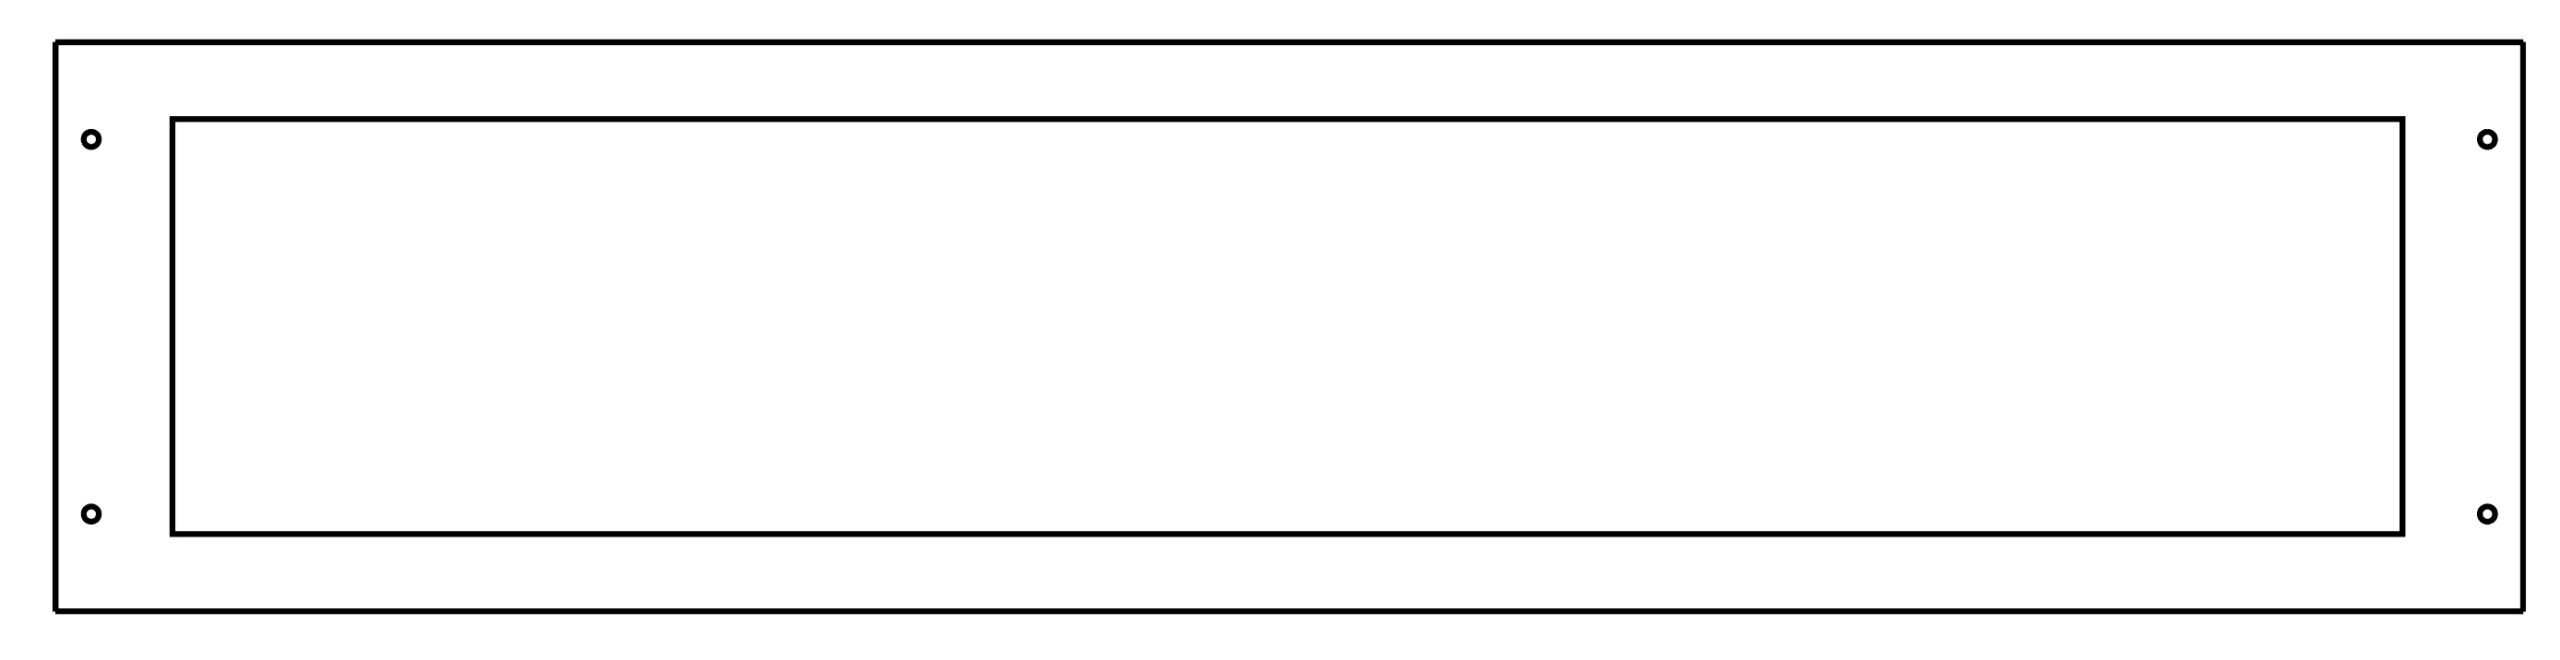
Four PETG corner blocks hold the Pixelcade back mount inside a 32" × 7" marquee opening (inside dimensions, ¾" plywood). A bezel then screws onto the back mount and covers the top and bottom boards.
Minimum opening: the inside of the marquee area must be at least 30" wide and 6.25" tall. Measure between the side walls and between the top and bottom boards, at the depth where the blocks go.
Install steps
- Check the opening. Measure the inside of the marquee area. It must be at least 30" wide and 6.25" tall.
- Mark the recess. On the inside of each side wall, draw a line 0.7" back from the front edge of the top and bottom boards, at each corner. Measure from those boards, not from the side panels: on most cabinets the sides stick out about ½" further, and measuring from them would set the blocks ½" too shallow.
- Place a block in each corner. Tuck it into the corner with its front end on the 0.7" line and the countersunk holes facing into the opening. Either end can face front.
- Screw it to the side wall. Drill a 3/32" pilot ½" deep through each block hole into the plywood, then drive two #6 × 1¼" screws until the heads sit flush.
- Set the back mount in. With the LCD side facing out, press the back mount against the front ends of all four blocks. The four brass M3 × 14 mm hex standoffs should already be on it.
- Screw the back mount on. At each corner, drill a 7/64" pilot through the corner hole into the block end, with tape on the bit at 1". Drive a #6 × 1¼" screw until the head is flush with the hardboard. Don't sink it deeper.
- Attach the bezel. Hold the bezel over the opening so it covers the top and bottom boards and its four small holes line up with the standoffs. Drive an M3 socket head screw into each standoff. Snug is enough.
Dimensions
| Marquee opening (inside), shown | 32" × 7" |
| Minimum opening (inside) | 30" W × 6.25" H |
| Cabinet walls | ¾" plywood |
| Block | 3" × ¾" × ¾" |
| Recess, top/bottom board edge to block | 0.7" |
| Side panel overhang (typical) | 0.5" |
| Hardboard + standoff (3/16" + 0.54") | 0.73" |
| Gap, bezel to wood | ≈ 0.03" (0.7 mm) |
| Block screws, from each end | 1¼" |
| Back mount screws, from opening edges | ⅜" in from side and top/bottom |
| Wood screws | #6 × 1¼" flat-head (12) |
| Back mount | 32" × 7", 28" LCD |
| Hex standoffs | M3 × 14 mm brass (4) |
| Bezel | 32" × 8.5", window 27.5" × 5.1" |
| Bezel screws | M3 socket head (4) |
| Pilot: plywood / block end | 3/32" / 7/64" |
For the 28″ Pixelcade LCD
Add on each corner a 3/4″ x 3/4″ wood block that is recessed in by .70″.
![]()
You’ll then attach Pixelcade LCD to those recessed wood blocks using wood screws
![]()
The back side of the Pixelcade LCD mount. The protruding components on the back will recess inside your marquee opening.
![]()
And then lastly attach the front bezel using the hex stands.
Then once the design has been confirmed, order from here
Designing your own Arcade Cabinet?
24″ LCD Reference Marque Area Design #1
If you are constrained to 25″
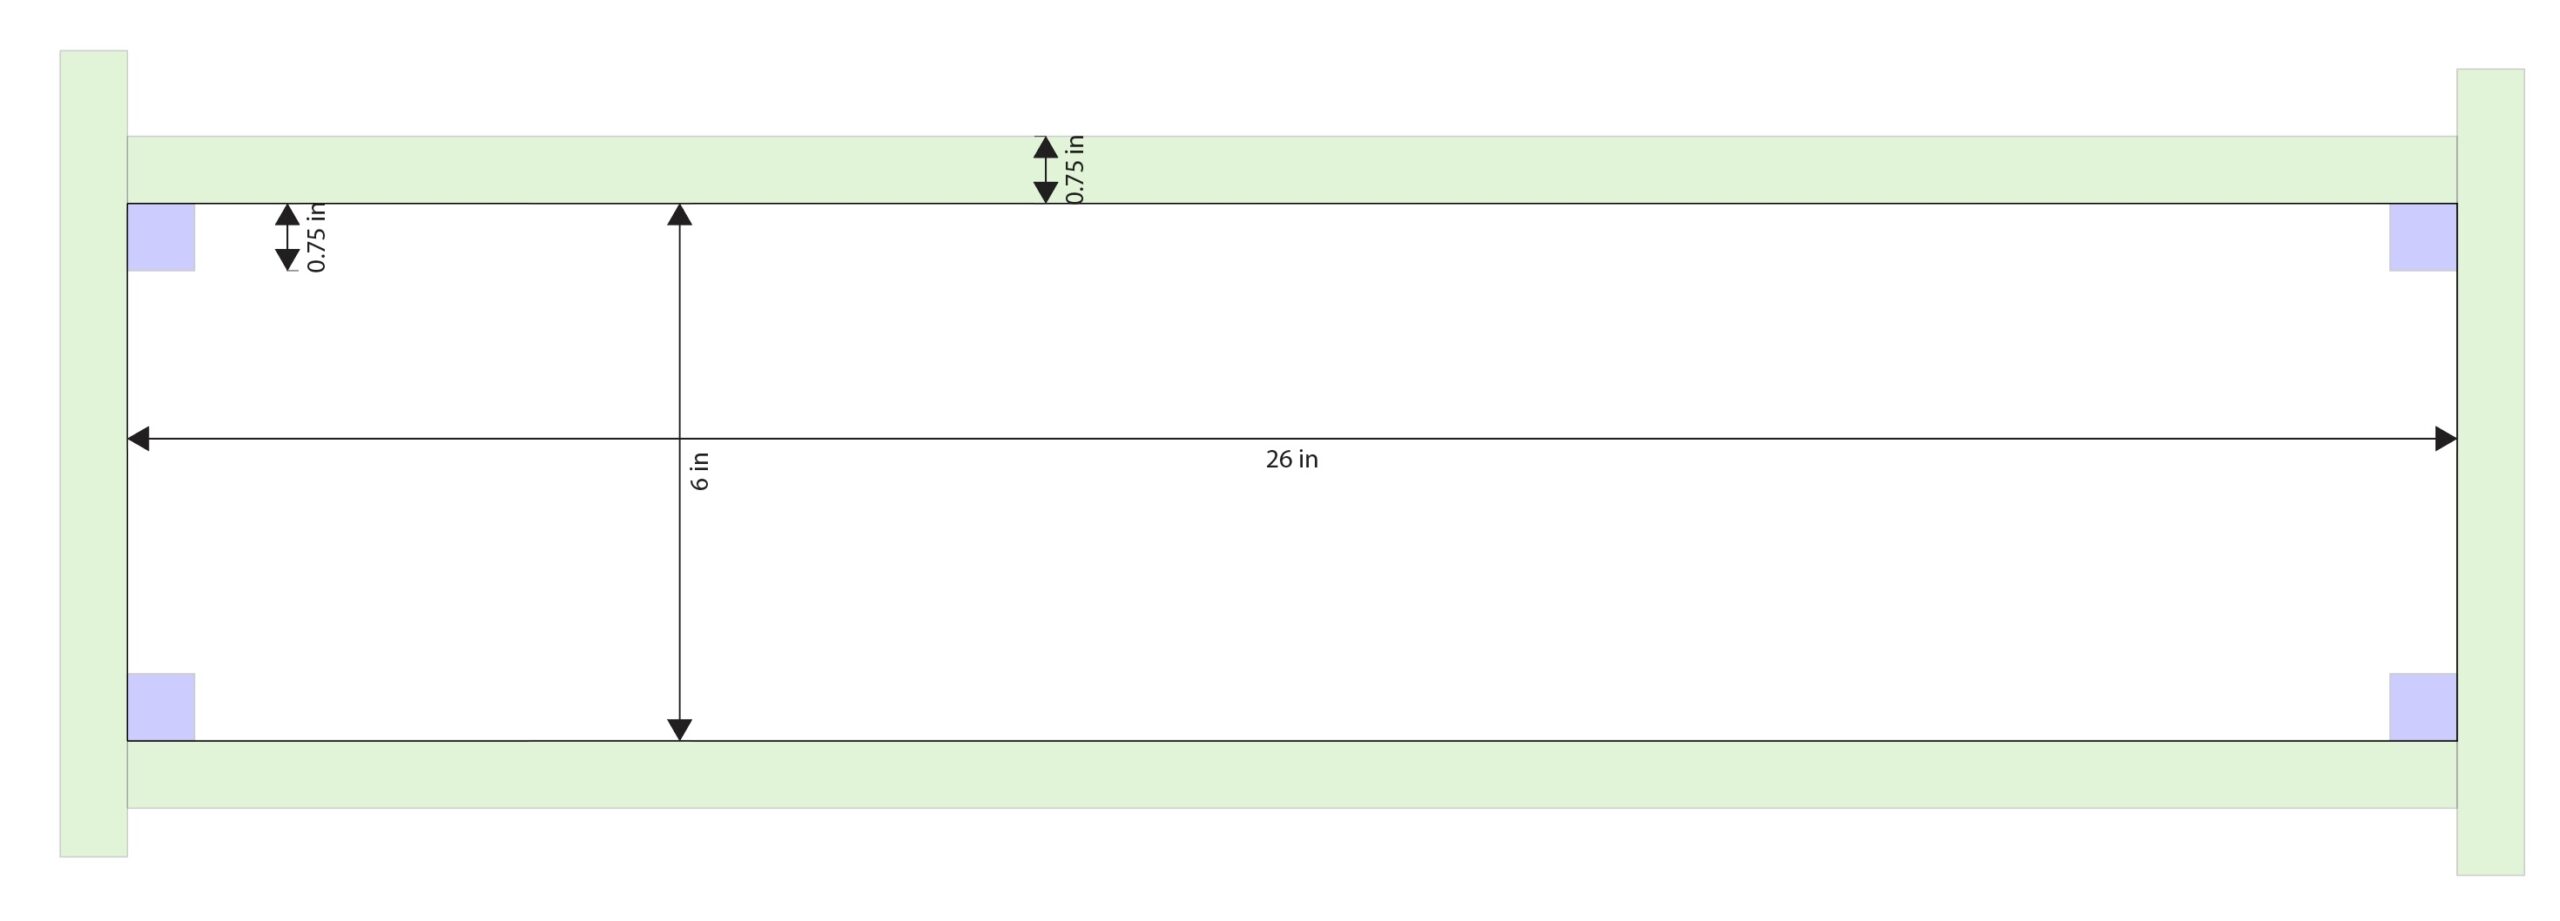
Design your marquee area to these dimensions. The blue blocks are .75″ x .75″ and should be recessed in .7″. The green bars are your horizontal marquee wood which in this reference design are 3/4″ thick.
![]()
The back mount will attach to the .75″ x .75″ wood blocks that have been recessed in .7″ via wood screws.
![]()
The front bezel is 1/8″ black matte acrylic and attaches to the hex stands from the back mount via socket head machine screws.
![]()
24″ LCD Reference Marque Area Design #2
If not constrained by 25″ width, this is a better design
![]()
![]()