Customizing

Changing the default marquee image or animation

Pixelcade will display a default image or animation when powered on that will continue to loop until Pixelcade has been connected to your Arcade front end for interactive control. To change this default image or animation, choose “Write Default Marquee” from the Pixelcade LED Marquee program files folder. 

Or if you are running the older Pixelcade 4.x software, then choose “Browse Artwork”

Note: If you an AtGames Legends Ultimate (ALU) with BitPixel or are running off a Linux based device, then you can access the Pixelcade Art Browser Web UI from any web browser on the same network as your device, go to http://<IP Address of your device>:8080.

Choose Arcade Marquees or Animations from the drop down and then click < Save >. IMPORTANT: After clicking Save, Pixelcade will go blank and do not click anywhere else until the image or animation has re-appeared. 

If it’s a larger animation, it will take a minute or so to save. Once written, the design will appear on Pixelcade and is now the default. If you want to go back to the original default Pixelcade animation. When you choose “Save”, that PNG or GIF gets written to Pixelcade’s onboard microSD card and overwrites the previous saved image or animation and becomes the default. The default image or animation will play when Pixelcade is powered on and remain until the Pixelcade Listener starts and the arcade front end takes over control.

Customizing the console specific default marquees

From your pixelcade folder, go to the “console” folder. These are the default marquees for each console. So for example, if a selected game does not have a matching marquee image file, these will display instead. 

You may replace any of these with your own custom images. 

default-mame.png is the default for MAME and default-marquee.png is shown if the selected emulator doesn’t have a matching image.

Adding Additional Systems / Emulators

From your arcade front end, select the desired system/emulator you’d like to add a marquee and game specific images for.

Then from your pixelcade installation directory, open the file: pixelweb.log

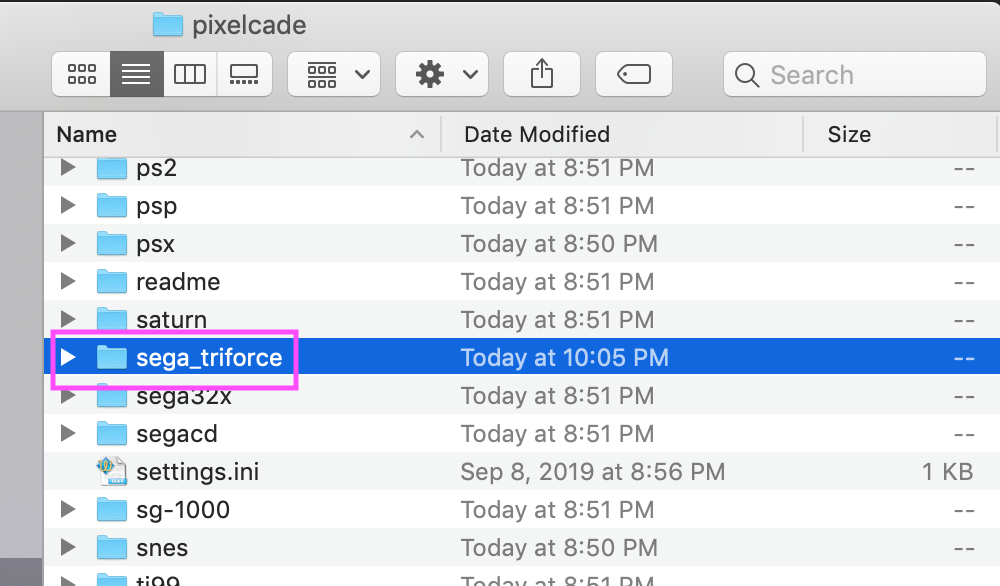
Look for the desired system/emulator name. In this example, we’ll add the Sega Triforce emulator.

From the log, we can see the name to use is: sega_triforce. Add a new folder with this name in your Pixelcade installation directory.

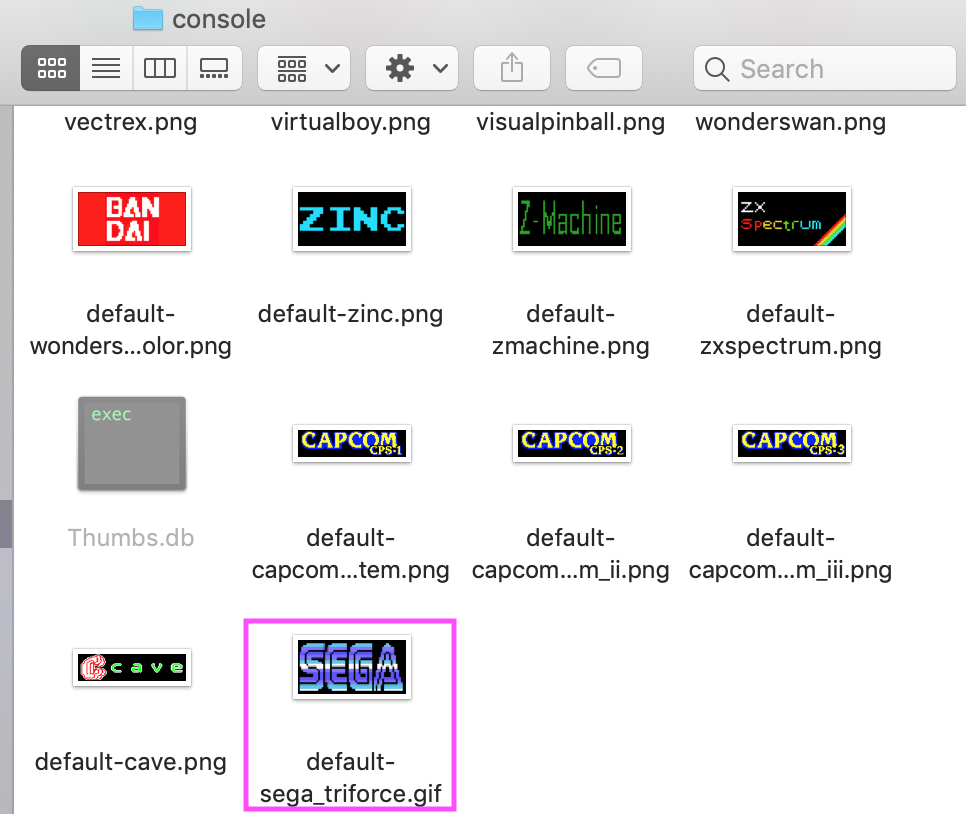
Now create a default marquee PNG or animated GIF for this system/emulator and place it in the “console” sub-directory giving it the name “default-<console-name>.gif or .png” . In this example, we’ll use:

default-sega_triforce.gif or default-sega_triforce.png

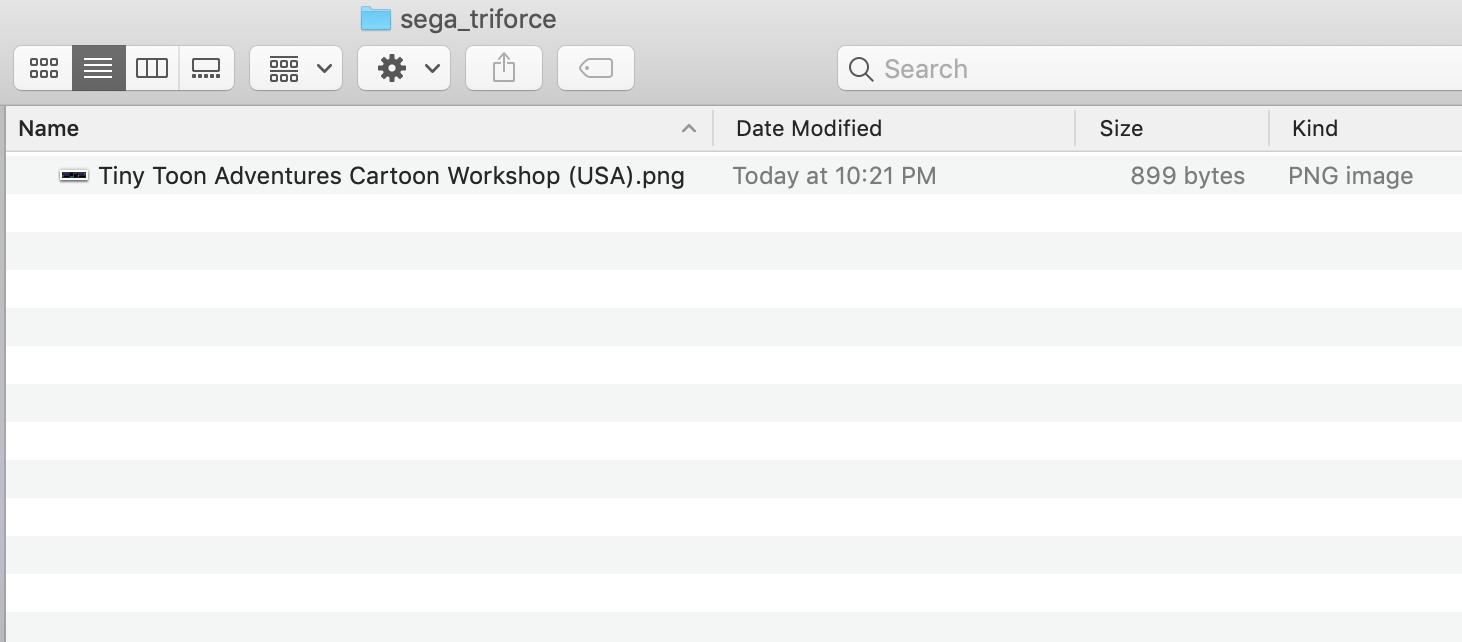
Lastly, place any game specific marquee images in the respective console folder naming them: <rom-name>.png or <rom-name>.gif. So for example, if the rom name is: 

Tiny Toon Adventures Cartoon Workshop (USA).zip

Then name the image file:

Tiny Toon Adventures Cartoon Workshop (USA).png

or if using an animated gif

Tiny Toon Adventures Cartoon Workshop (USA).gif

Note that some arcade front ends use different naming conventions. For example, HyperSpin may use “sega_triforce” while GameEx may use “sega-triforce”. For these cases, you can map the console names by editing the file: console.csv

The first entry should be the new console name and the second entry is the console name with the existing folder.