To upgrade from Gen2 to Gen3, you’ll use the same hardware and will just need a larger 64 GB microSD card.
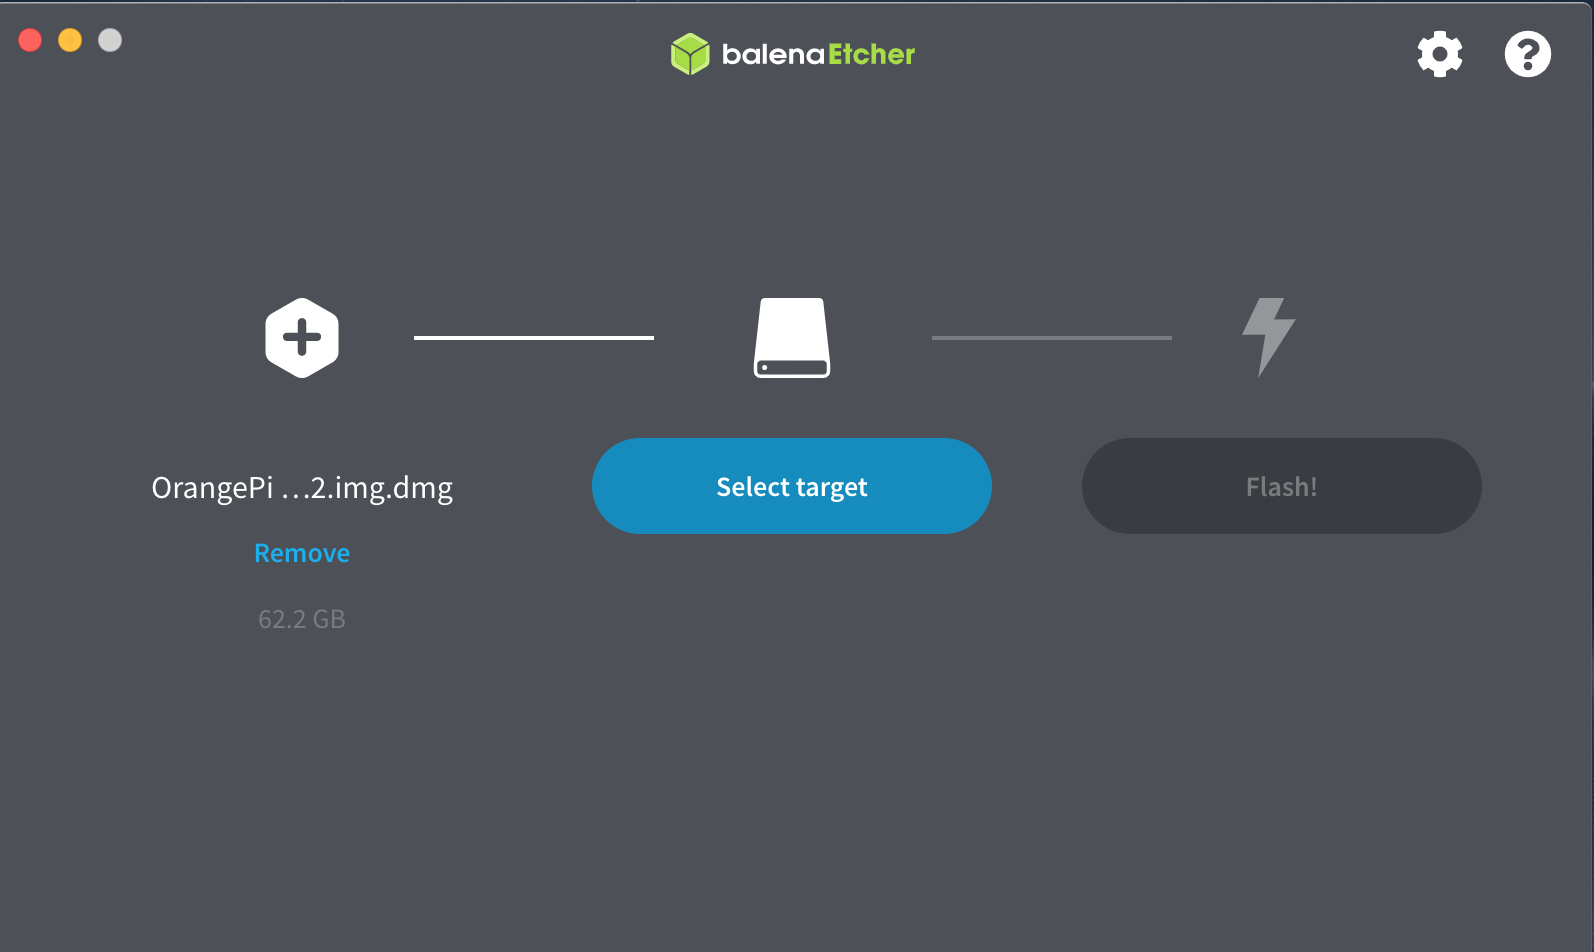
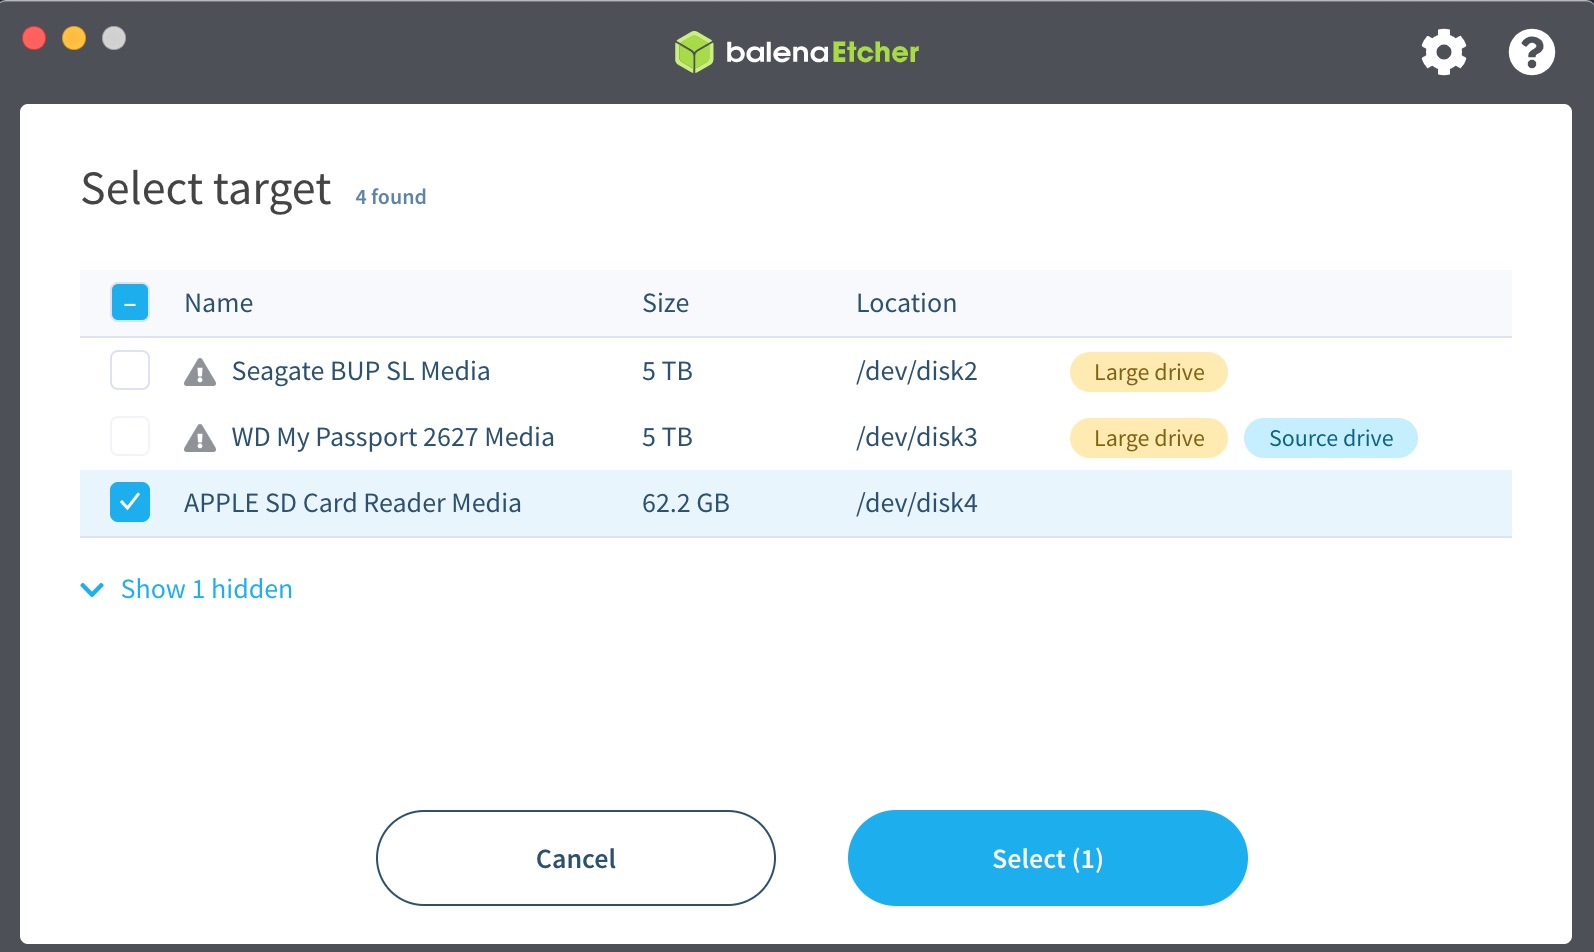
Step 1. Send an email to al [at] ledpixelart.com for the Gen3 SD card image download and include a gmail ID/email address. Using your PC or Mac, flash your new 64 GB microSD card with the Pixelcade LCD Gen3 image sent to you via a Google Drive link. Download, unzip, and then use the free program Balena Etcher to burn the image.
 |  |
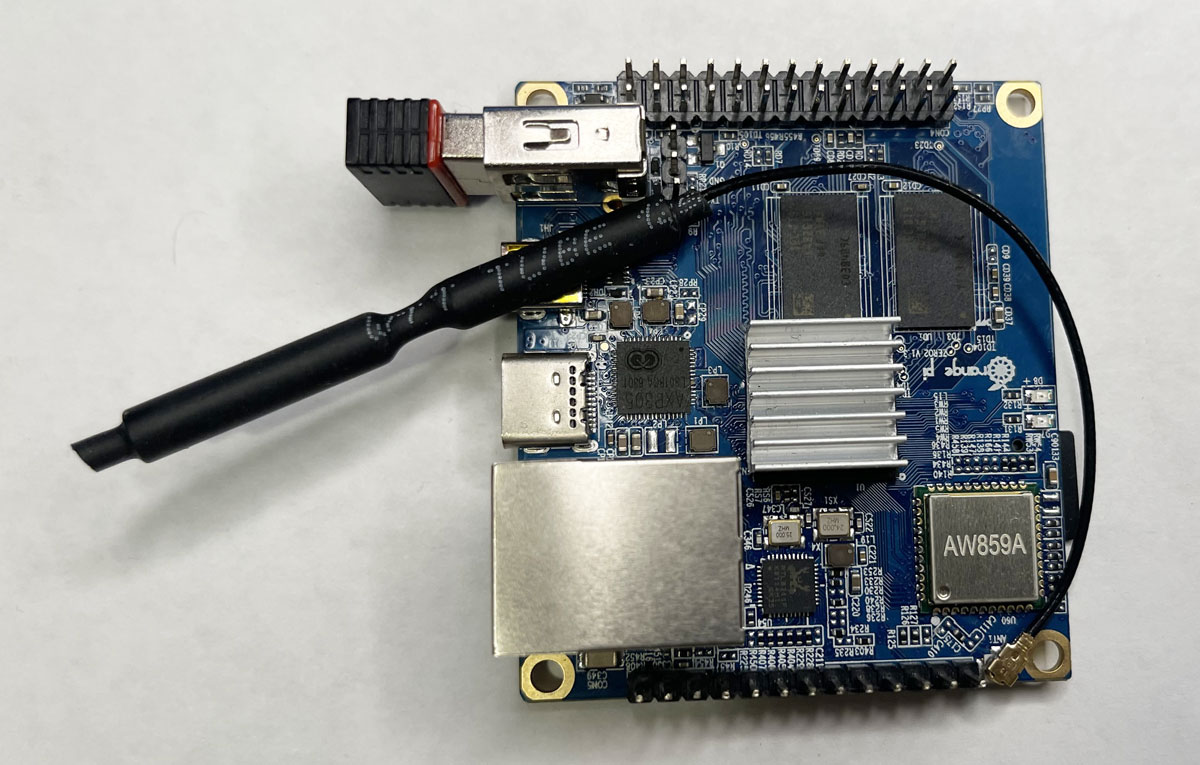
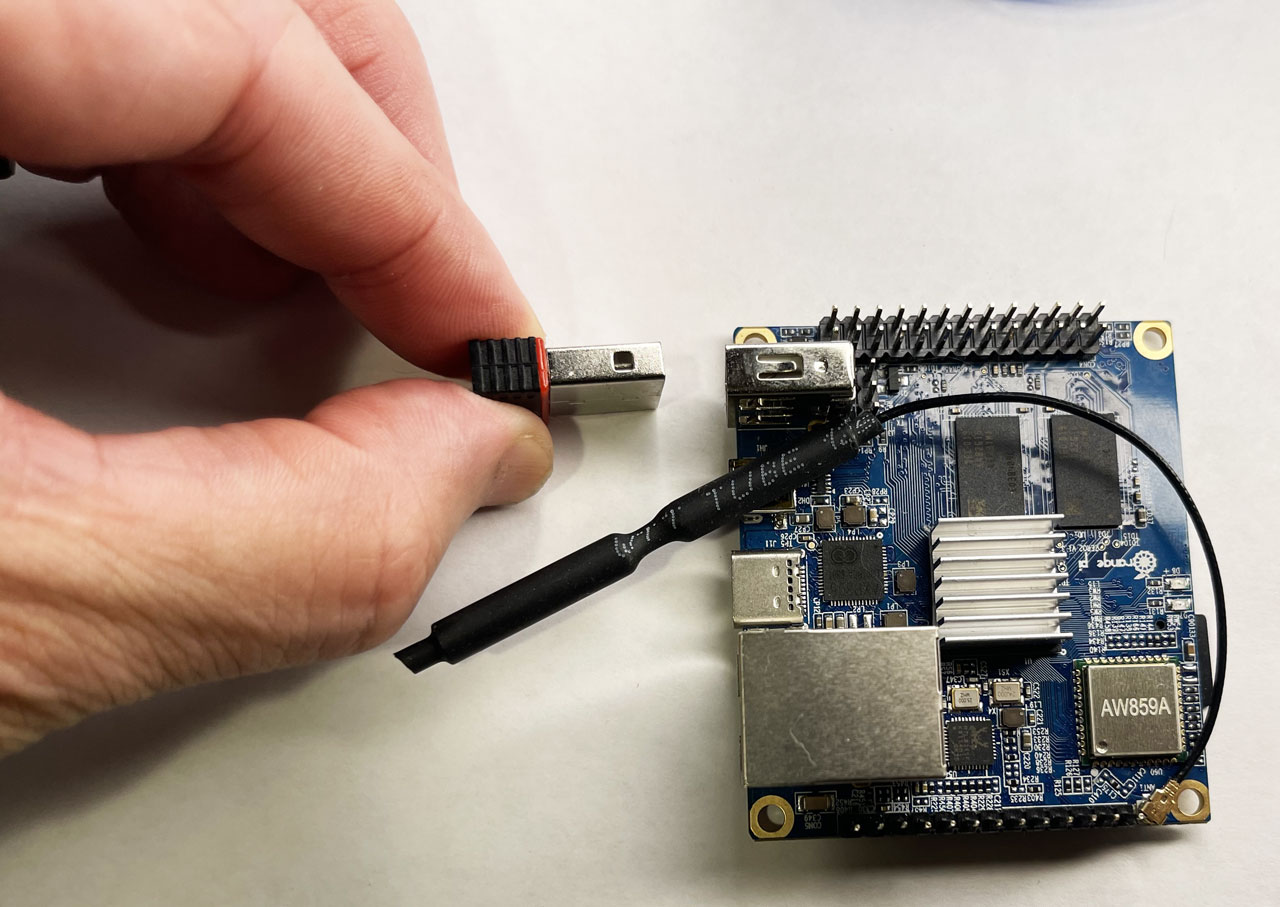
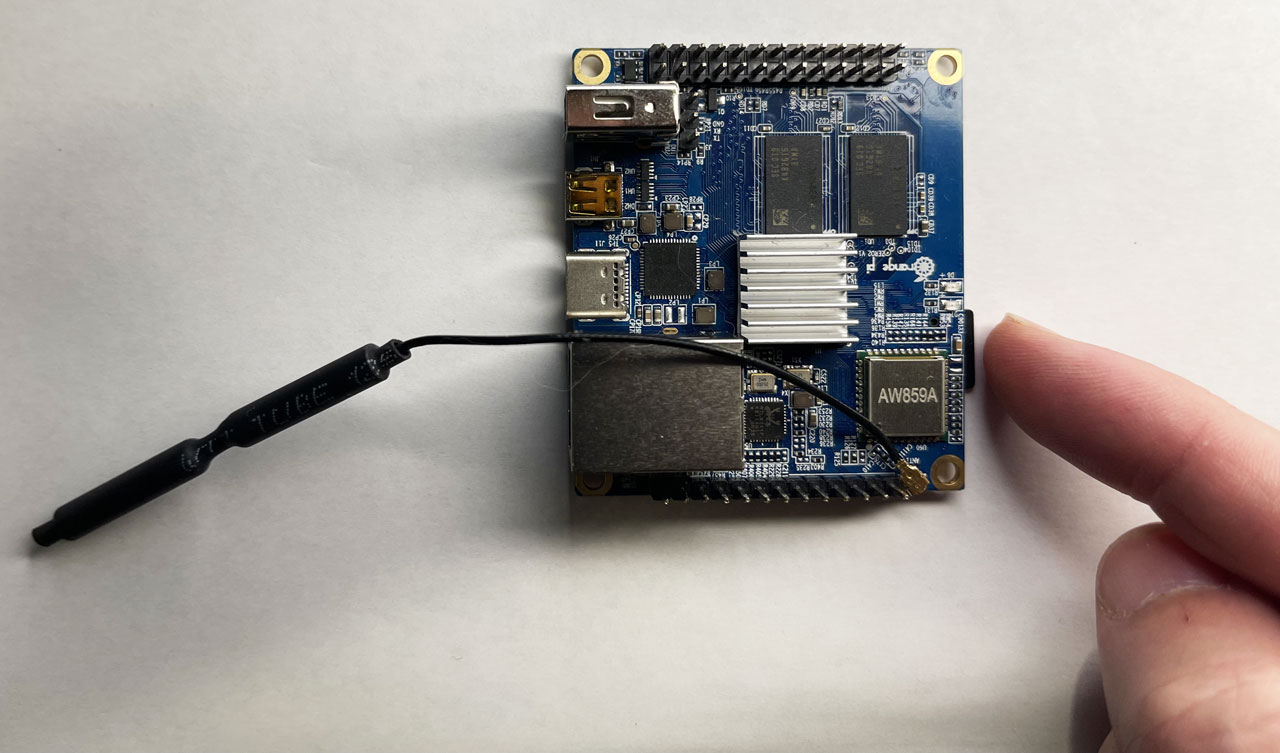
Step 2. Locate the Pixelcade board on the back of your Pixelcade LCD mount and remove the WiFi dongle.
 |  |
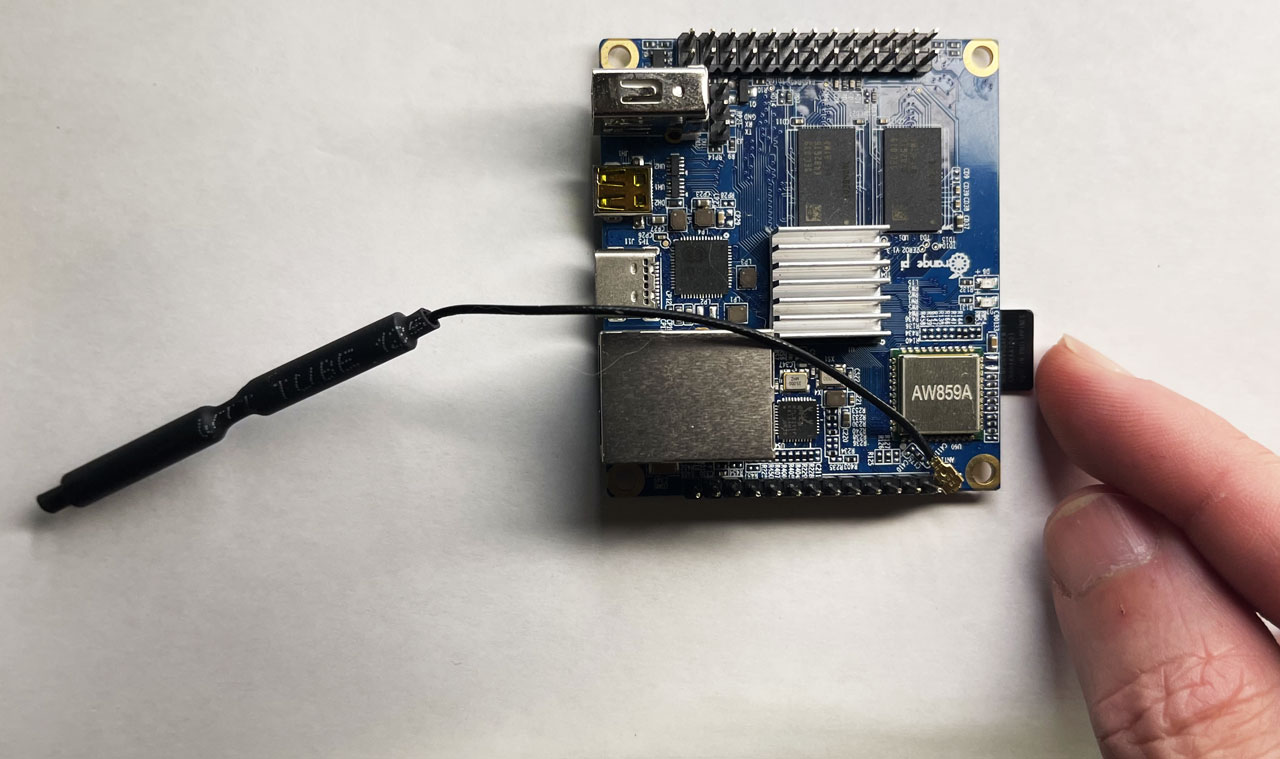
Step 3: Remove the 32 GB microSD card from the Pixelcade board and replace with the new 64 GB microSD card. You will no longer need the 32 microSD card but you can keep it as a backup in case you ever want to go back to 2nd Generation.
 |  |
Step 4: Follow these instructions to complete setup for Pixelcade LCD Gen3.