The above video shows the installation for an AtGames original Sam’s Club version. The Walmart version installation is the same with the exception that you’ll need to drill 4 pilot holes. You will need to drill the 4 pilot holes on all newer AtGames ALUs.
You’ll need a dedicated USB thumb drive to run the Pixelcade software on your ALU and if you are running CoinOps X or Add-On X games, then you’ll need another USB thumb drive for those games. As the ALU has just two USB ports, it’s recommended to purchase separately and add a USB hub. Here are two USB hubs that have been tested, powered USB hub and non-powered USB hub. Pixelcade ships with a 6 ft USB A-A cable and if you need a longer 10 ft USB A-A cable, then the powered USB hub is recommended.
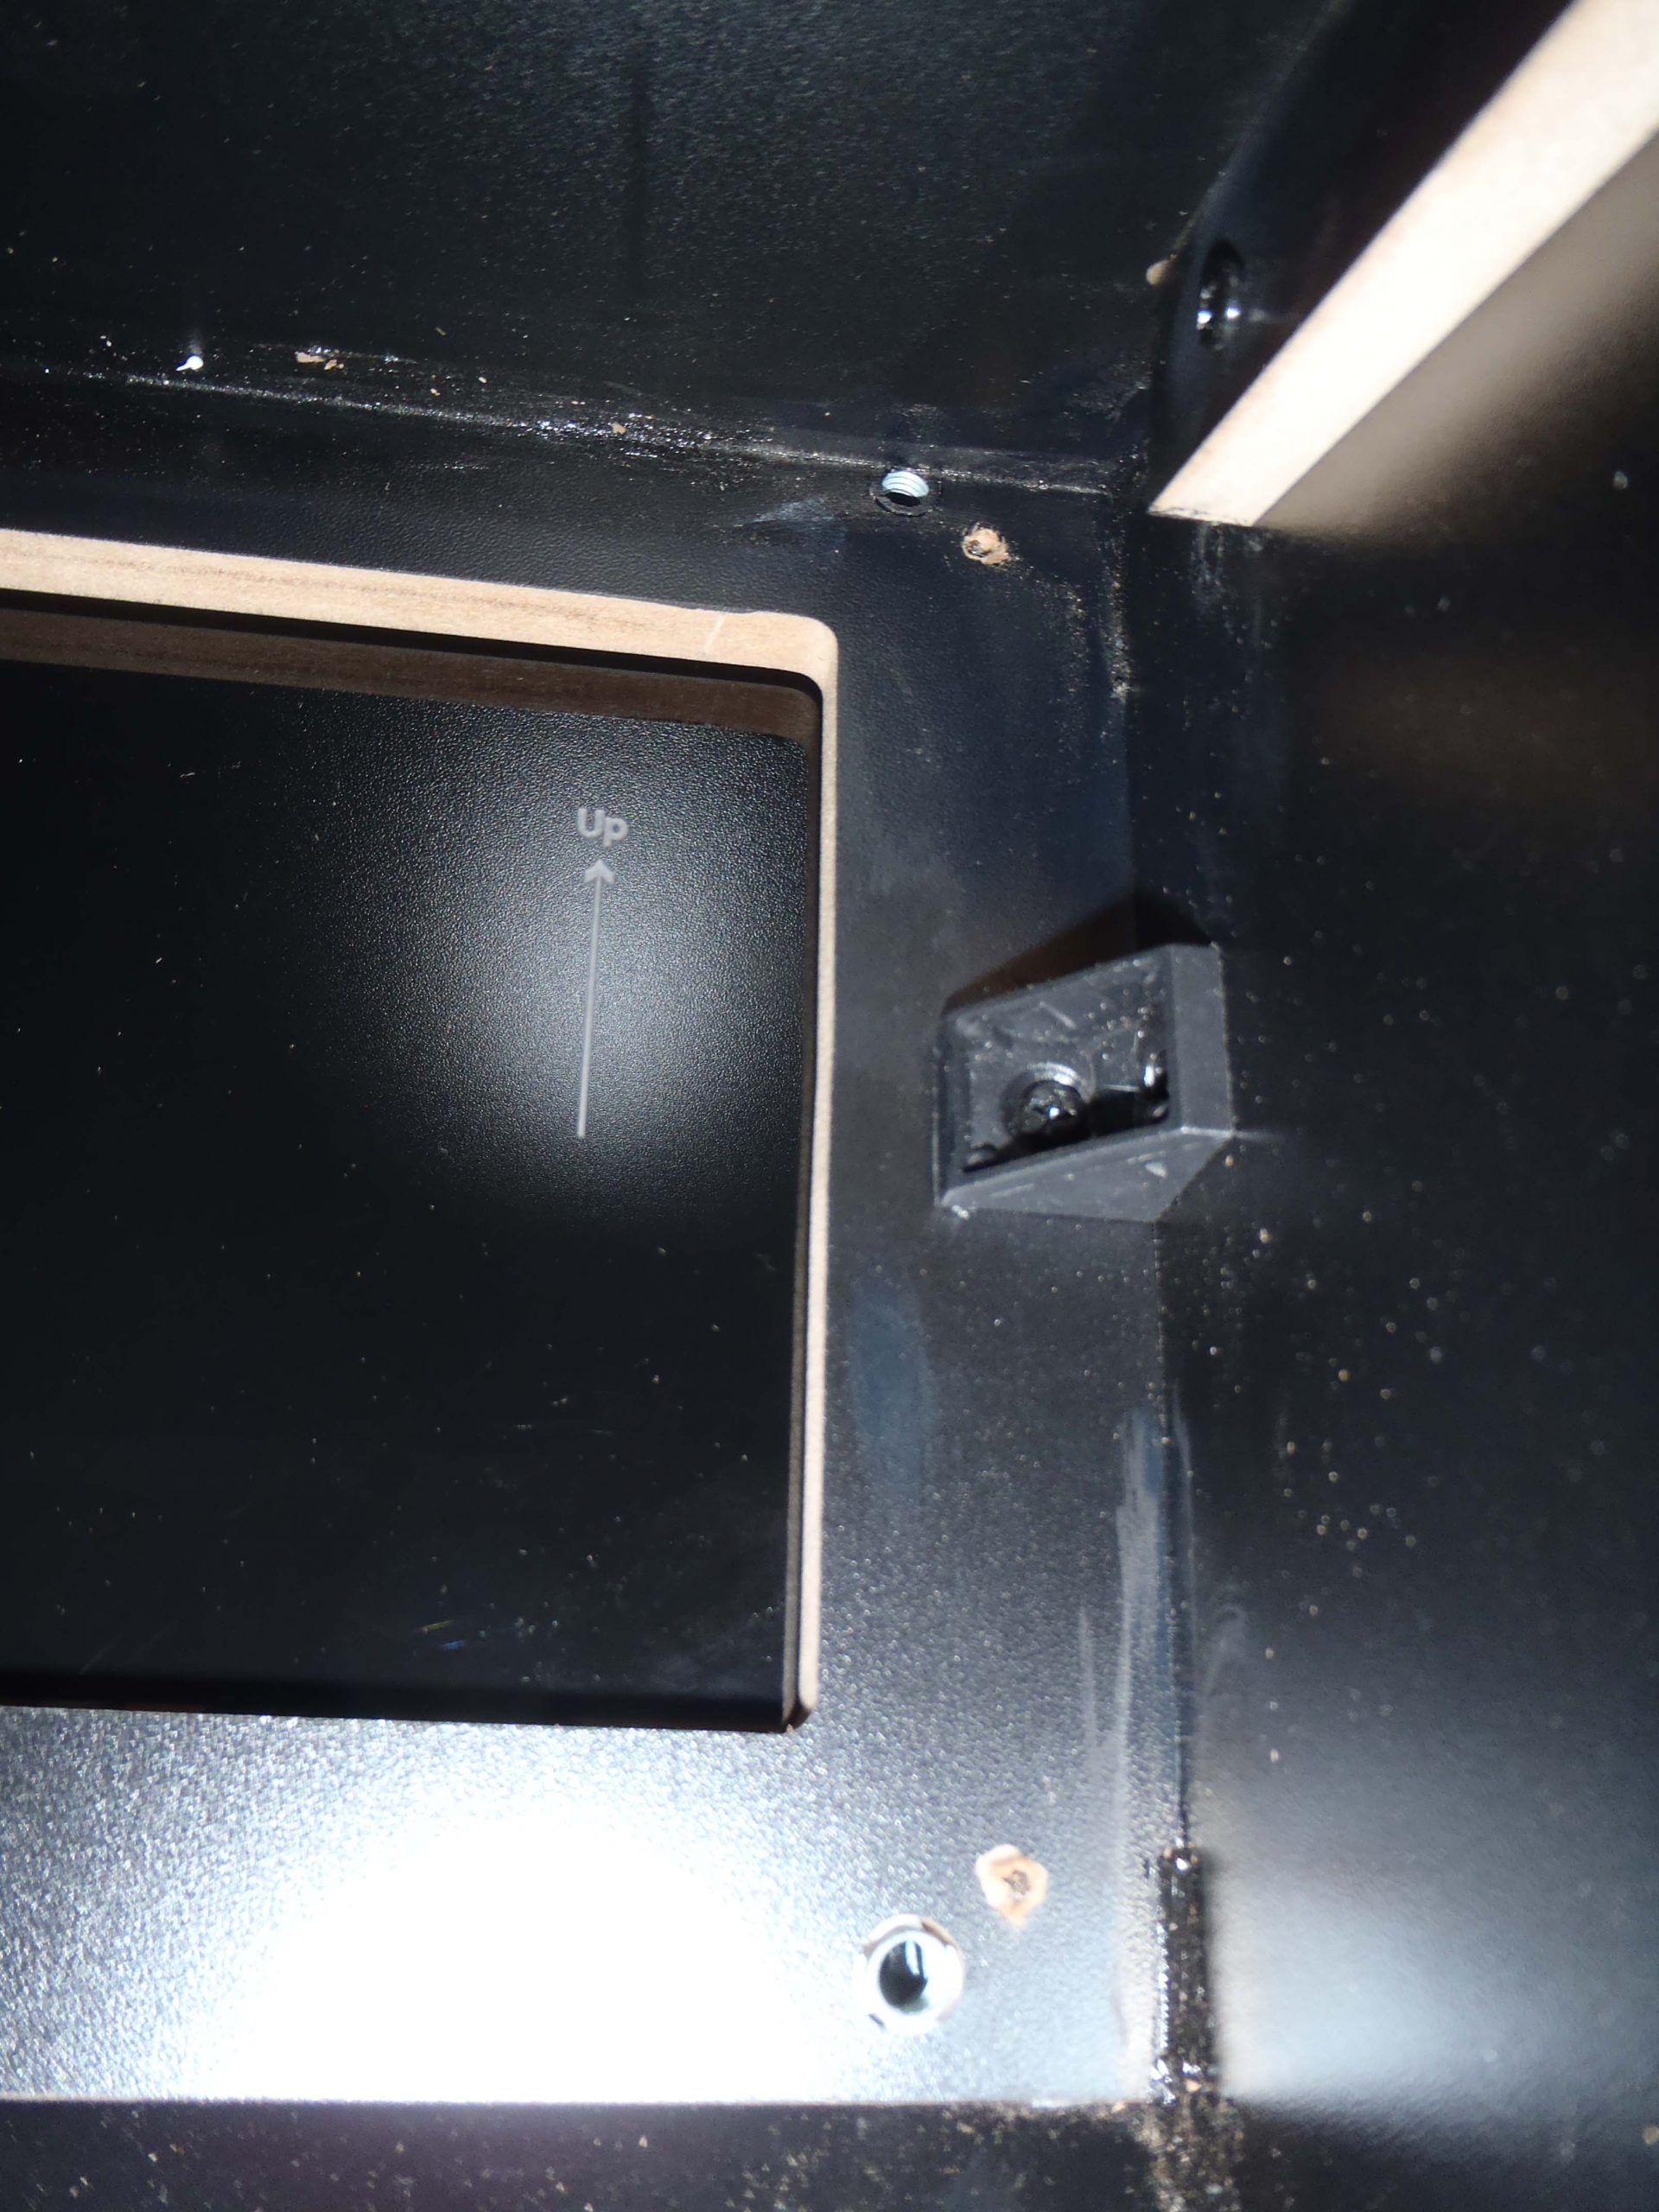
If you have an AtGames Legends 1.1 and would like to keep the USB cable for Pixelcade completely inside your cab, follow this video.
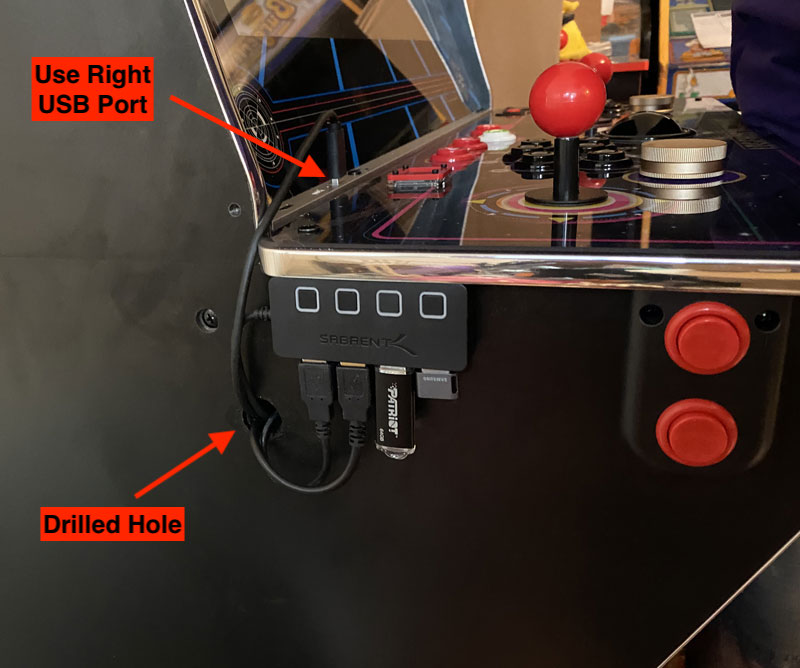
Note however if you are using an external PC in BYOG mode and would like that PC to also be connected to Pixelcade or you have an AtGames Legends 1.0, then you’ll need to mount the USB hub externally. Note you’ll need to drill a hole to and route the Pixelcade USB cable through. IMPORTANT: You must plug the USB hub into the right USB port on your ALU. It will still work when using the left port, but the scrolling text will be laggy.
Externally mounted USB hub | 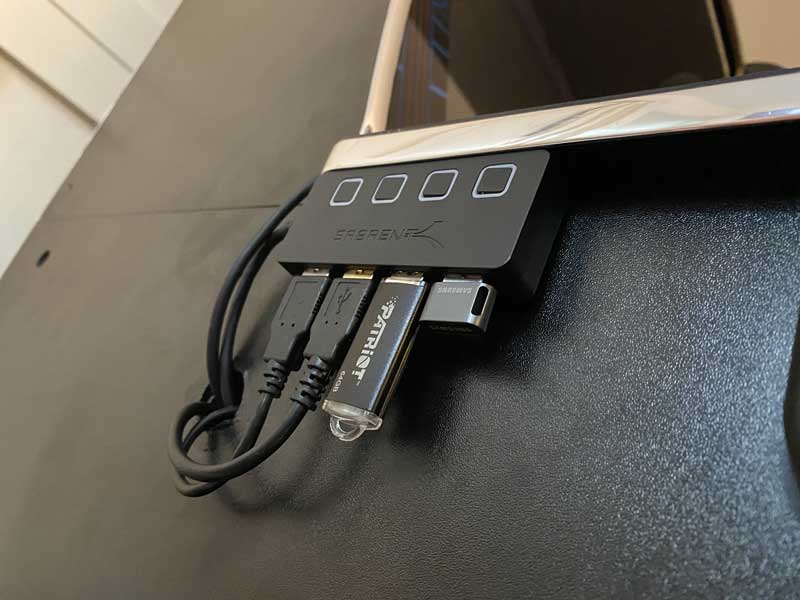 Use double sided mounting tape to attach Use double sided mounting tape to attach |