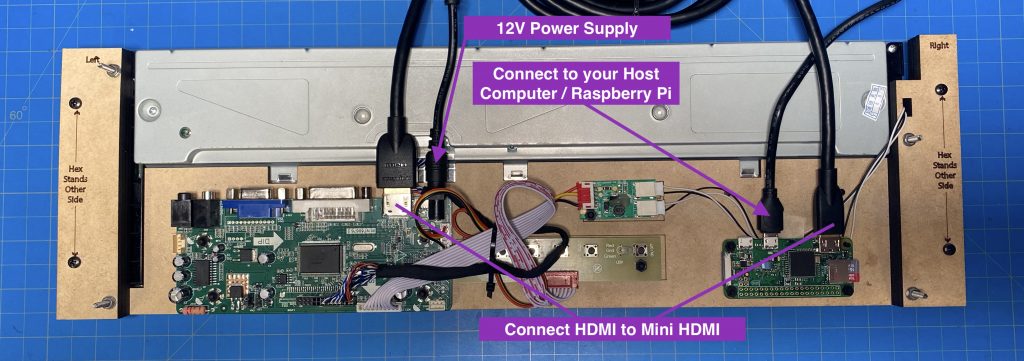
Full DIY Tutorial if you ordered the DIY LCD Kit
Connect Pixelcade LCD via USB to your host computer / Raspberry Pi using a microUSB cable.
Ensure that you’re using the microUSB port labelled “USB” and not using the port labelled “PWR IN”. This port will be closest to the mini HDMI connector.
Ensure that a microSD card is inserted in Pixelcade LCD.

Once connected, install the Pixelcade software for Retropie / Raspberry Pi or Windows.

or

Reboot after installing the Pixelcade software and Pixelcade LCD should automatically be detected.