After powering on Pixelcade LCD for the first time, follow the on screen instructions to connect Pixelcade LCD to your WiFi network. Be sure and use the same WiFi network that your Arcade1Up cab is connected to. There are three ways to connect Pixelcade to your home network.
Method #1: Connect Pixelcade via a hard line Ethernet cable to your home router. If Ethernet is available, this is recommended and will provide the best reliability and performance.
Method #2 : Use the Pixelcade iOS App to connect to your Home WiFi (Easier than #3)
IMPORTANT: Your WiFi SSID network or password cannot contain any spaces.

- Connect to the temporary WiFi called “PixelcadeSetup”
- Launch the Pixelcade App on your iPhone
- Enter your WiFi network username and password
Method #3: Use any web browser on your network to connect to your home WiFi
IMPORTANT: Your WiFi SSID network or password cannot contain any spaces.
- From a phone or PC on your existing WiFi network, connect to the WiFi network called “PixelcadeSetup” and then go to http://pixelcadedx-xxxxxxxx from a web browser where xxxxxxxx is the unique ID of your Pixelcade as shown on the startup-screen.
- Now select your home WiFi network name that your Rec Room cab is connected to and pay careful attention entering your correct WiFi password.
- Super Pixelcade LCD will then reboot and display a generic Pixelcade image.
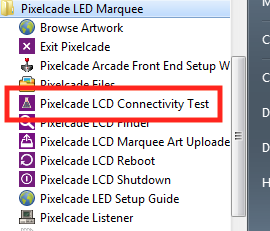
- Click the “Pixelcade LCD Connectivity Test” icon and then a Pacman marquee should display.
If the Pac-man video snap and marquee does not display, then most likely, your windows PC is currently not supporting what is called multicast DNS which is needed to communicate with Pixelcade. You can add multicast DNS support to your PC by installing a program called Bonjour. For reference, here is an explanation of multicast DNS. If still issues however, you can also try switching to a physical ethernet cable instead of WiFi for your Pixelcade.
Note when shutting down Super Pixelcade LCD, it’s recommended to do a safe shutdown before turning off power to avoid possible corruption to Pixelcade LCD’s microSD card.
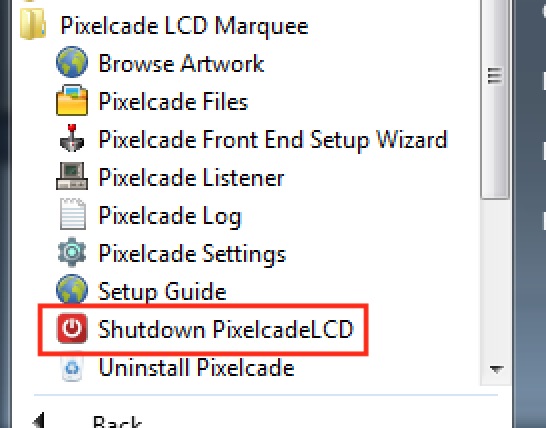
To perform a safe shut down, launch the program “Shutdown Pixelcade LCD” before powering off.
Note this URL will also do a safe shutdown of Super Pixelcade LCD which can be used for home automation or integration with other software packages.
http://pixelcadedx-xxxxxxxx.local:8080/shutdown
where xxxxxxxx is the unique id of your Pixelcade.
Here are a few options to automate the safe shut down:
Option 1: Automatically run “Shutdown Pixelcade LCD” when your Windows PC shuts down.

To set up a script to run as soon as you shut down your PC, follow these instructions:
- Open Windows Group Policy Editor by entering “gpedit.msc” (no quotes) into the Run dialog (Win+R).
- In the left panel, select “Windows Settings” under “Computer Configuration.”
- Double-click “Scripts (Startup/Shutdown)” in the right panel.
- Double-click “Shutdown”
- Click “Add…”
- Navigate to your Pixelcade folder and select “pixelcade-lcd-shutdown.exe”
- Click “OK.”
Option 2: Add Shutdown Pixelcade LCD to run upon exit of your Arcade Front End. Most front ends have a configuration setting to run an external program upon startup and exit.
When you are not controlling Pixelcade from your Arcade front end, you may also browse artwork, replace artwork, choose favorites and run an Attract Mode slideshow using the Pixelcade iOS companion app.