Step 1: Install CoinOPS for Windows
Step 2: Install Pixelcade for Windows following the guide. At the end of the installation, a front end setup wizard will launch and choose CoinOps as your front end from that wizard.
IMPORTANT:
- For CoinOPS Retro Arcade and newer, choose CoinOps from Arcade front end setup wizard)
- For CoinOPS Next 2, CoinOPS 2 Gems, CoinOPS NEXT, or CoinOPS Arcadia, choose CoinOps Legacy from Arcade front end setup wizard)
Reboot and ensure the Pixelcade Listener (pixelweb.exe) is running in the background (it should have been added to your Windows start-up).

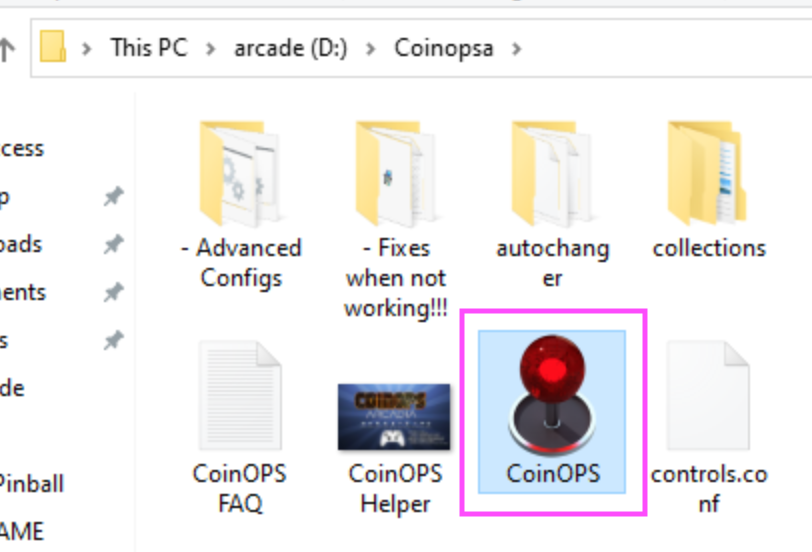
Now launch CoinOPS
The Pixelcade LED Marquee should now be changing as you scroll through the games
Note that not all CoinOPS distributions are the same so it may be necessary to do this step manually. This will only work on CoinOPS version that are LEDBlinky enabled which in theory are versions newer than CoinOPS Next 2.