
 PIXELCADE
Arcade Jacket
Sew LED strips along the front and down the sleeves of any jacket, add a small LED controller, and run it all from your phone. You get 89 arcade effects from Pixelcade's marquees, themes and holiday looks, bike turn signals with an automatic brake light, and looks that follow the music or your heartbeat.

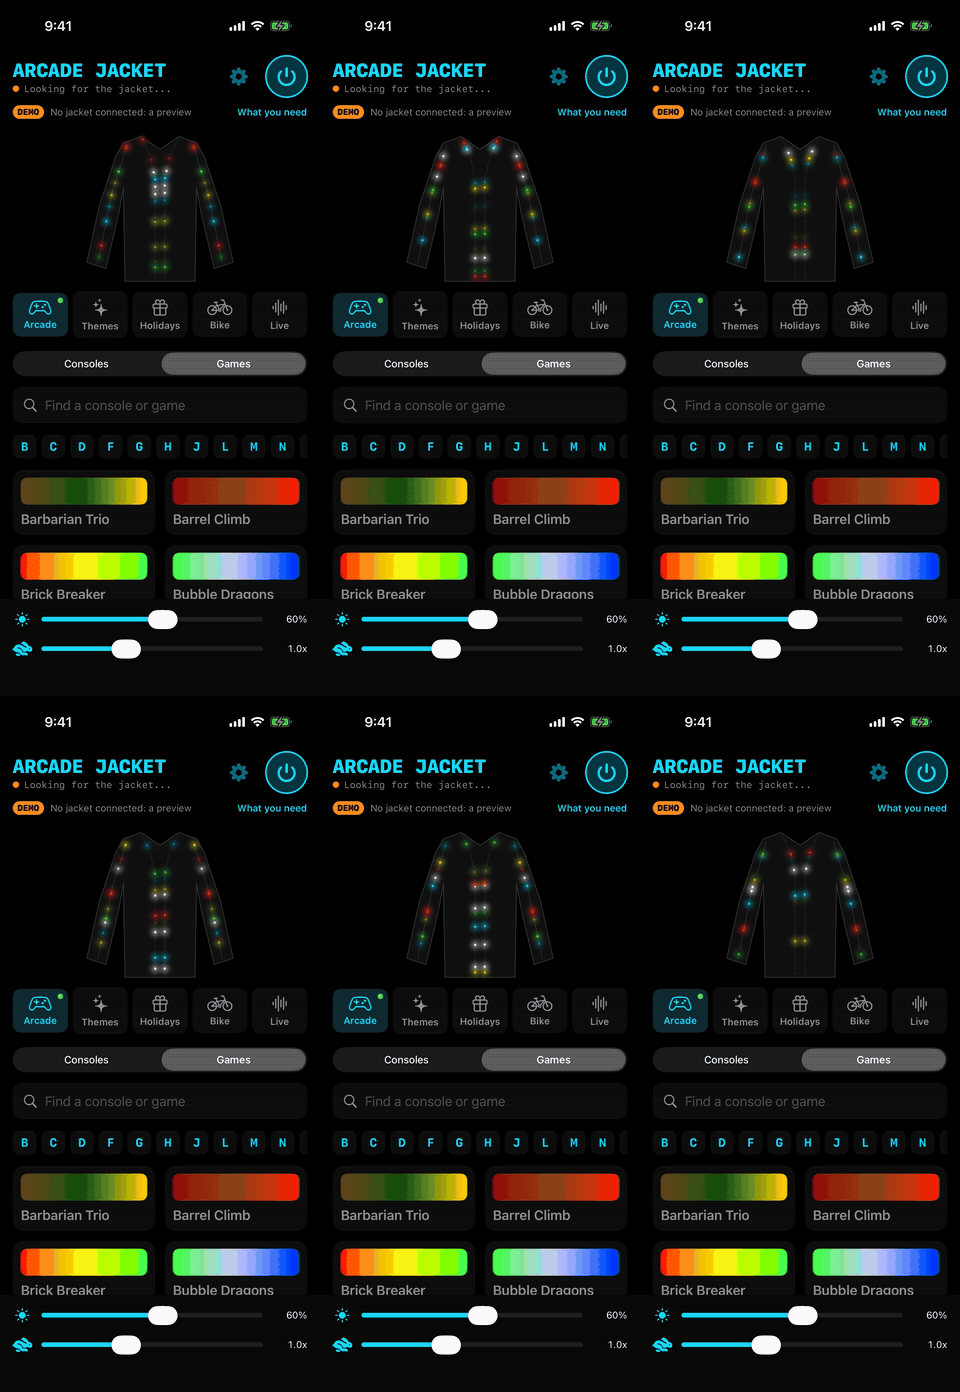
The app and firmware are free. You can try the app before you build anything: with no jacket nearby it shows the looks on a jacket drawn on screen.
Step 1
What you need
The only electronics are an off-the-shelf LED controller, LED strips and a USB power bank. You don't need to solder anything.
Gledopto GL-MC-001WL
A small ESP32 LED controller sold for WLED. It has Bluetooth and a proper 5 V data output, so the strips plug straight in. This is the controller the firmware is built for.
Buy on Amazon5 V addressable LED strip
WS2812B or WS2811, 5 V (not 12 V or 24 V). Mine is three 1 m, 5 mm wide FCOB strips (160 LEDs each) with a 3-pin plug on each end: one for the front, one per sleeve. Up to 1200 LEDs in total.
The strips I used (Amazon)3-pin extension leads
JST-SM 3-pin leads to join the strips. They run inside the jacket from the front to each sleeve. I used about 0.5 m, 1 m and 0.5 m.
Search on AmazonUSB power bank
Any power bank that gives at least 2 A, plus a USB-C cable. It goes in an inside pocket with the controller. The firmware limits the whole jacket to 2 A.
A jacket
Anything with a zipper and room inside for the leads. A dark jacket shows the light best.
Mounting
Hot glue, a few safety pins for the sleeves, and the 3D-printed parts below.
What to 3D printYou also need a phone running the app: an iPhone with iOS 17 or later (the Apple Watch app is optional), or Android 8 or later.
Step 2
Build the jacket
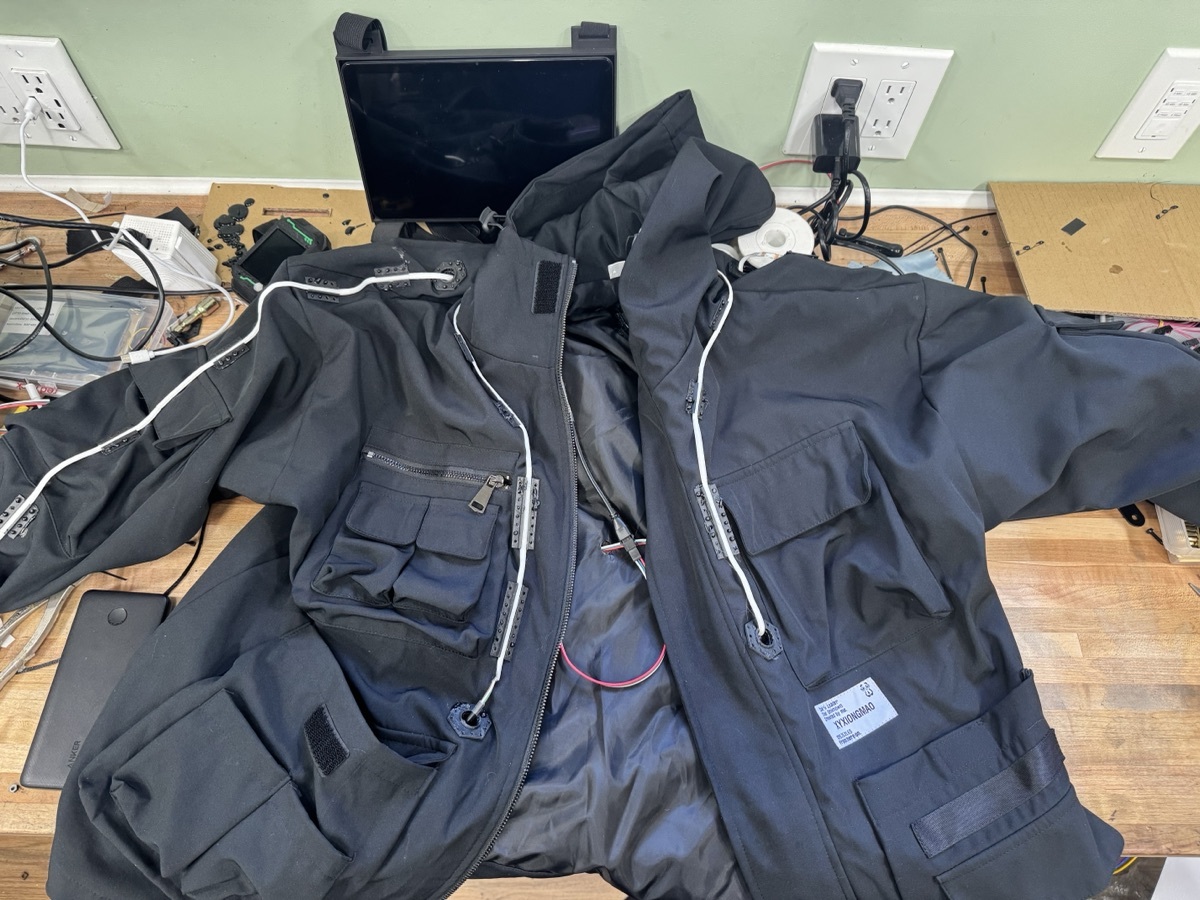
All the LEDs form one chain, starting at the controller. Data flows through each strip and on to the next. Here's how mine runs:
- Controller and power bank sit in an inside pocket. The controller's output lead comes out through a small hole near the zipper.
- Front strip: up one zipper edge, round the collar and down the other edge.
- Lead: back inside the jacket, over the shoulder and out at the top of the first sleeve.
- First sleeve: shoulder to cuff. Tuck any strip that's left over inside the cuff.
- Lead: up inside the sleeve, across the back and out at the top of the other sleeve.
- Second sleeve: shoulder to cuff.
No strip crosses the zipper, so you can open the jacket without unplugging anything. Your jacket can be laid out differently: in step 5 you tell the app where each strip runs.
Mounting the strips
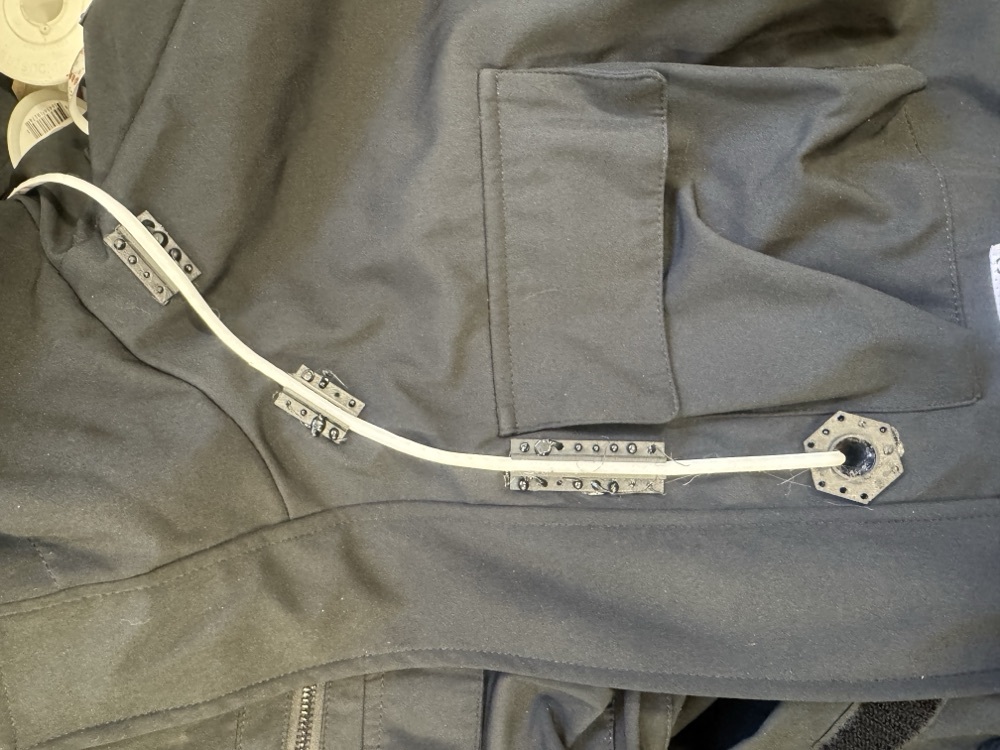
The strips snap into short 3D-printed channels, hot-glued about every 12 cm. Each channel has a flange full of small holes. The glue squeezes up through them and sets like rivets, so it grips the fabric much better than a flat blob would. Print them in flexible TPU so they bend with the jacket. On the sleeves, also put a safety pin through each end of a channel.
Cut a hole about 17.5 mm across wherever a lead goes in or out, and hot-glue a printed grommet over it from outside. Inside, snap the leads into the wire guides and glue them down every 10 cm or so, and on either side of the shoulder and armpit.
What to 3D print
Print the channels and wire guides in flexible TPU, flat on the bed. Each link opens a 3D preview on GitHub with a download button.
| Part | How many | Where it goes |
|---|---|---|
| Strip channel, 60 mm | 8 (2 spare) | The straight zipper edges, 3 each side |
| Strip channel, 30 mm | 14 (2 spare) | Round the collar (2) and down each sleeve (5, none on the elbow) |
| Grommet | 1 per hole | Over each hole where a lead goes in or out. Print face down |
| Wire guide, single | about 24 | Inside the jacket, holding the 3-pin extension leads |
| Wire guide, double | a few | Where two cables run side by side |
If your strip slides around in a test channel, it's a different thickness from mine: strip_clip_glue.py makes a new pair for your strip.
Step 3
Flash the controller
The Gledopto comes with WLED installed. The jacket needs the free LEDLINK firmware instead. The controller's USB-C port only supplies power, so you install the new firmware over Wi-Fi with WLED's own update page.
- Download the LEDLINK firmware (
ledlink-gledopto.bin) to your phone or computer. - Power the controller from the power bank. A new WLED controller makes its own Wi-Fi network, WLED-AP (password
wled1234). Join it, and WLED's page opens (or go tohttp://4.3.2.1). If you've already put the controller on your home Wi-Fi, open its address in WLED's app instead. - In WLED, go to Config → Security & Updates → Manual OTA Update.
- Choose
ledlink-gledopto.binand tap Update. The controller restarts running LEDLINK and the strips light up.
Heads up: LEDLINK doesn't turn Wi-Fi on, so once it's installed you can't reach WLED's update page any more. Make sure you're flashing the right controller.
Step 4
Get the app and connect
- Install Arcade Jacket from the App Store or Google Play.
- Open it and allow Bluetooth. The app looks for the controller and connects by itself, so there's no pairing step. The DEMO badge goes away and the jacket on screen now shows what your real jacket is doing.
- Tap the power button at the top to turn the lights on or off. The two sliders at the bottom set brightness and speed.
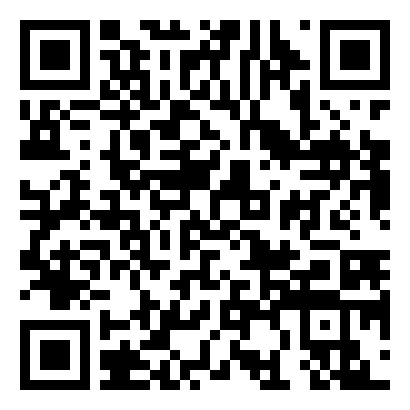
On a computer? Scan with your phone's camera:
The controller remembers your last look, brightness and speed. When you power it up without your phone, it carries on where you left off.
No controller yet? The app runs in demo mode. Every look, turn signal and the brake light plays on the jacket drawn on screen, so you can try everything before you buy parts.
Step 5
Set up your layout
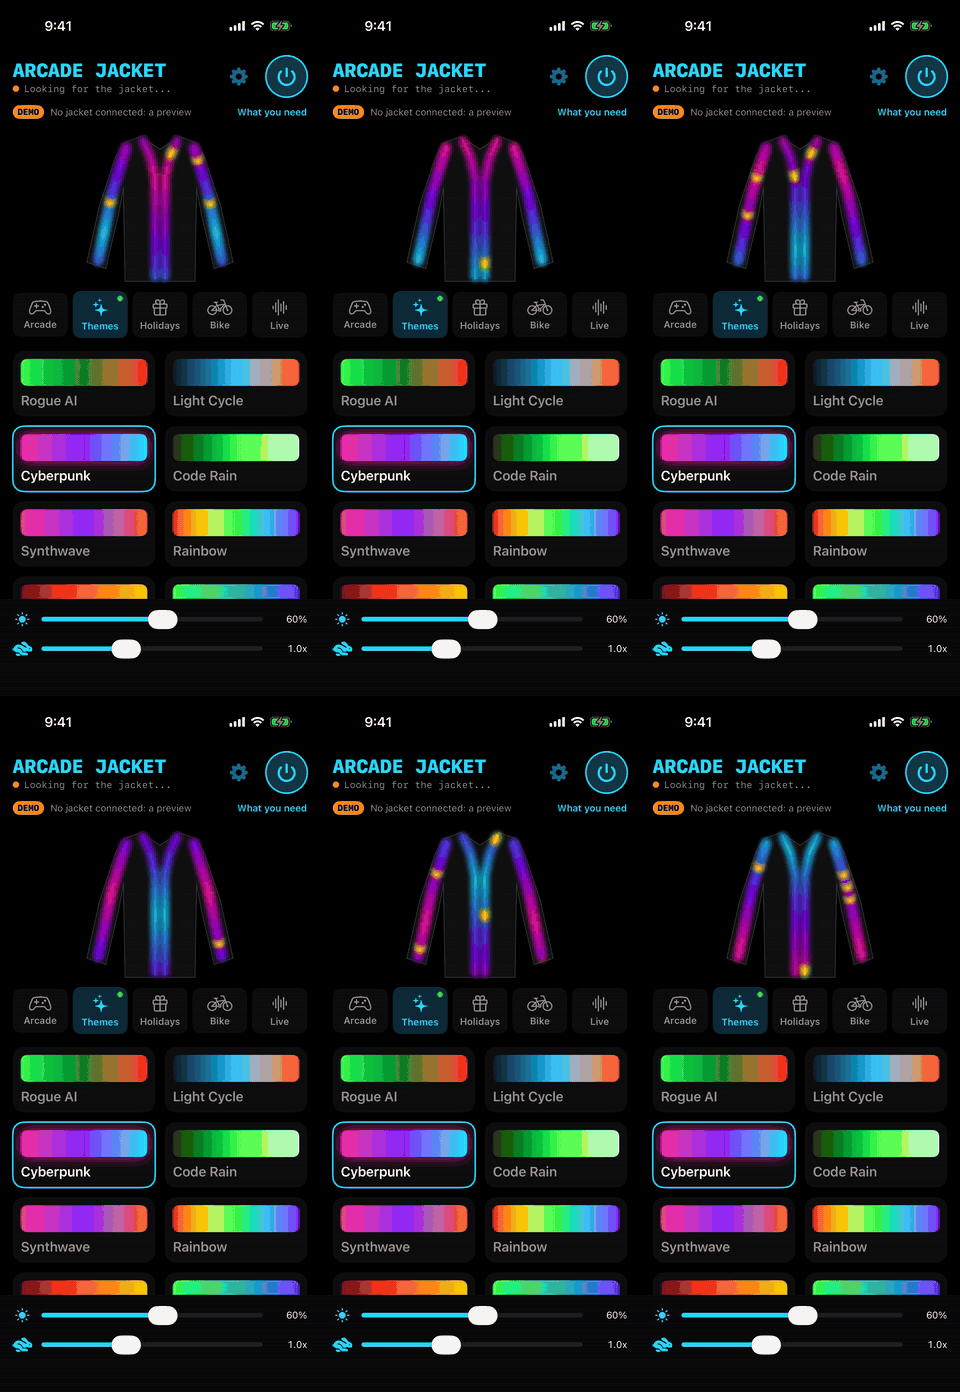
Every jacket is different, so tell the controller where your strips run. Tap the gear at the top of the app to open Settings. The controller's status is at the top, and below it is a list of zones in wiring order, starting from the controller.
| Zone | What it's for |
|---|---|
| Front | The strip up the zipper and round the collar. The looks run hem to collar. |
| Sleeve | A sleeve. The looks run shoulder to cuff. |
| Dark | LEDs that stay off: strip tucked inside the jacket, the run across the back, or extra strip in a cuff. |
- Tap Number every LED. The first LED lights green, every 10th white, every 50th red and every 100th blue. Count along each strip to see where the lit parts should start and stop.
- Add a zone for each stretch, and set how many LEDs it has. Give each Front or Sleeve zone a side (Left or Right) for the turn signals.
- Set which end the data wire comes in: Starts at the hem or at the collar for the front, and at the cuff or at the shoulder for a sleeve. If a look runs backwards on one zone, flip this.
- Use the light-bulb button next to a zone to check where it really is, or Show the lit LEDs to see the whole layout.
- Tap Save to the controller. It keeps the layout from then on, even after it's switched off.
Need a reminder? How the LED layout works in Settings explains all of this in the app. Reset to the firmware's layout starts over.
Step 6
Use it
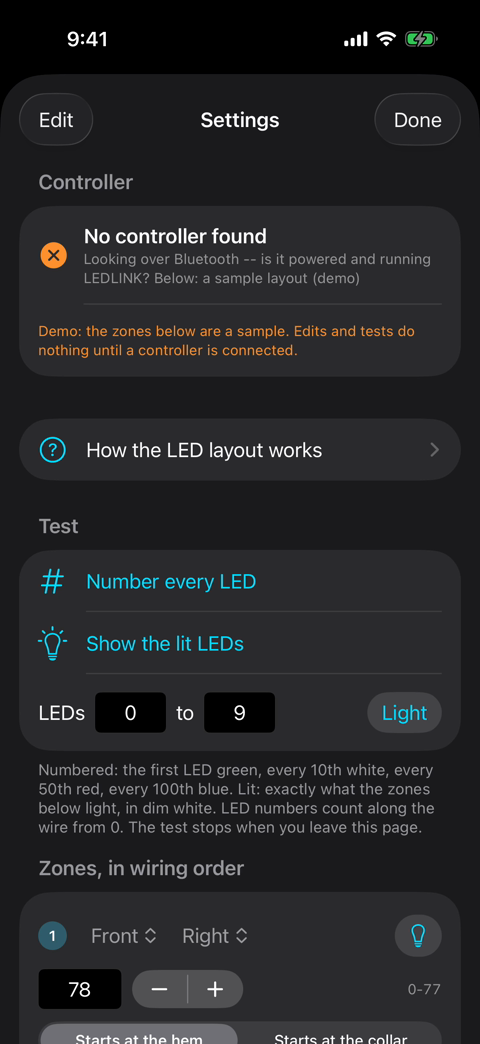
The app has five tabs. Each one runs the controller's own effects code, so the jacket on screen matches the real one.
Arcade
89 effects from Pixelcade's arcade marquees: 45 classic consoles and 44 arcade-style games. They're sorted A to Z, with letter shortcuts and a search box.
Themes & Holidays
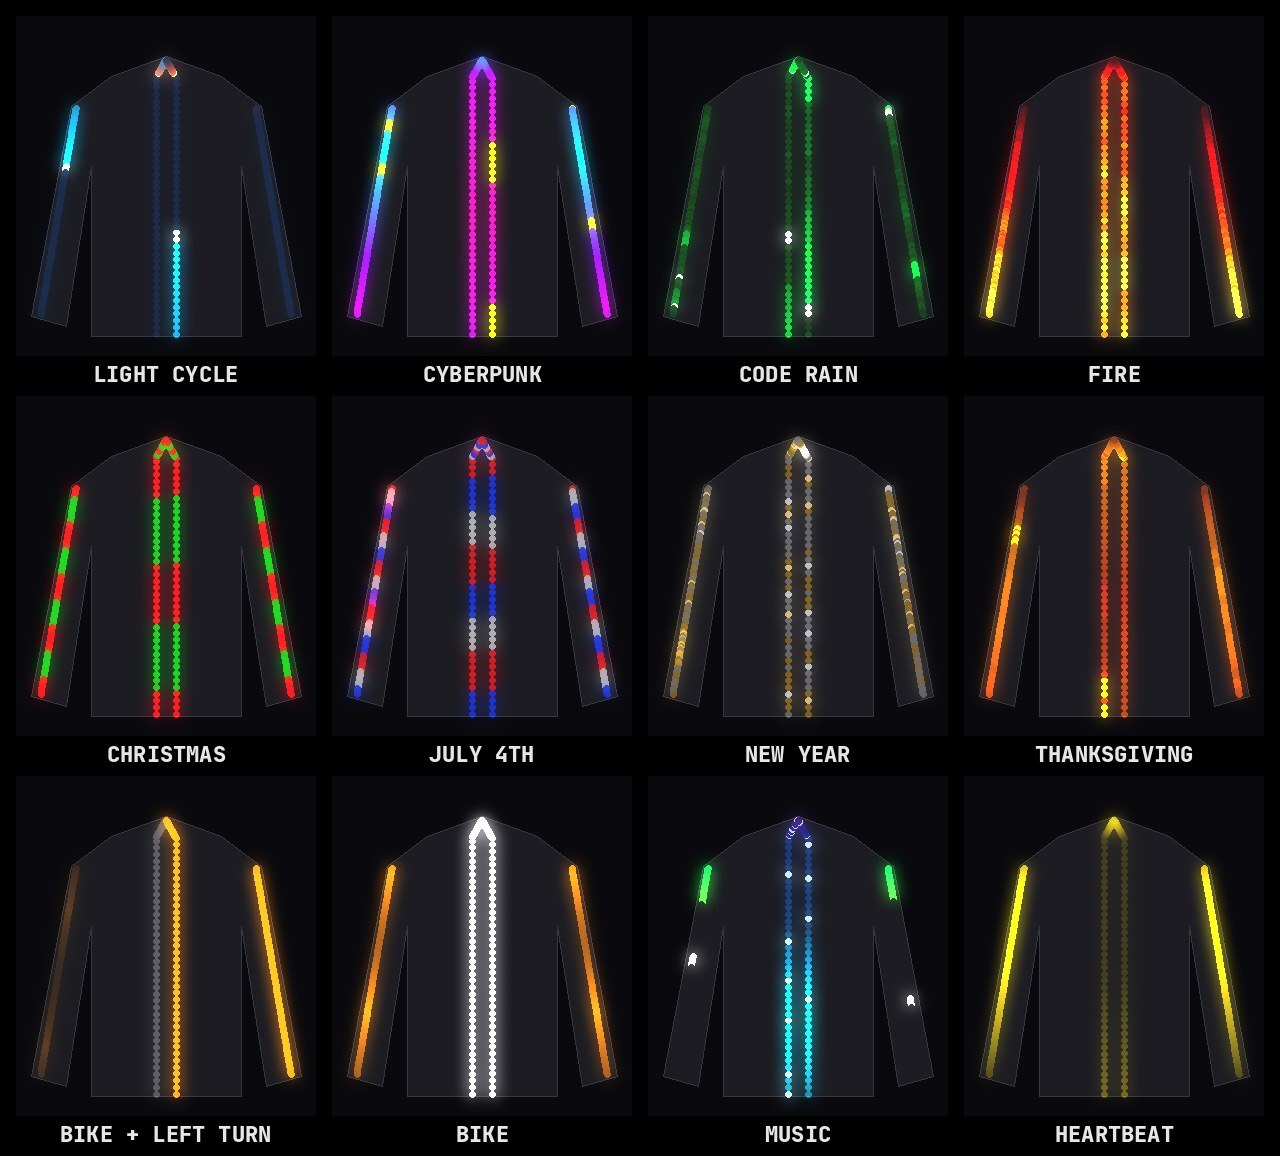
Light Cycle, Cyberpunk, Code Rain, Fire, Aurora and more. There are also holiday looks from Christmas to Pride, and Solid, Breathe, Sparkle and Comet in any colour.
Bike
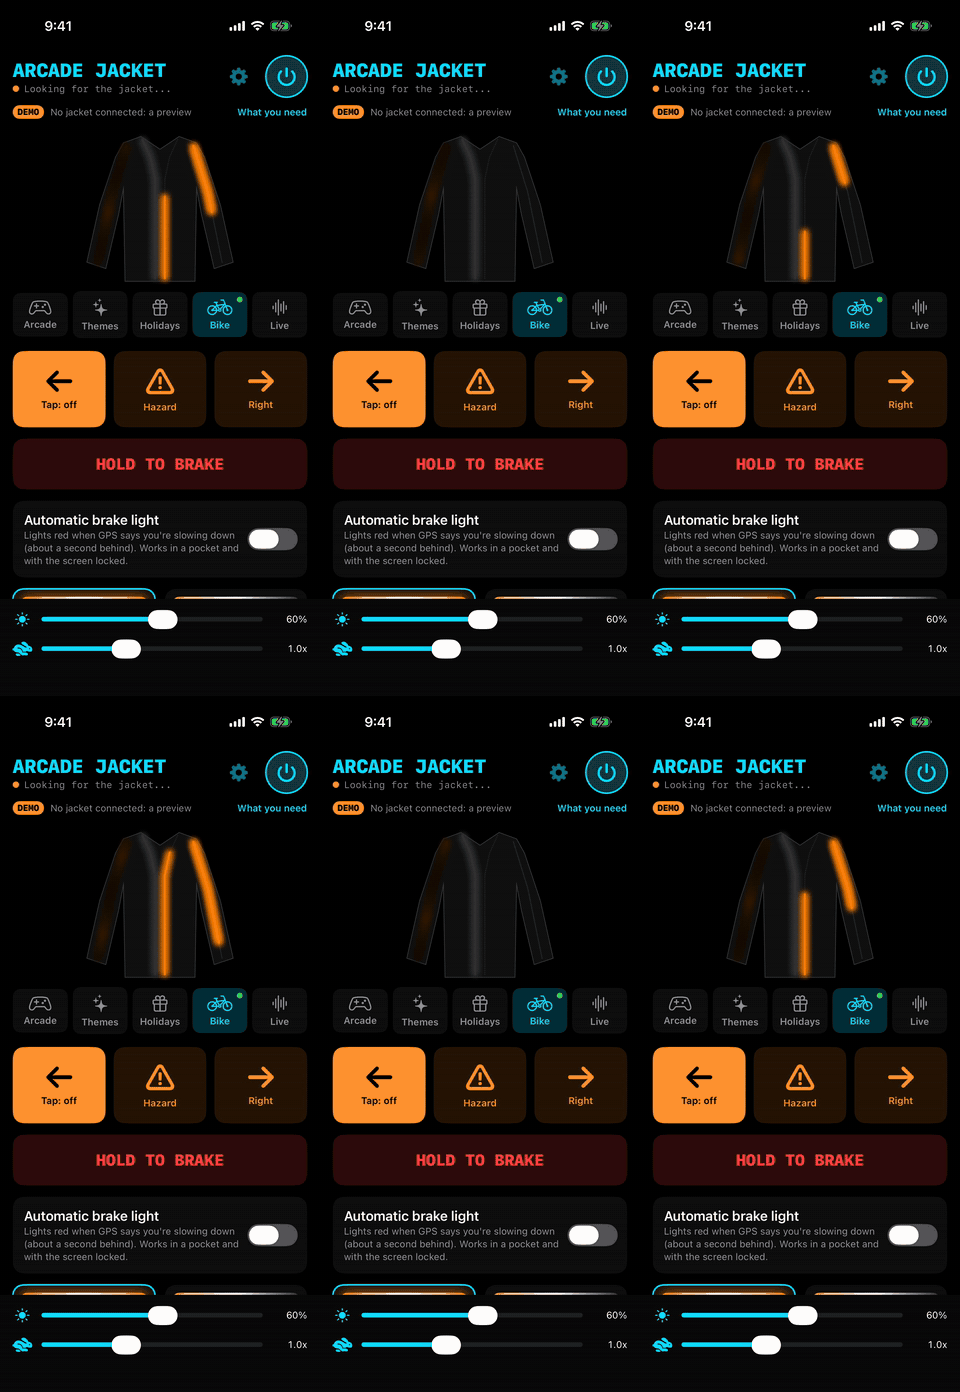
Left, right and hazard signals that sweep down that side of the jacket, and a hold-to-brake button. The automatic brake light uses GPS to turn the jacket red when you slow down.
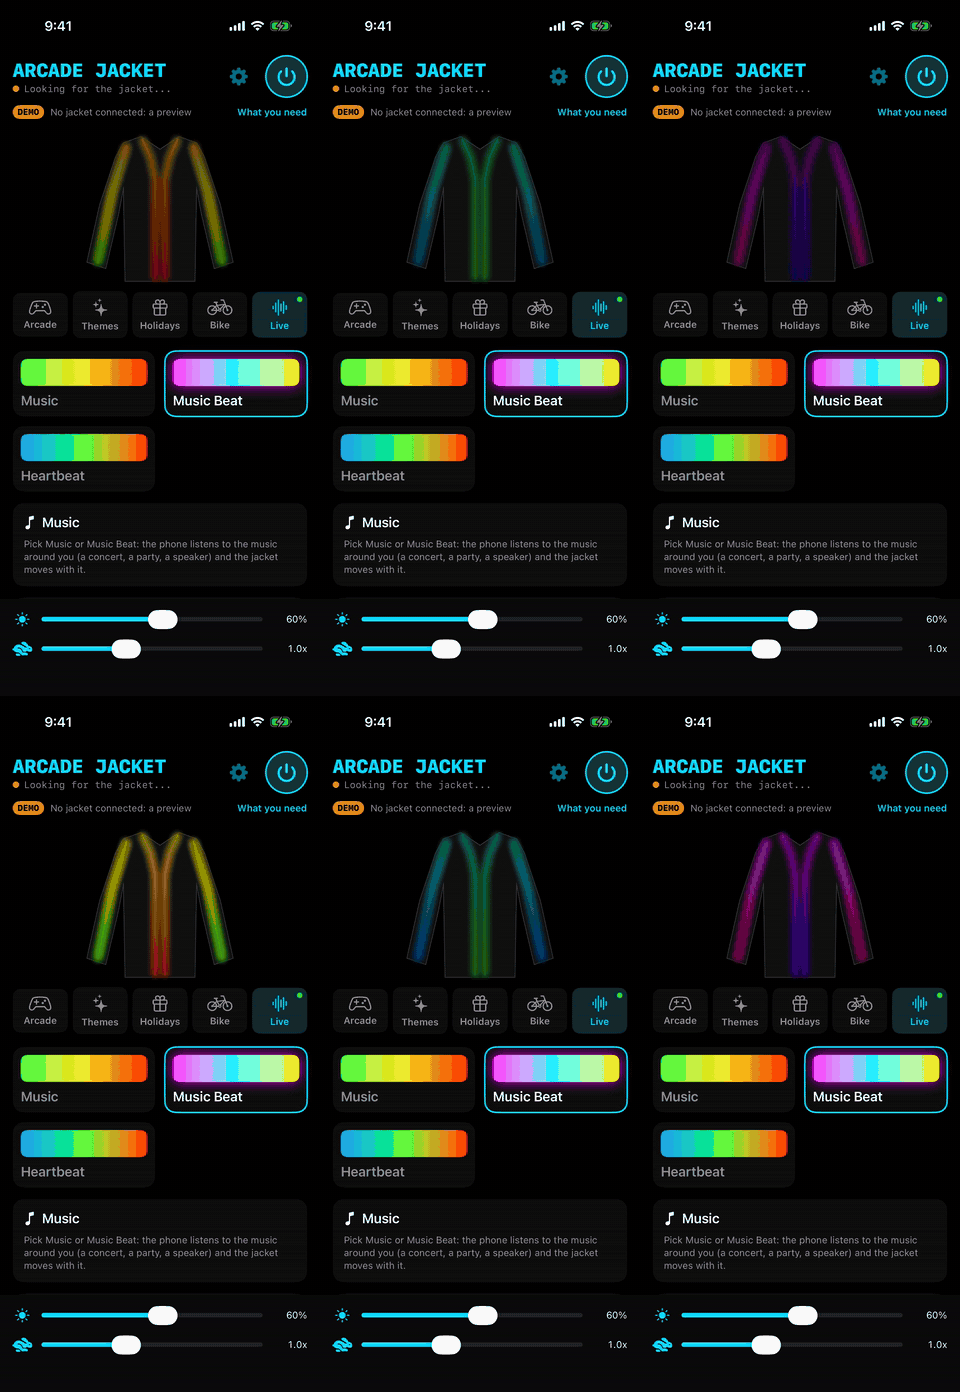
Live
Music looks that react to the sound around you through the phone's microphone (nothing is recorded). Heartbeat pulses with a Bluetooth heart-rate sensor or the Apple Watch app.
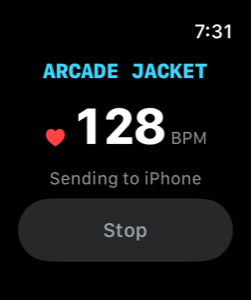
Heart rate
On iPhone, start a session in the Apple Watch app and the jacket pulses with your heart. On either phone, you can instead pick a Bluetooth heart-rate sensor on the Live tab, such as a Polar, Wahoo or Garmin chest strap, or a Fitbit Charge 6 or Pixel Watch with heart-rate sharing on.
With the screen off
The turn signals, the automatic brake light and the music looks keep working with your phone locked in a pocket. On Android, a notification shows while the app is connected.
Riding a bike? Wear the jacket as well as proper bike lights, never instead of them. The automatic brake light is based on GPS speed, so it reacts about a second after you slow down.
Open source
Source code
Everything is on GitHub at github.com/alinke/rogue-ai-costume:
ledlink/: the controller firmware, built with PlatformIO. The looks are insrc/looks.cppand the arcade effects insrc/arcade.cpp. The Bluetooth protocol, if you want to write your own remote, is insrc/jacket_link.h.ios-jacket/: the iPhone and Apple Watch app (SwiftUI).android-jacket/: the Android app (Kotlin and Jetpack Compose).hardware/3dprint/: the strip channels, grommets and wire guides, as STL files and the scripts that generate them.
From the makers of Pixelcade
Like the arcade effects? Put them on your arcade.
The jacket's arcade looks come from Pixelcade, our LED and LCD marquees for arcade cabinets, pinball machines and game rooms. Pixelcade shows the marquee art of whatever game you launch, automatically, with thousands of games and consoles supported.
Pixelcade LED
A retro LED pixel-art marquee that changes with every game you play.
Pixelcade LCD
Full-colour, high-resolution marquee art for your cabinet's marquee slot.
Sidekick
A companion screen that shows box art, game info and high scores next to your marquee.
Arcade Jacket is made by Pixelcade. Questions: support@pixelcade.org · Privacy policy