
Sidekick companion displays mount wherever fits your build — next to the main marquee, flush into a control panel, or anywhere else that makes sense — and you can plug in as many as you like. Each one shows box art, game descriptions, logos, controller legends, RetroAchievements status, and live score/stat HUDs for select MAME and FBNeo games, plus Pixelcade widgets like sports scores, stocks, weather, What to Watch, Retro Trivia, an earthquake monitor, planes overhead, and more. Touch-enabled models let you swipe through box art, descriptions, and other display modes on demand. They run on off-the-shelf ESP32 display boards and connect with a single USB cable — power comes over that same cable, so no separate power supply is needed. (Running several displays at once? A powered USB hub keeps them all fed.) Here's what's supported today, and the two ways to get one running.
Two Ways to Get a Sidekick Running
A pre-flashed, ready-to-plug-in unit with arcade mount. Connect it over USB, pick the model in Companion, and it's licensed and working immediately — no purchase step needed afterward.
Buy any of the supported displays below yourself from your usual retailer, then:
- Plug it in over USB — Companion detects it automatically.
- Activate it with a one-time Sidekick purchase — $49 if you already own a Pixelcade LED or LCD marquee, $99 if you don't. Unlocks unlimited Sidekick devices on this machine, DIY or bought direct, all the same.
- Flash Pixelcade's firmware from Sidekick settings in the Pixelcade Companion mobile app (one tap). If you run into any issues flashing from the app, you can flash instead from a desktop computer using the web-based flasher — a backup method that only works in a Chrome or Edge desktop browser (it requires Web Serial, which isn't available on mobile browsers or Safari/Firefox).
Supported Displays
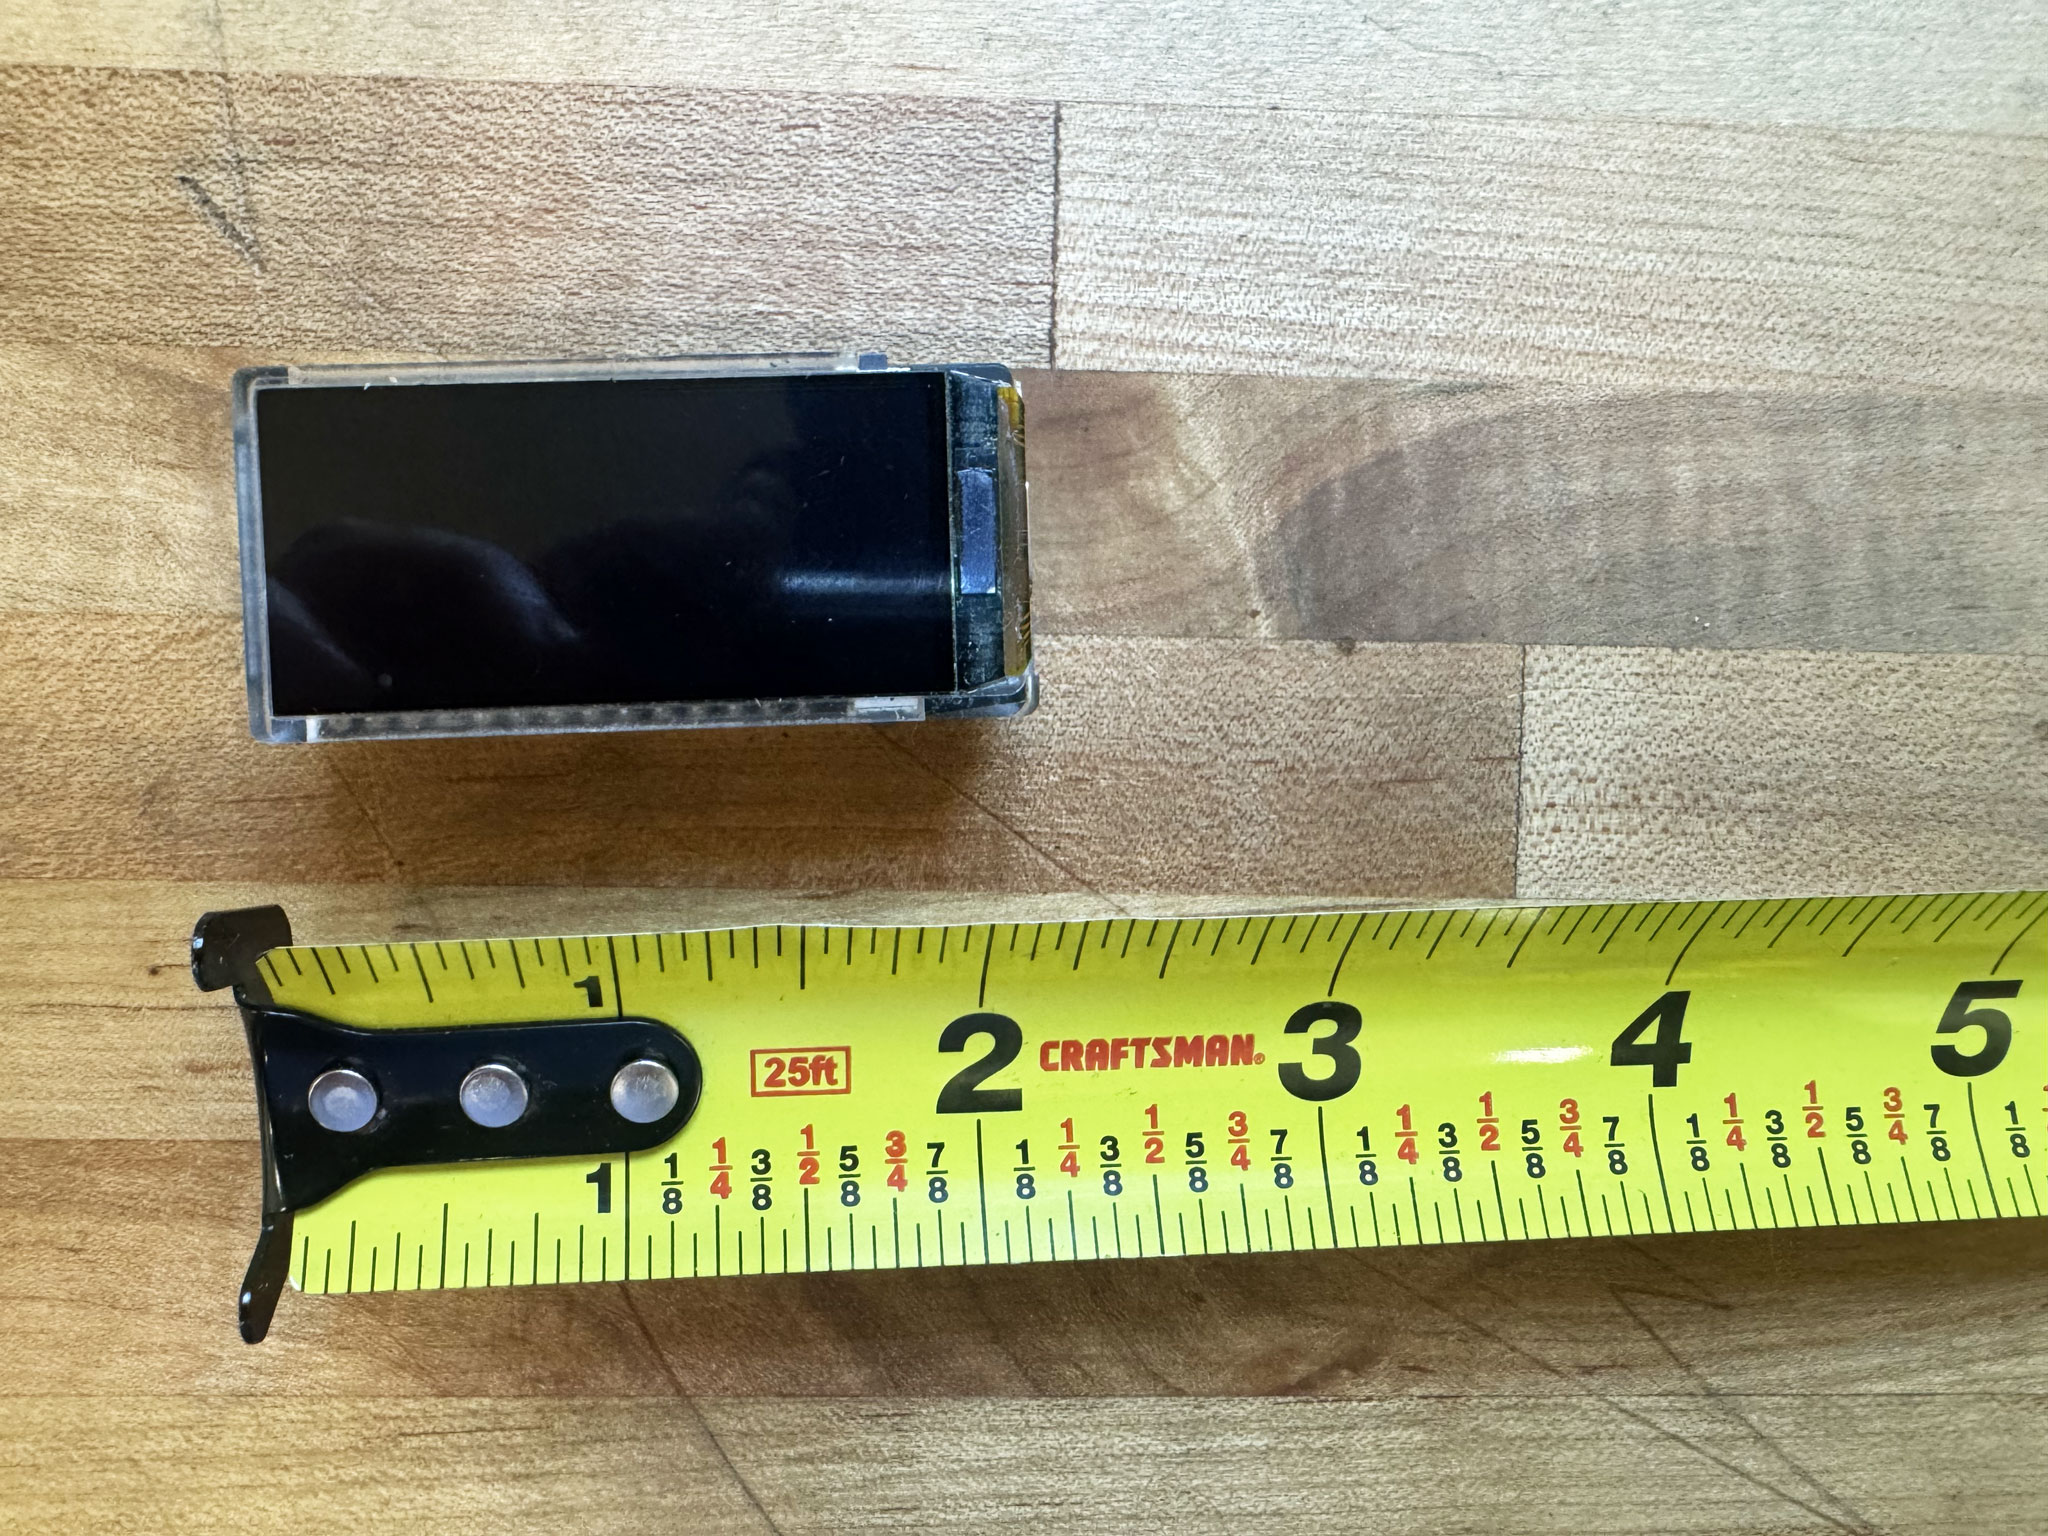
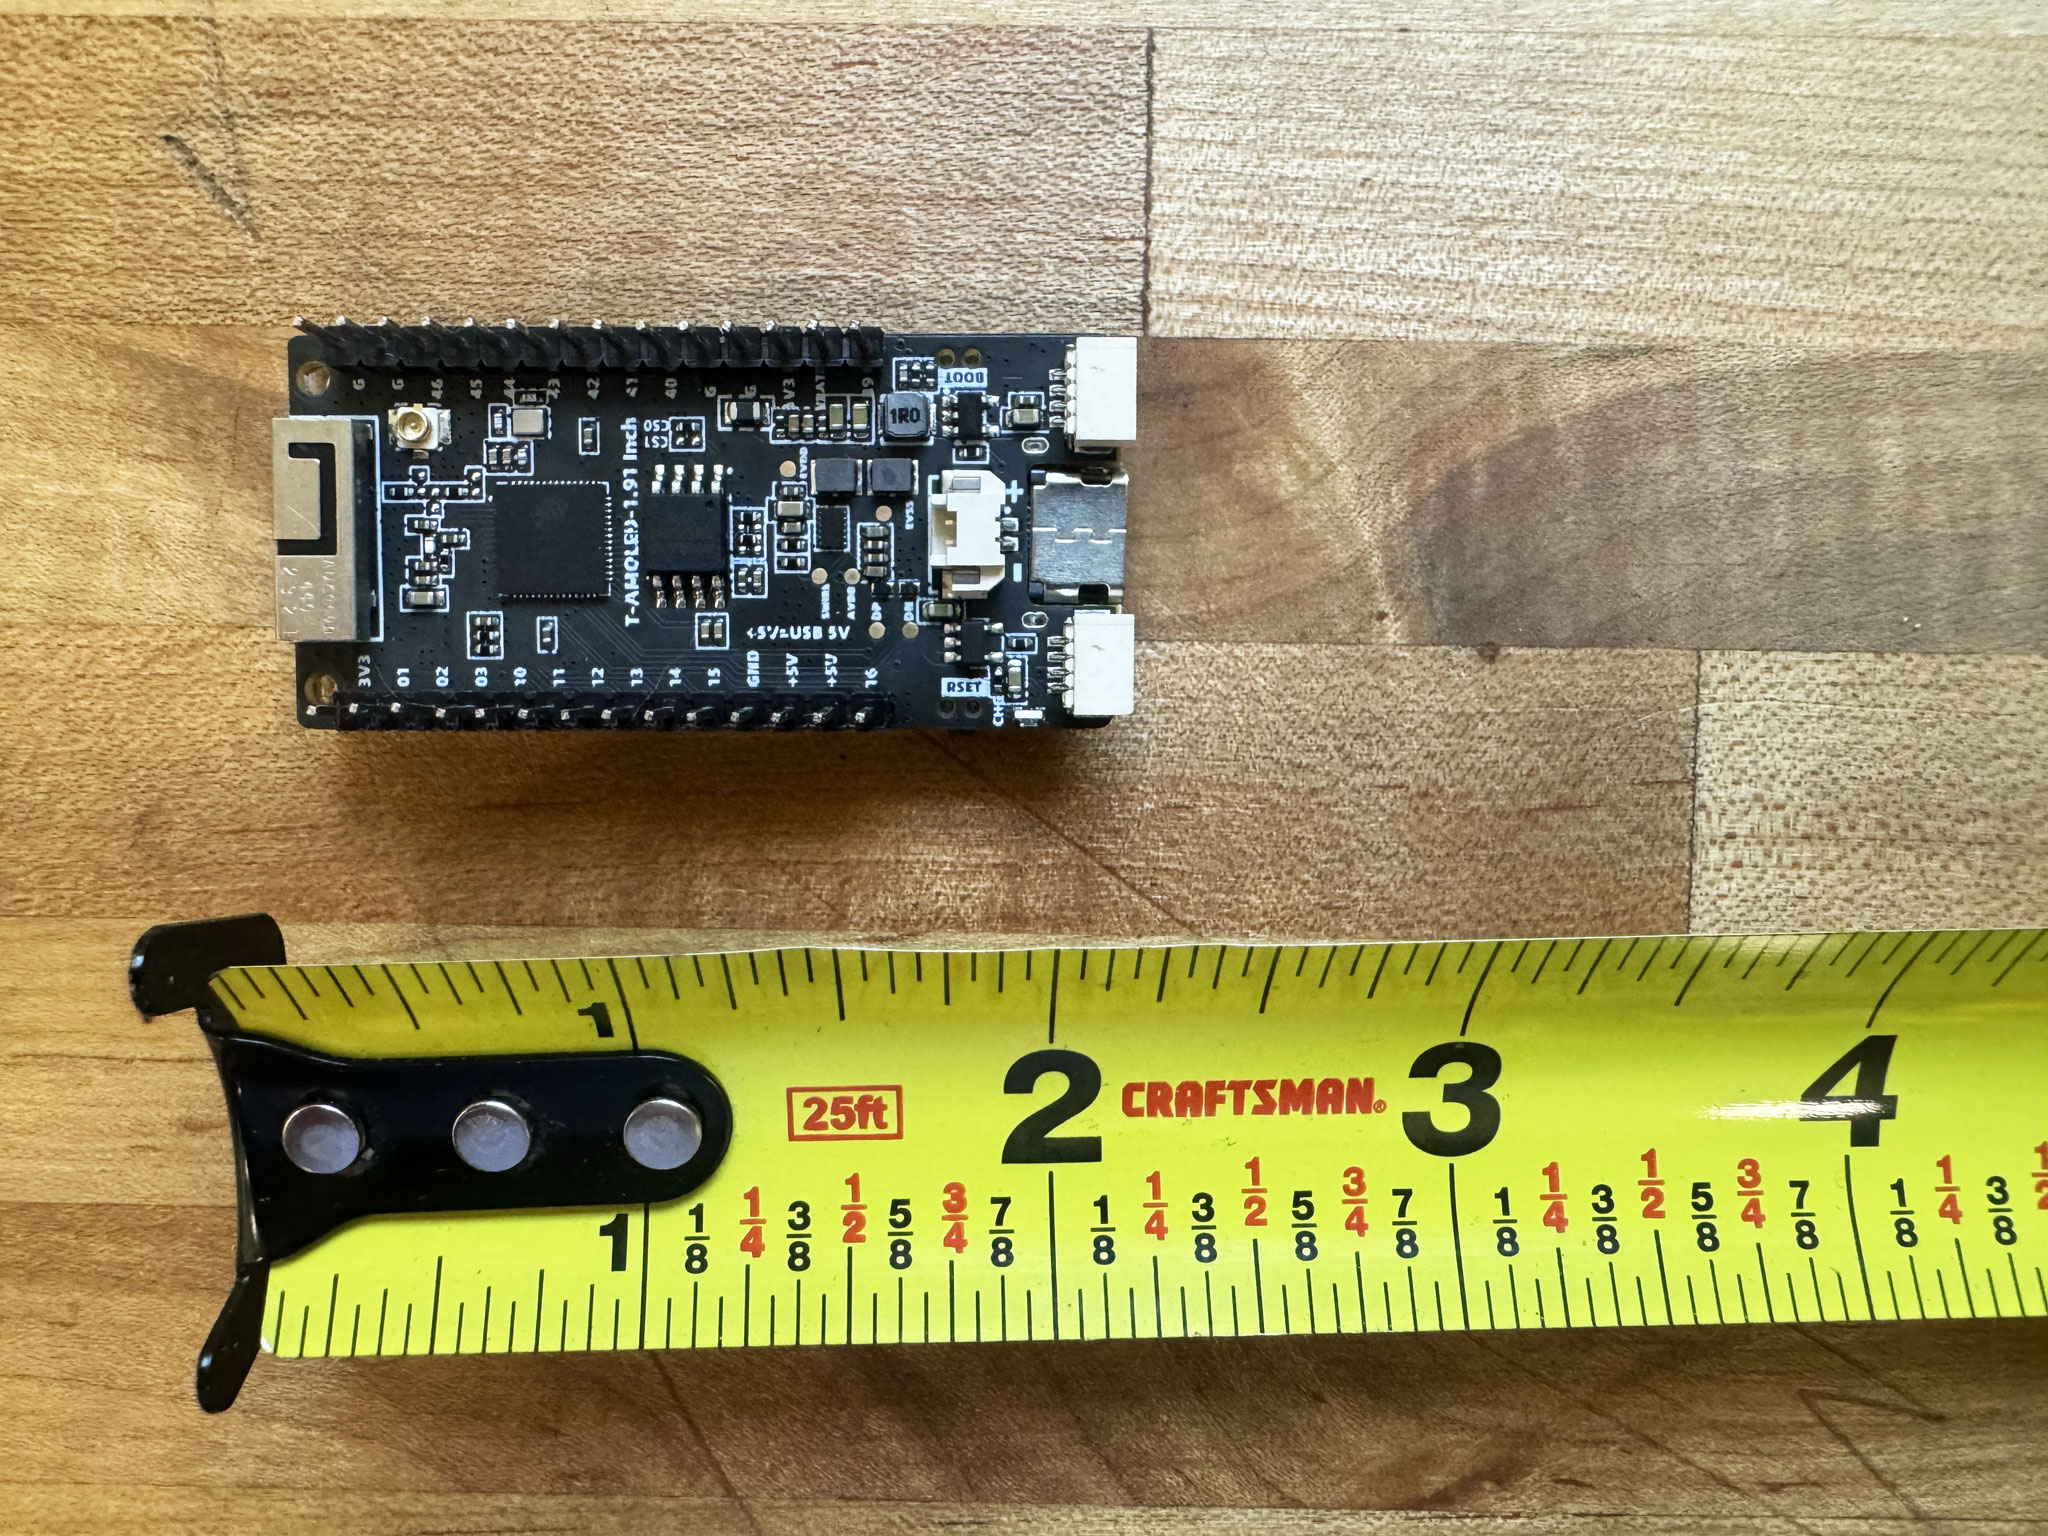
AMOLED 1.91″
LILYGO T-Display-S3-AMOLED (1.91″)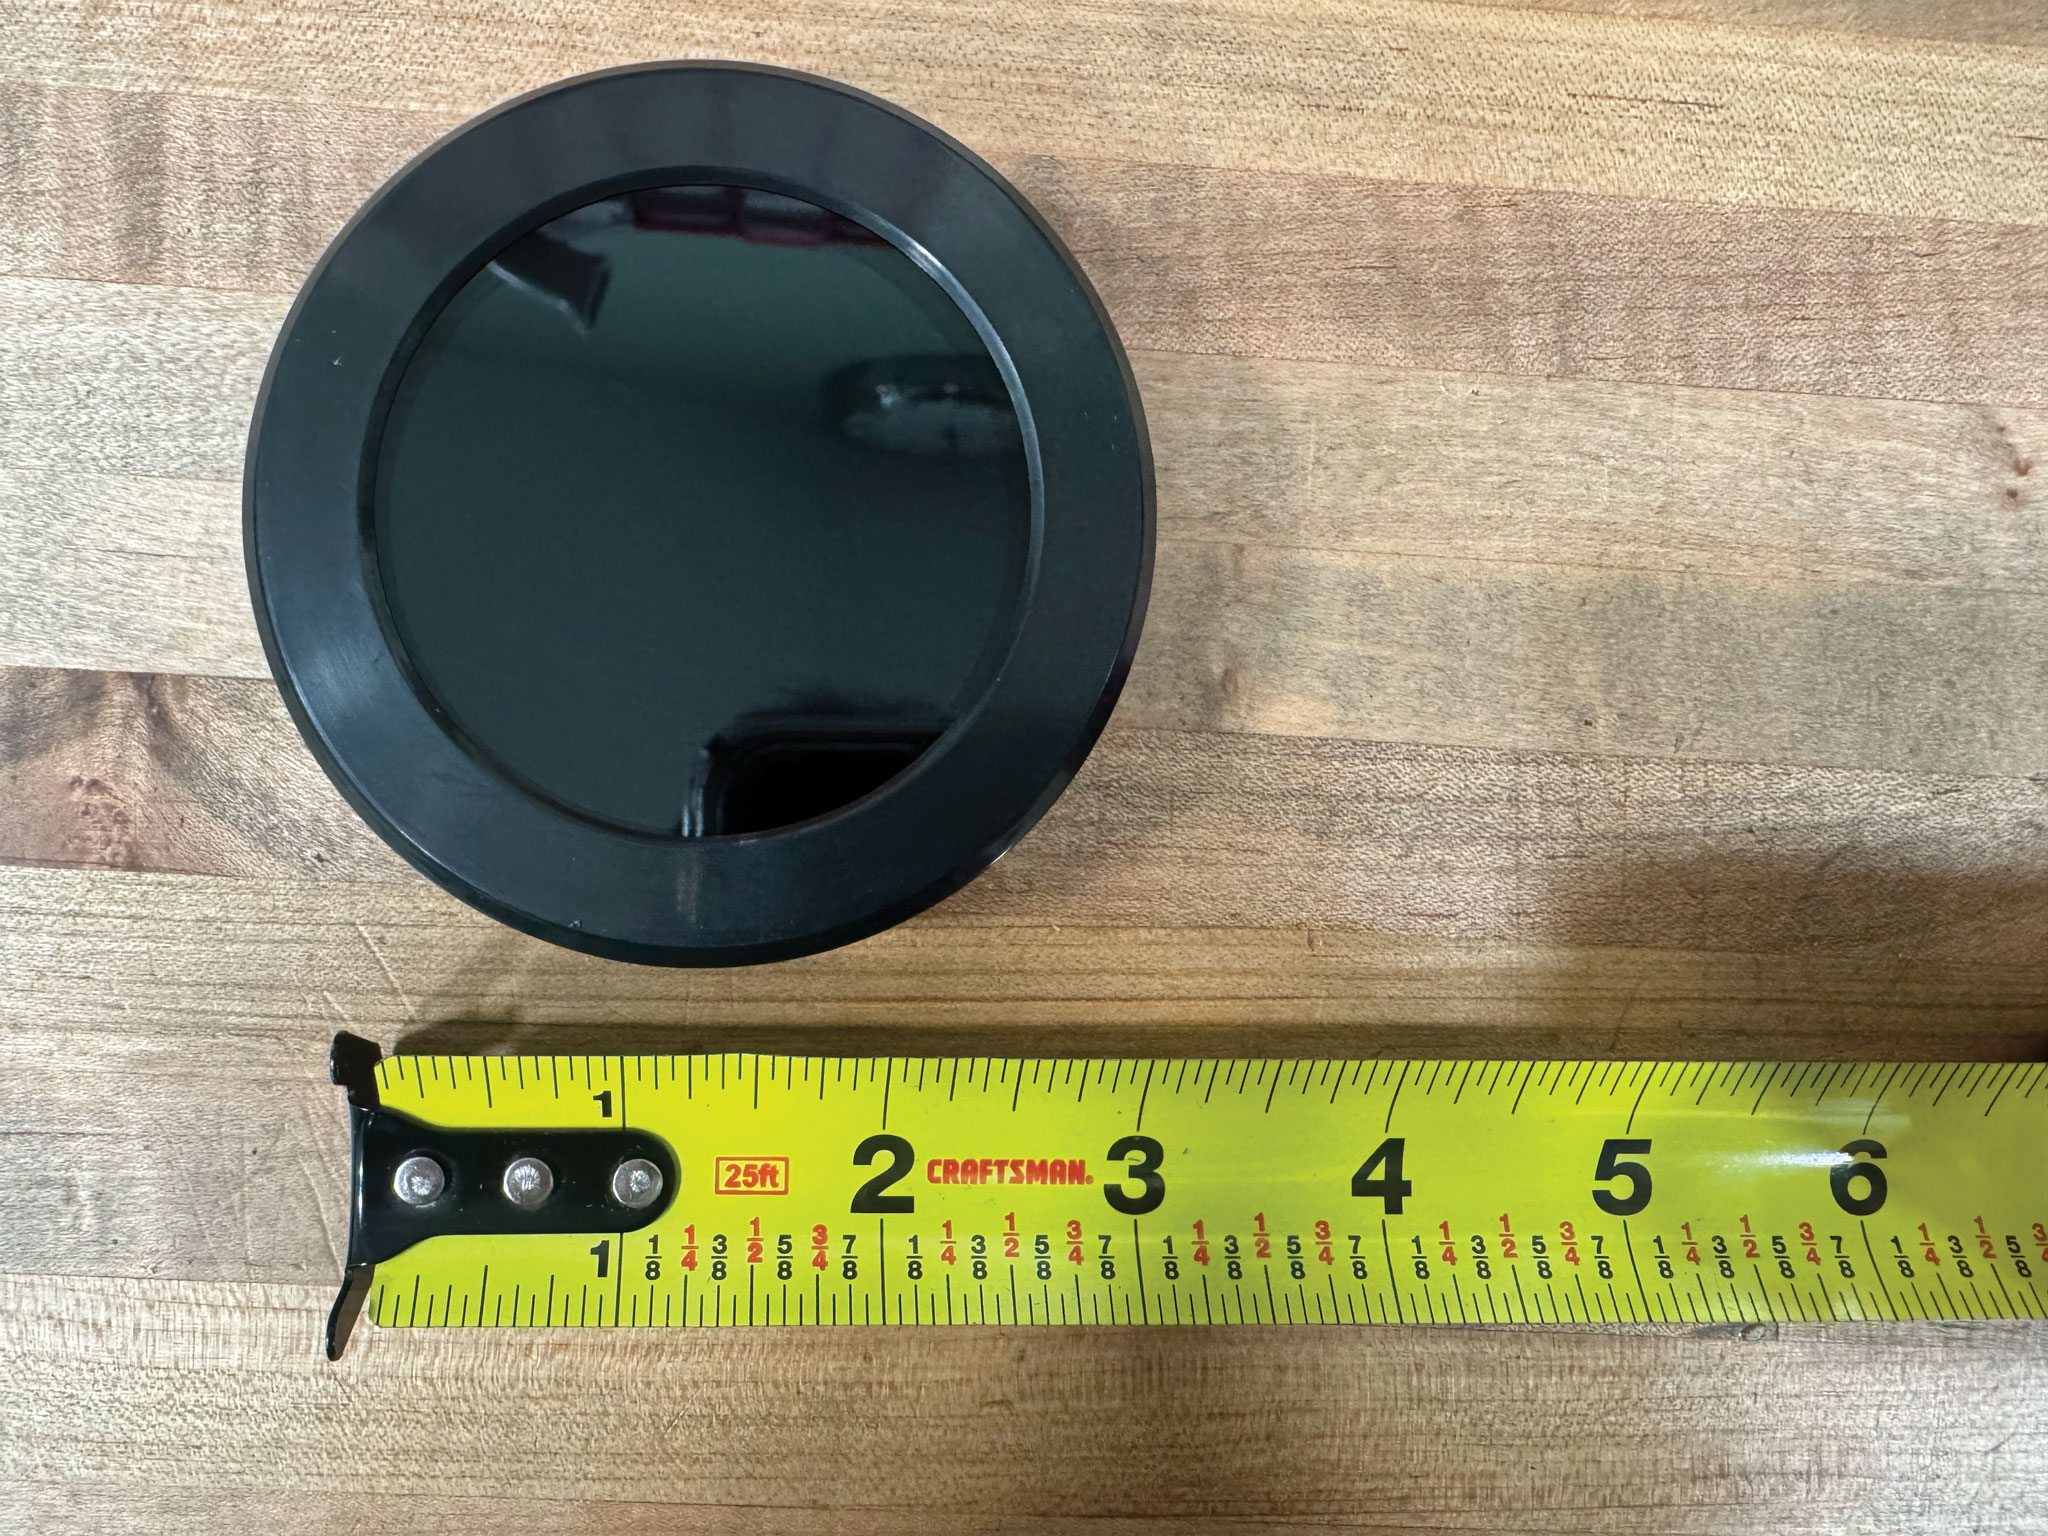
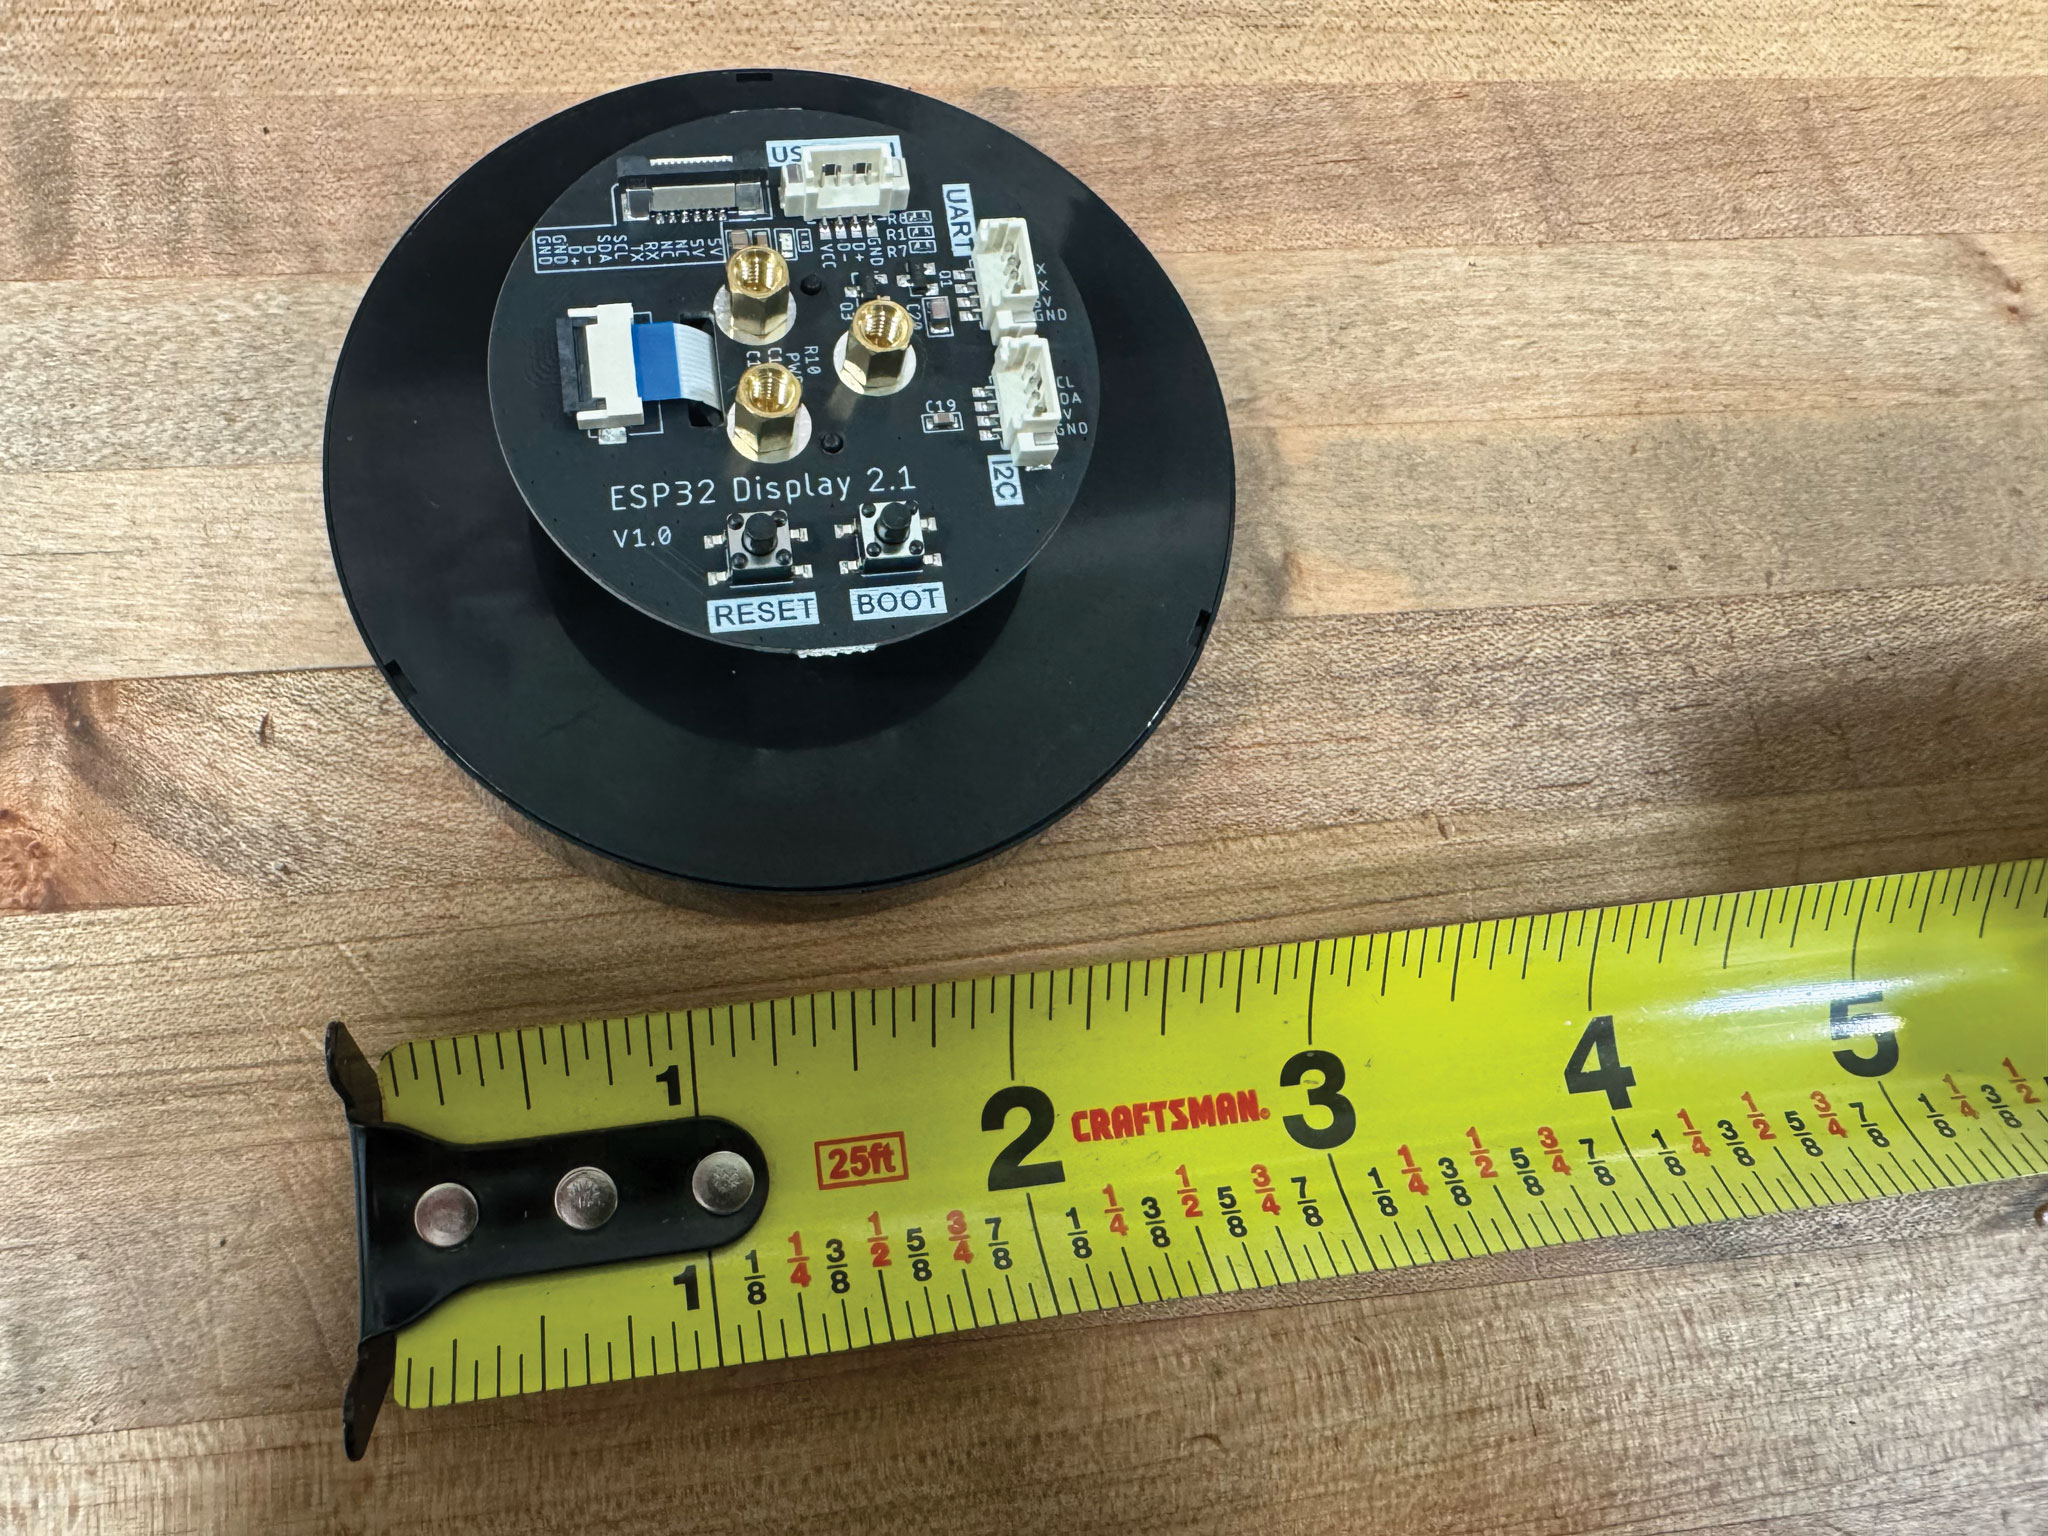
2.1″ Round Display (Elecrow)
Elecrow CrowPanel 2.1 HMI ESP32 Rotary Display (480×480 round, knob)Turn the dial to switch cards (clockwise for the next card, counter-clockwise to go back), or swipe as usual. Every card is resized to fit the round screen: photos fill the circle, box art and logos are sized to fit inside it, and text cards are centered so nothing is cut off. One USB-C port, used for both flashing and normal operation. WiFi is flaky on this board (weak antenna), so USB is recommended.
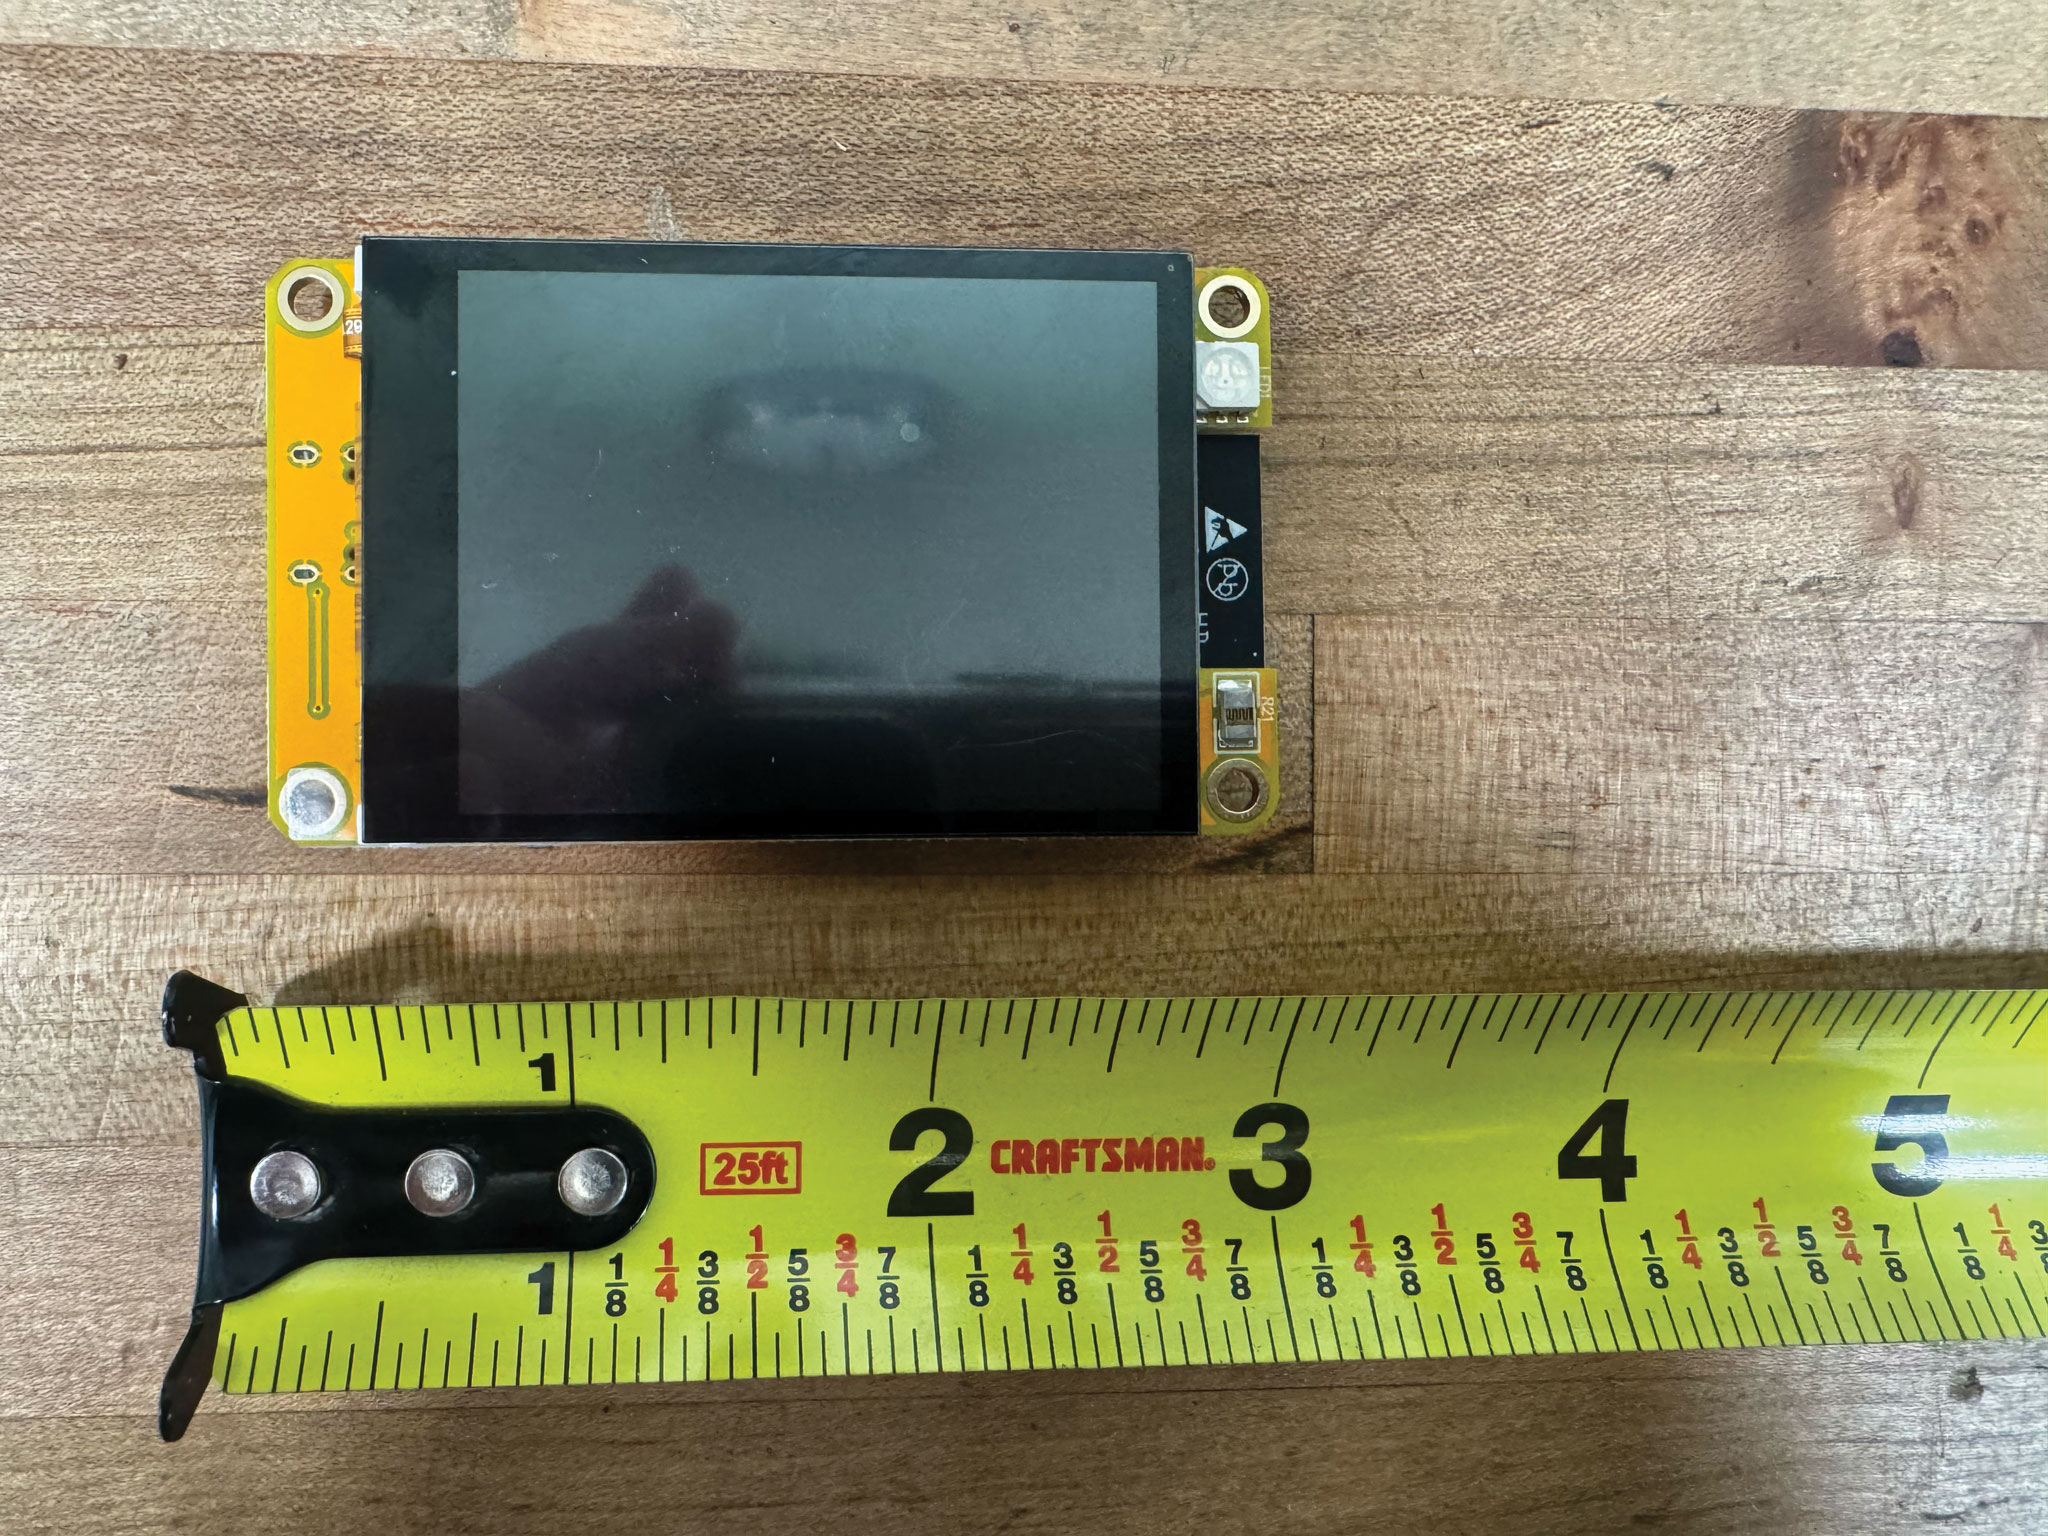
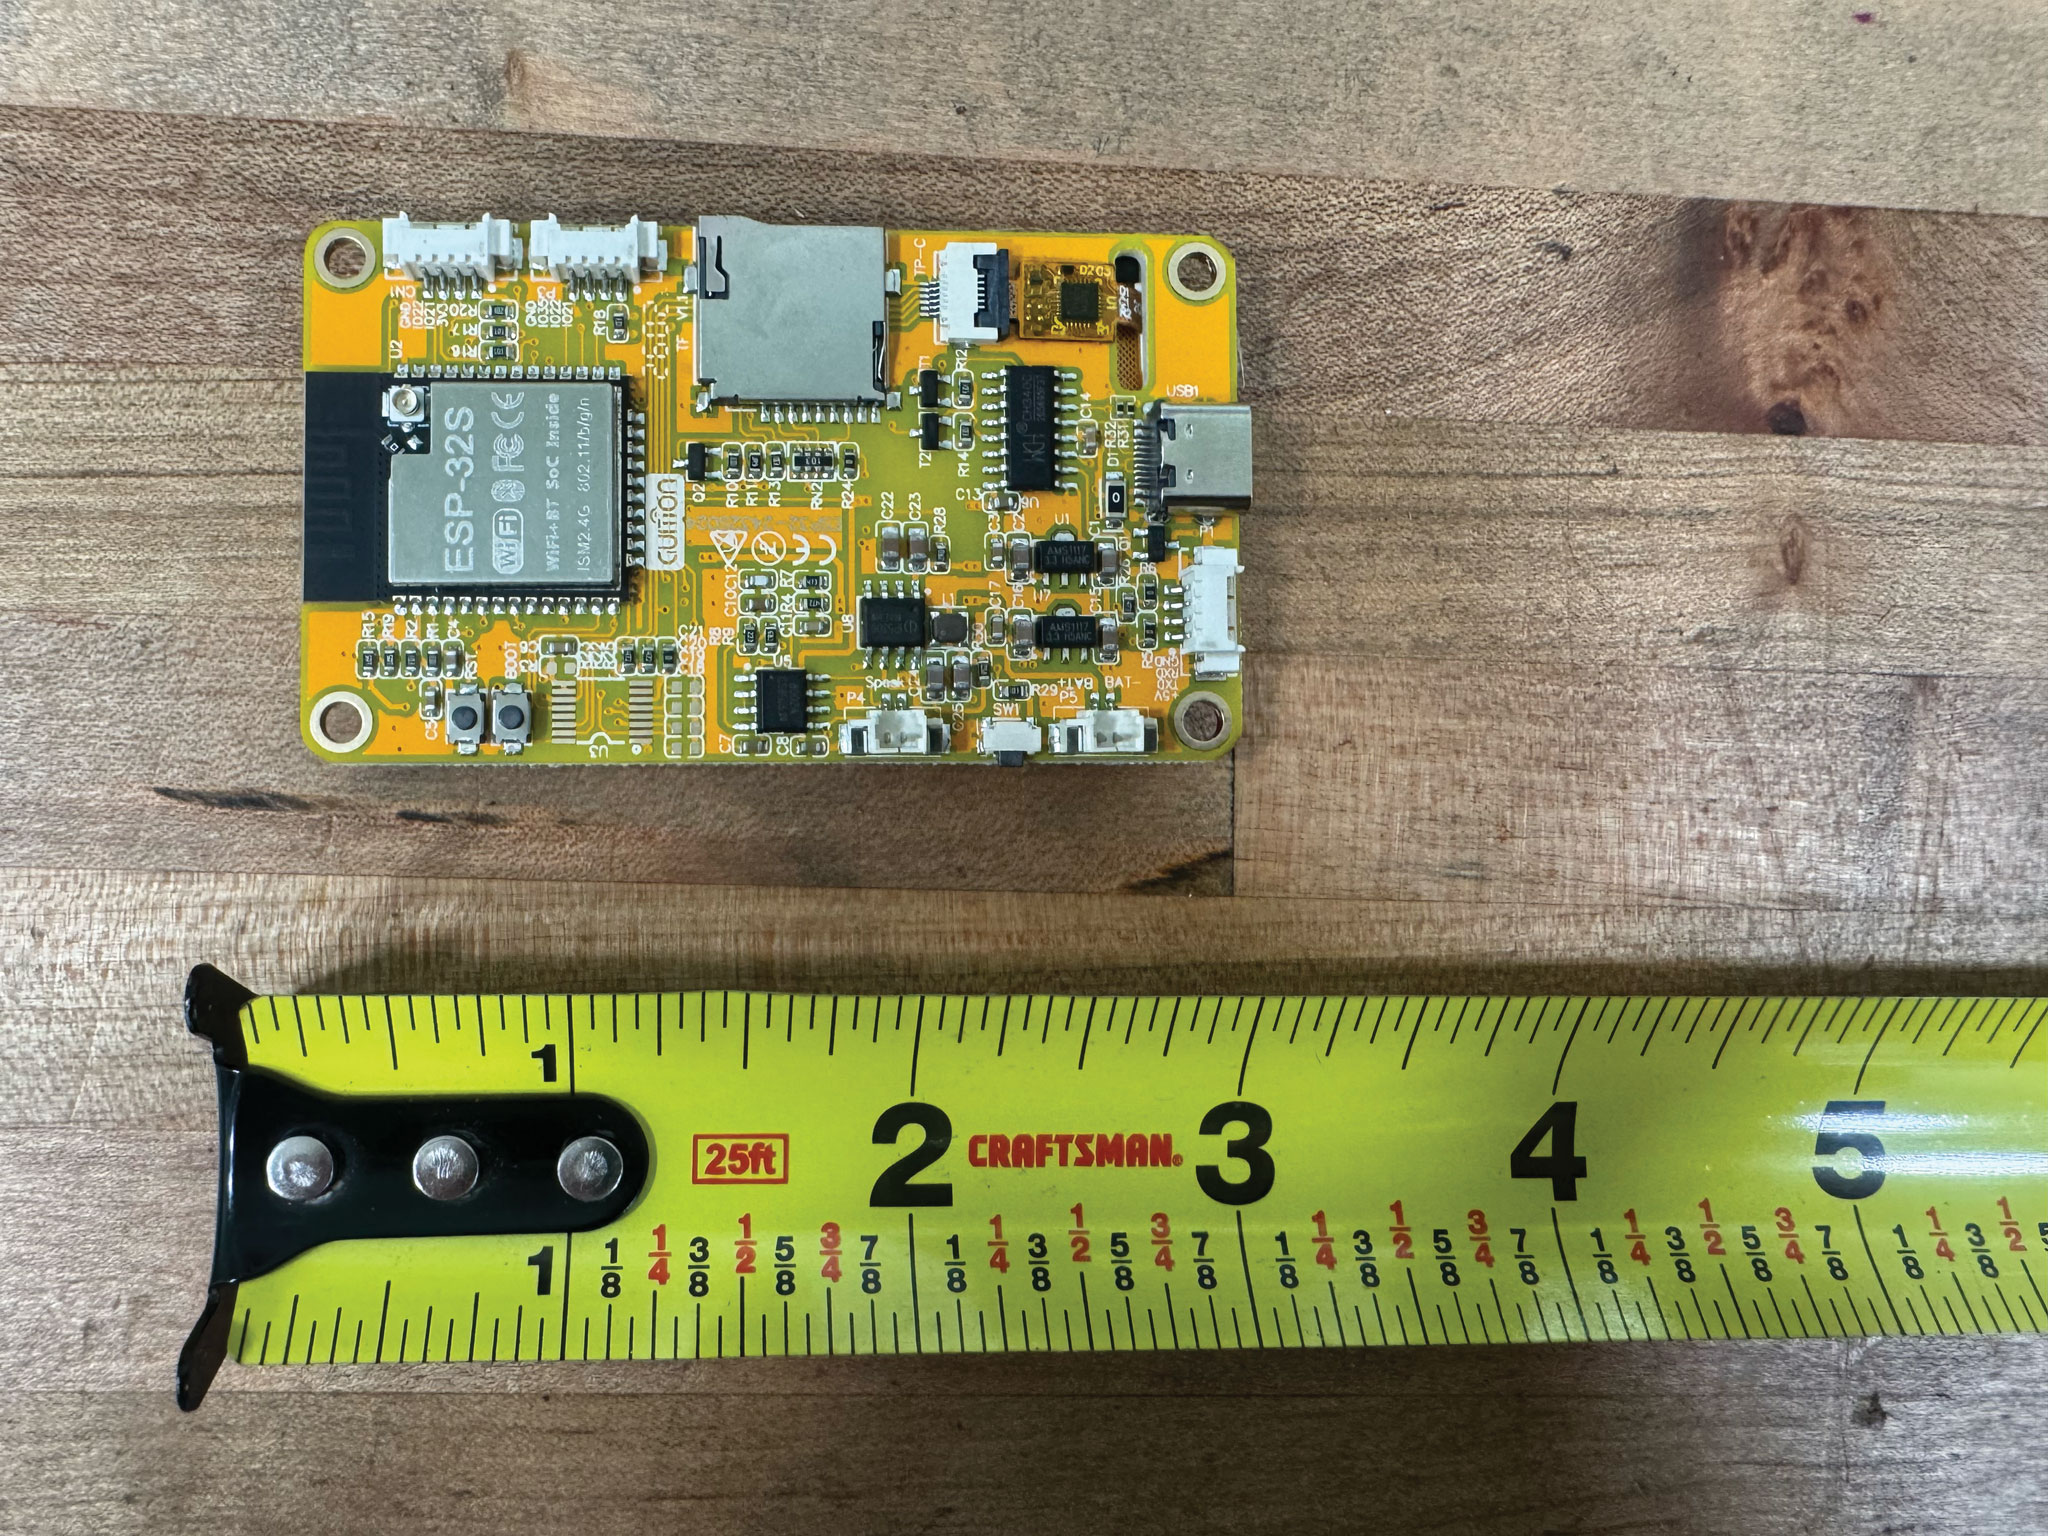
2.4″ Display (Sunton)
Sunton ESP32-2432S024CThe capacitive-touch version (model number ends in “C”). Not the same board as the 2.8″ below.
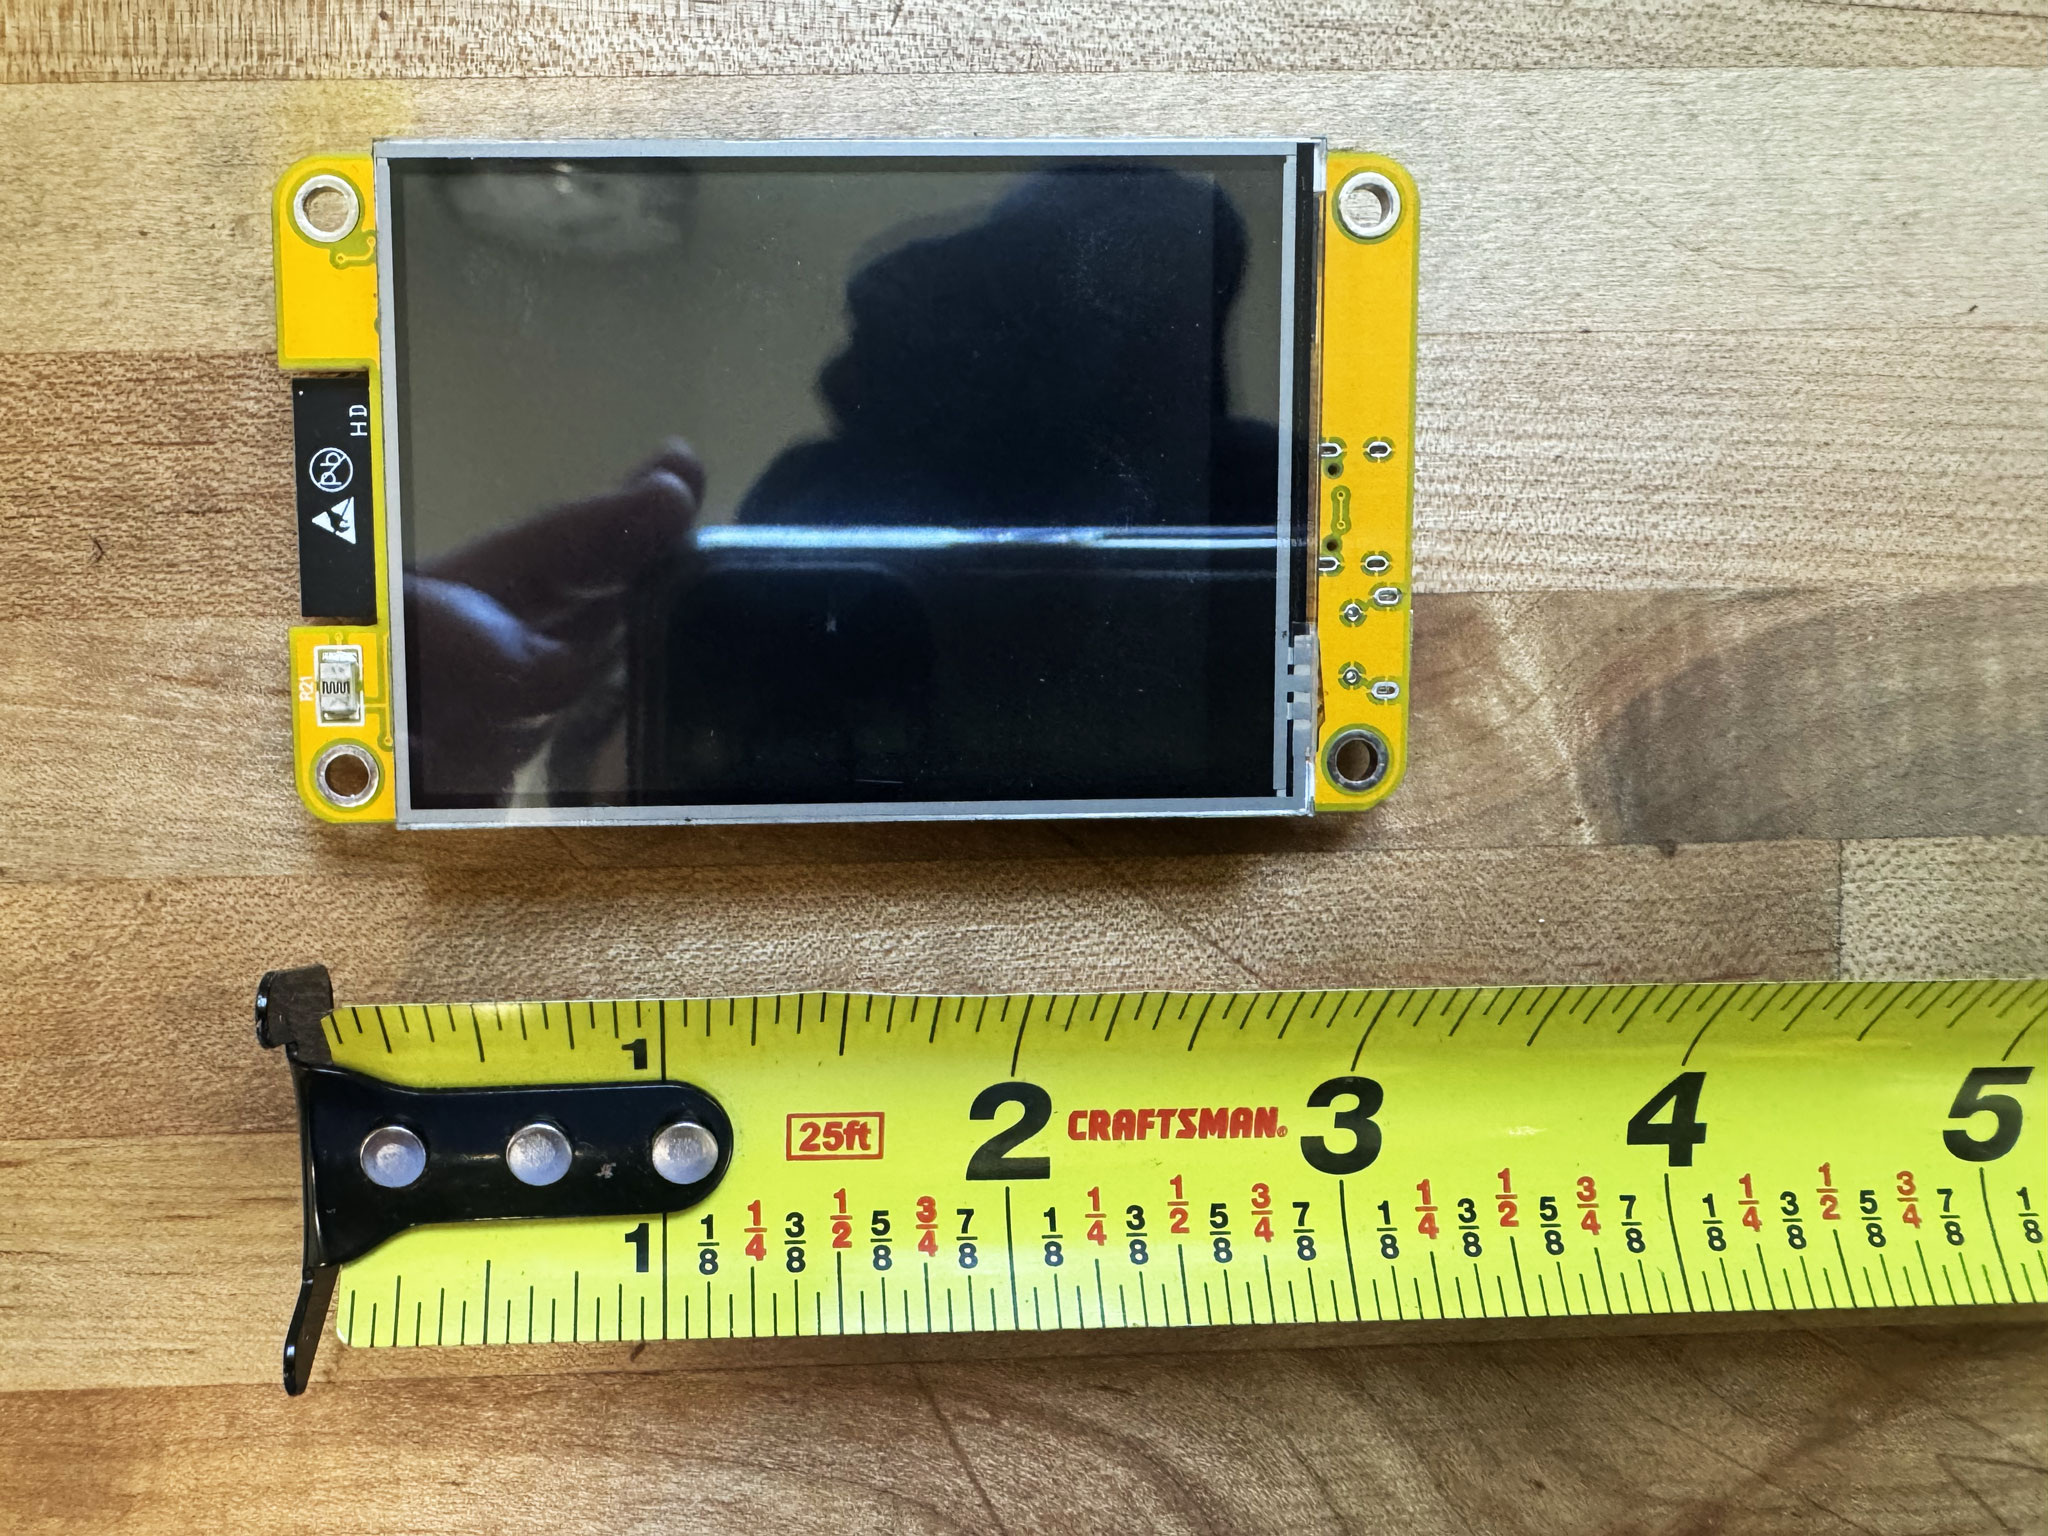
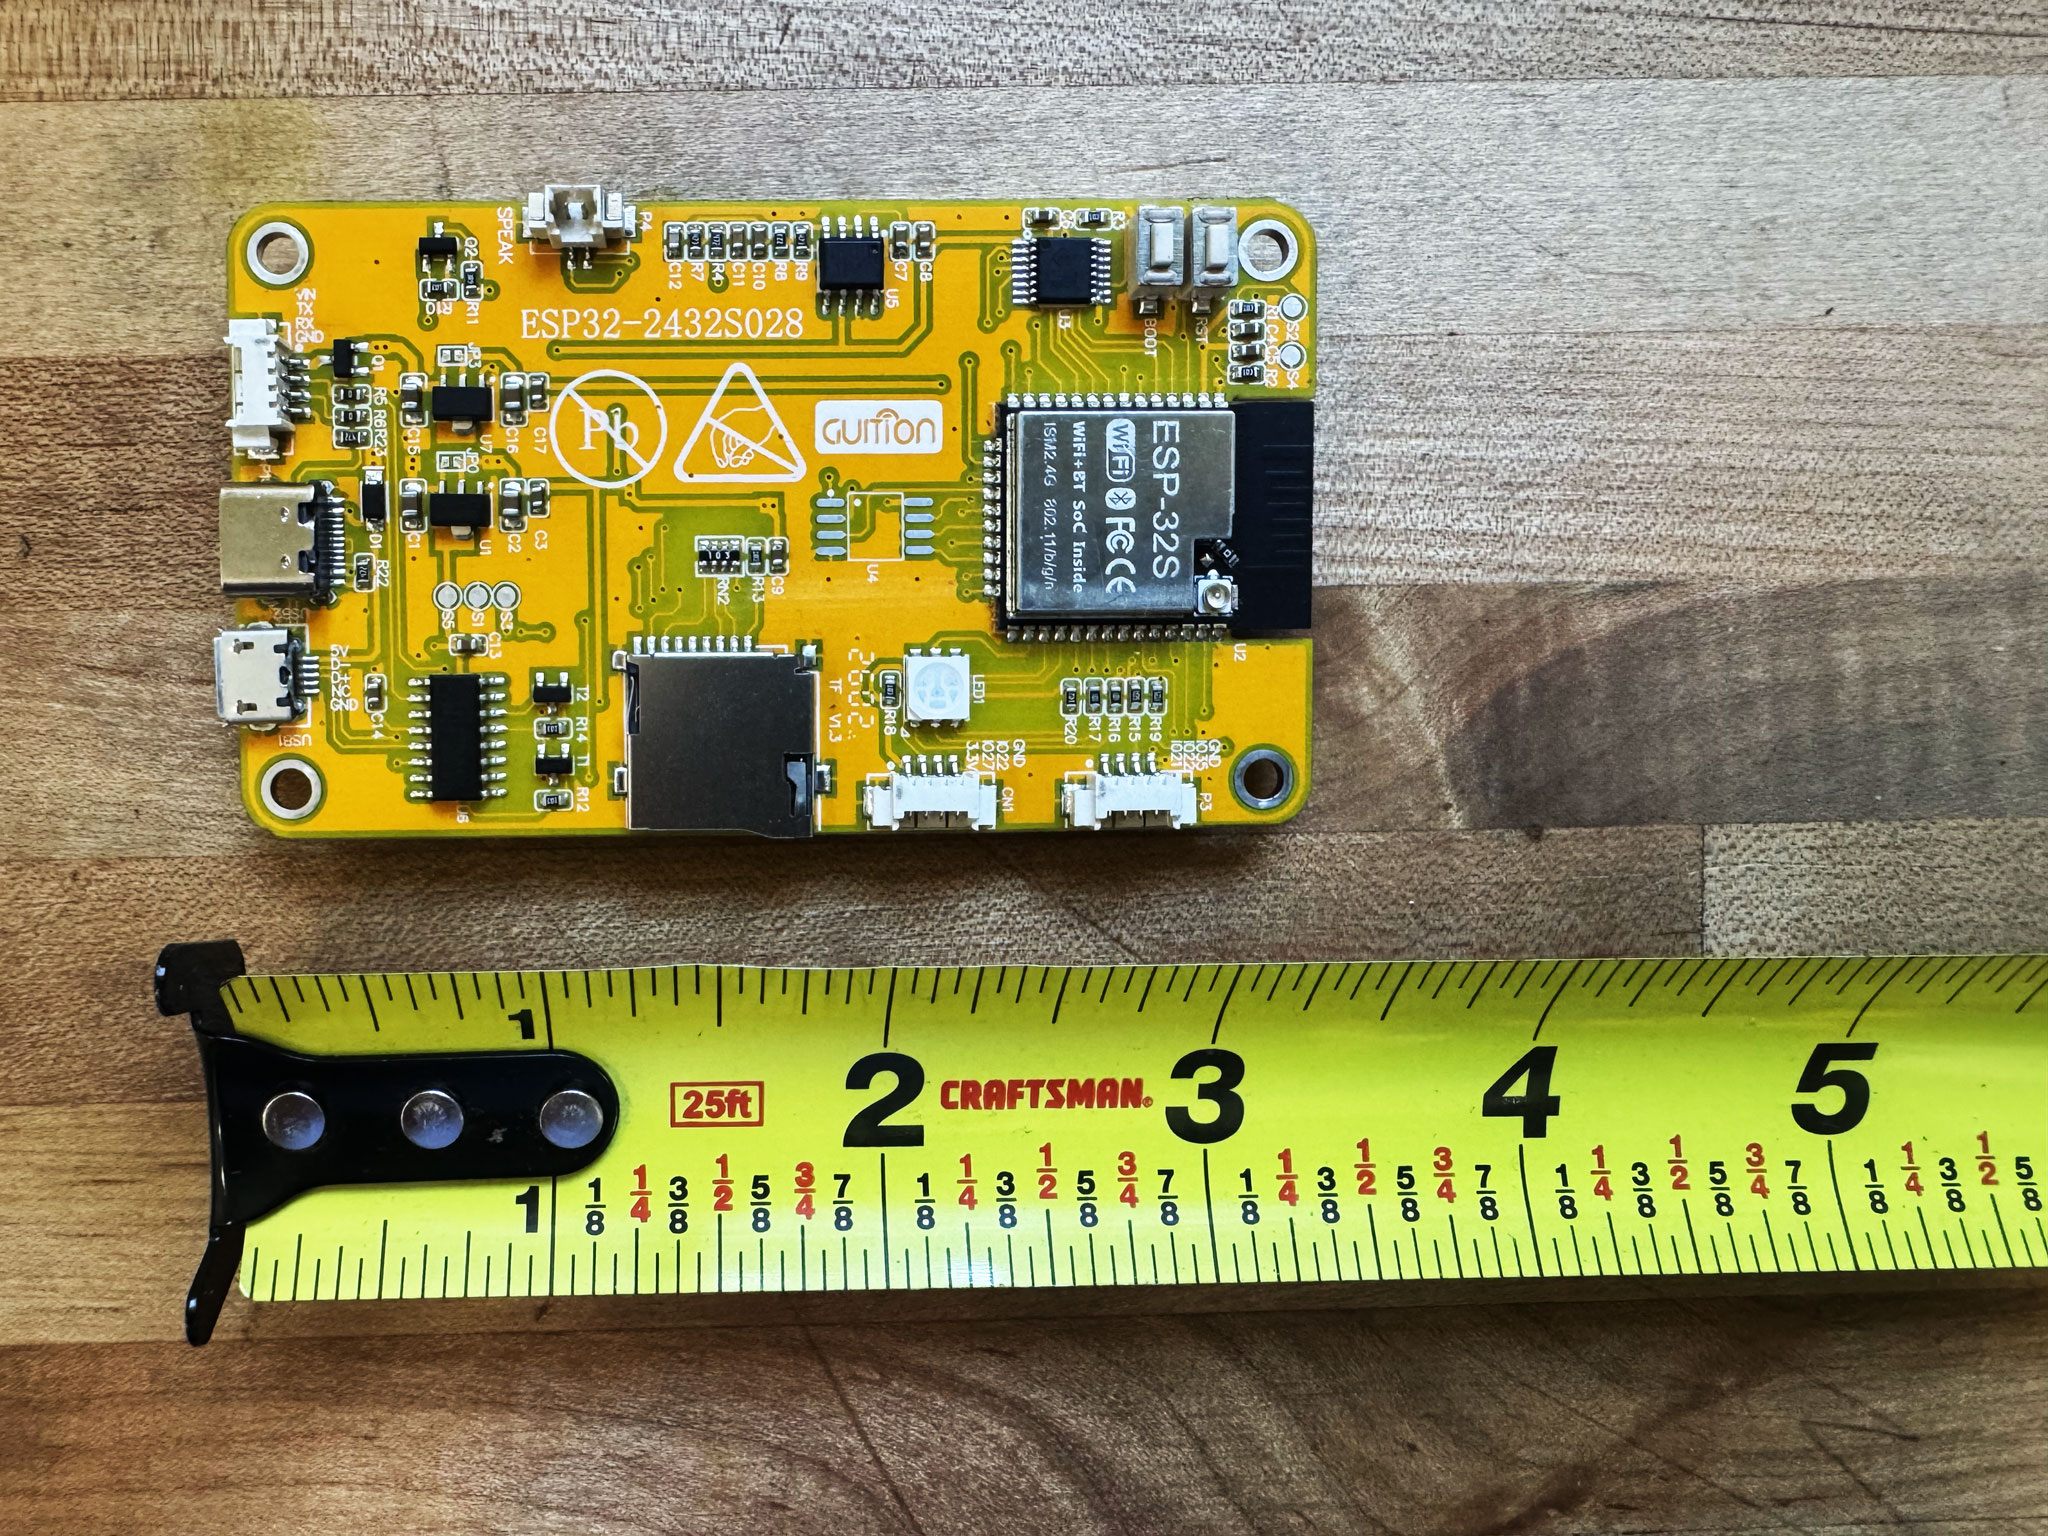
2.8″ Display
ESP32-2432S028R (“Cheap Yellow Display” / CYD)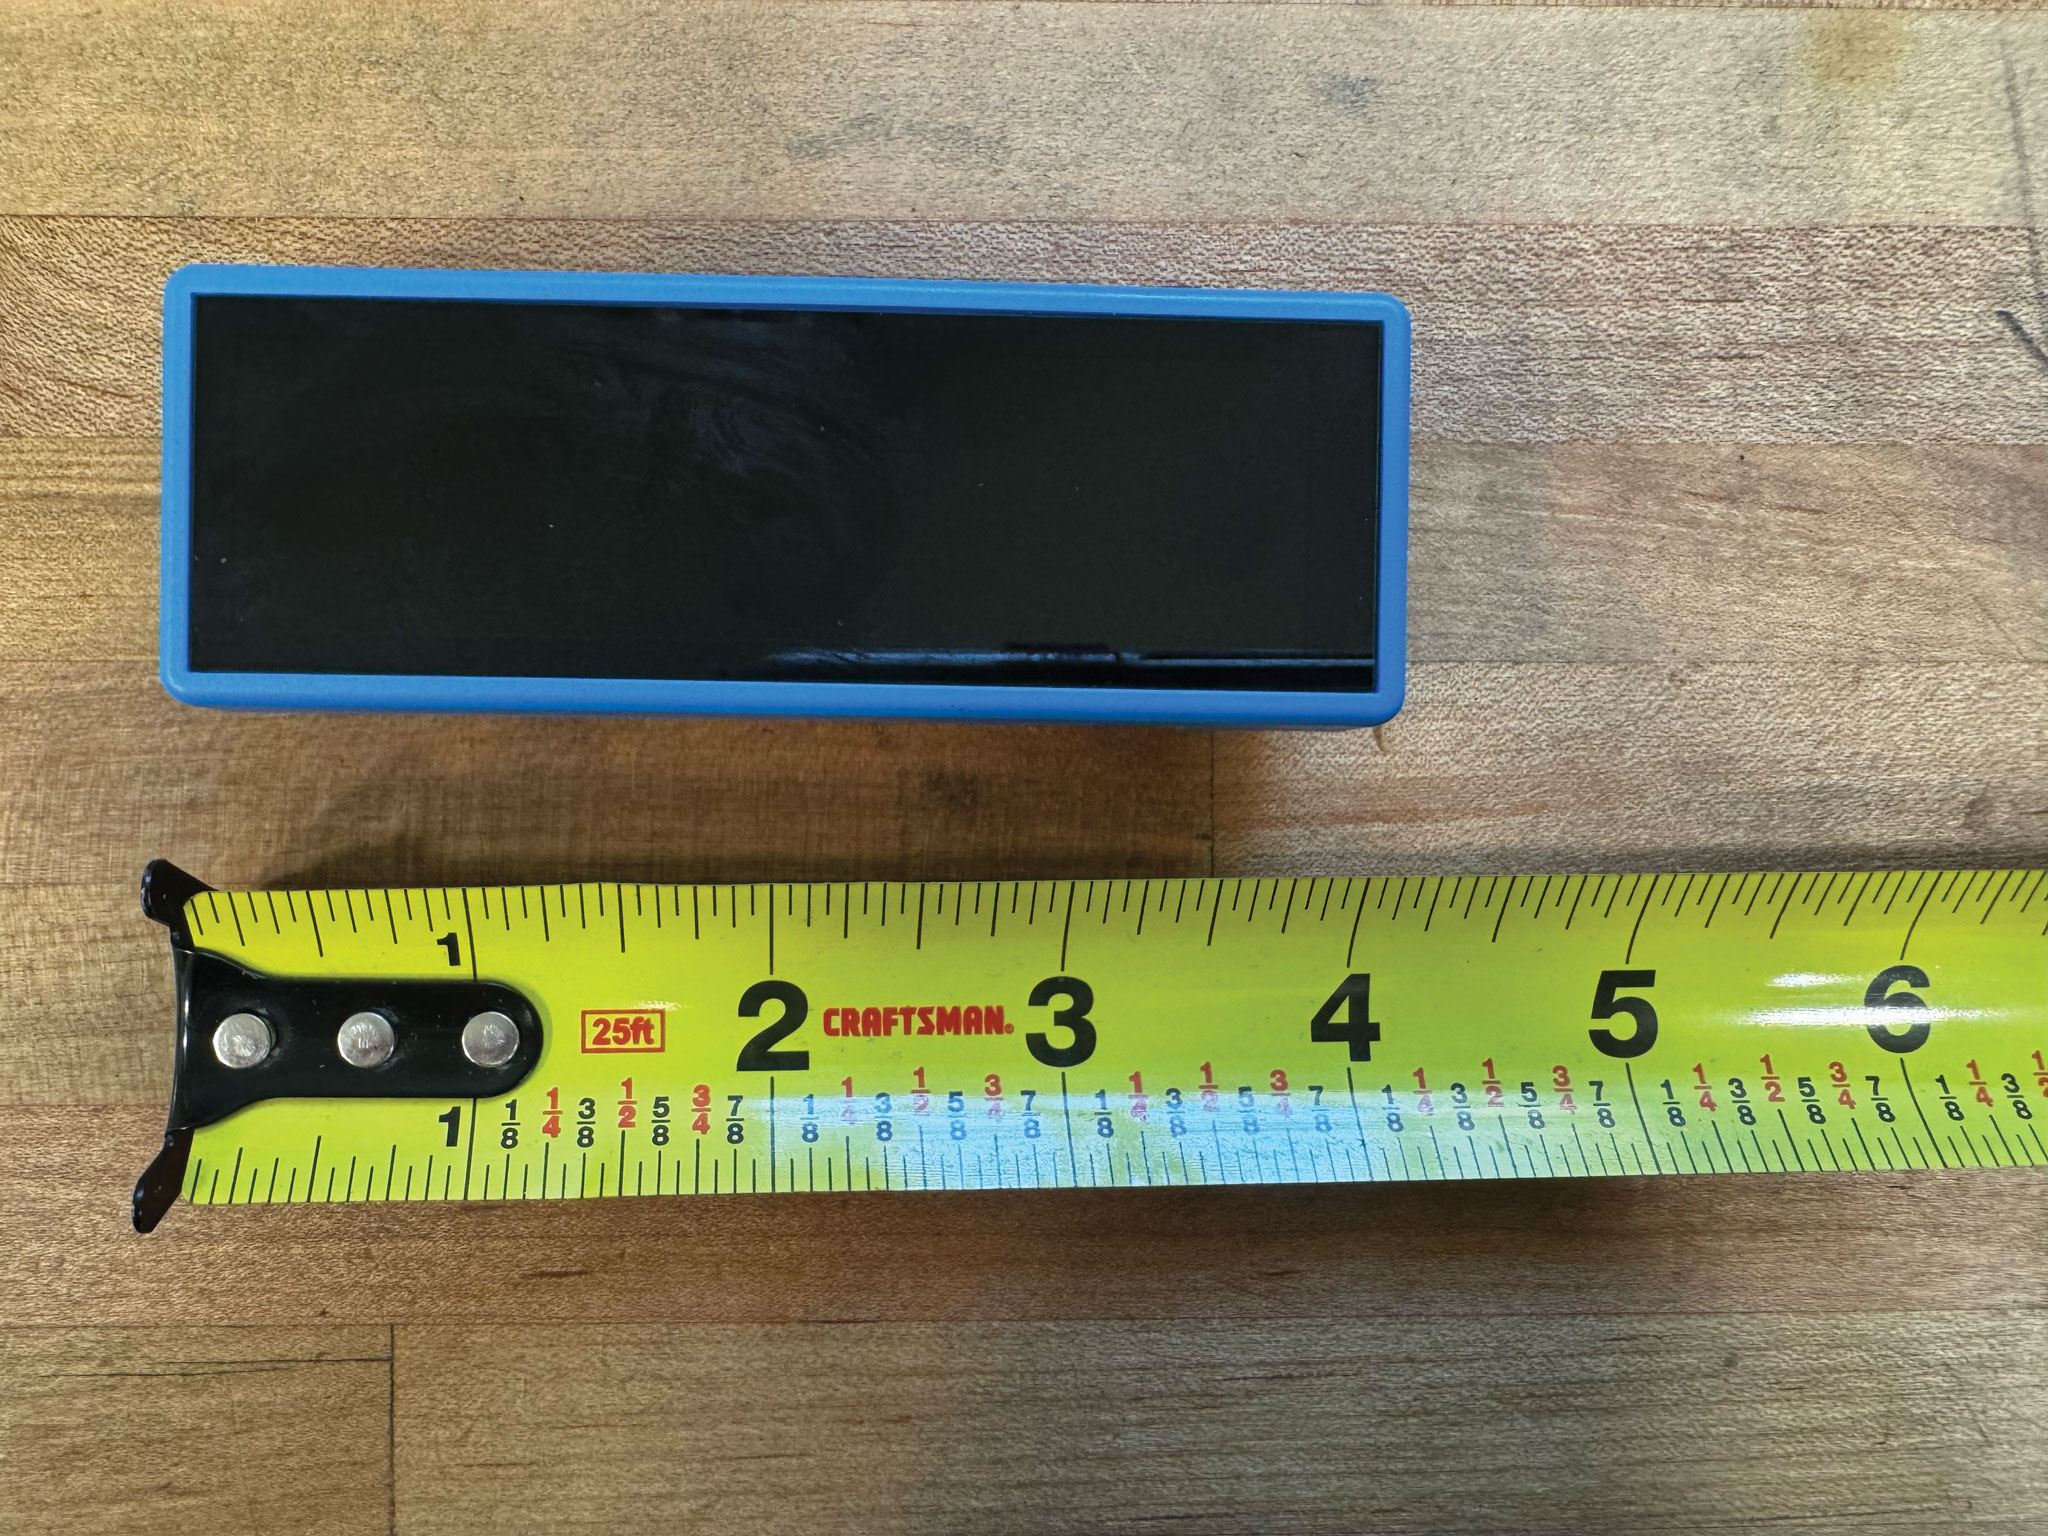
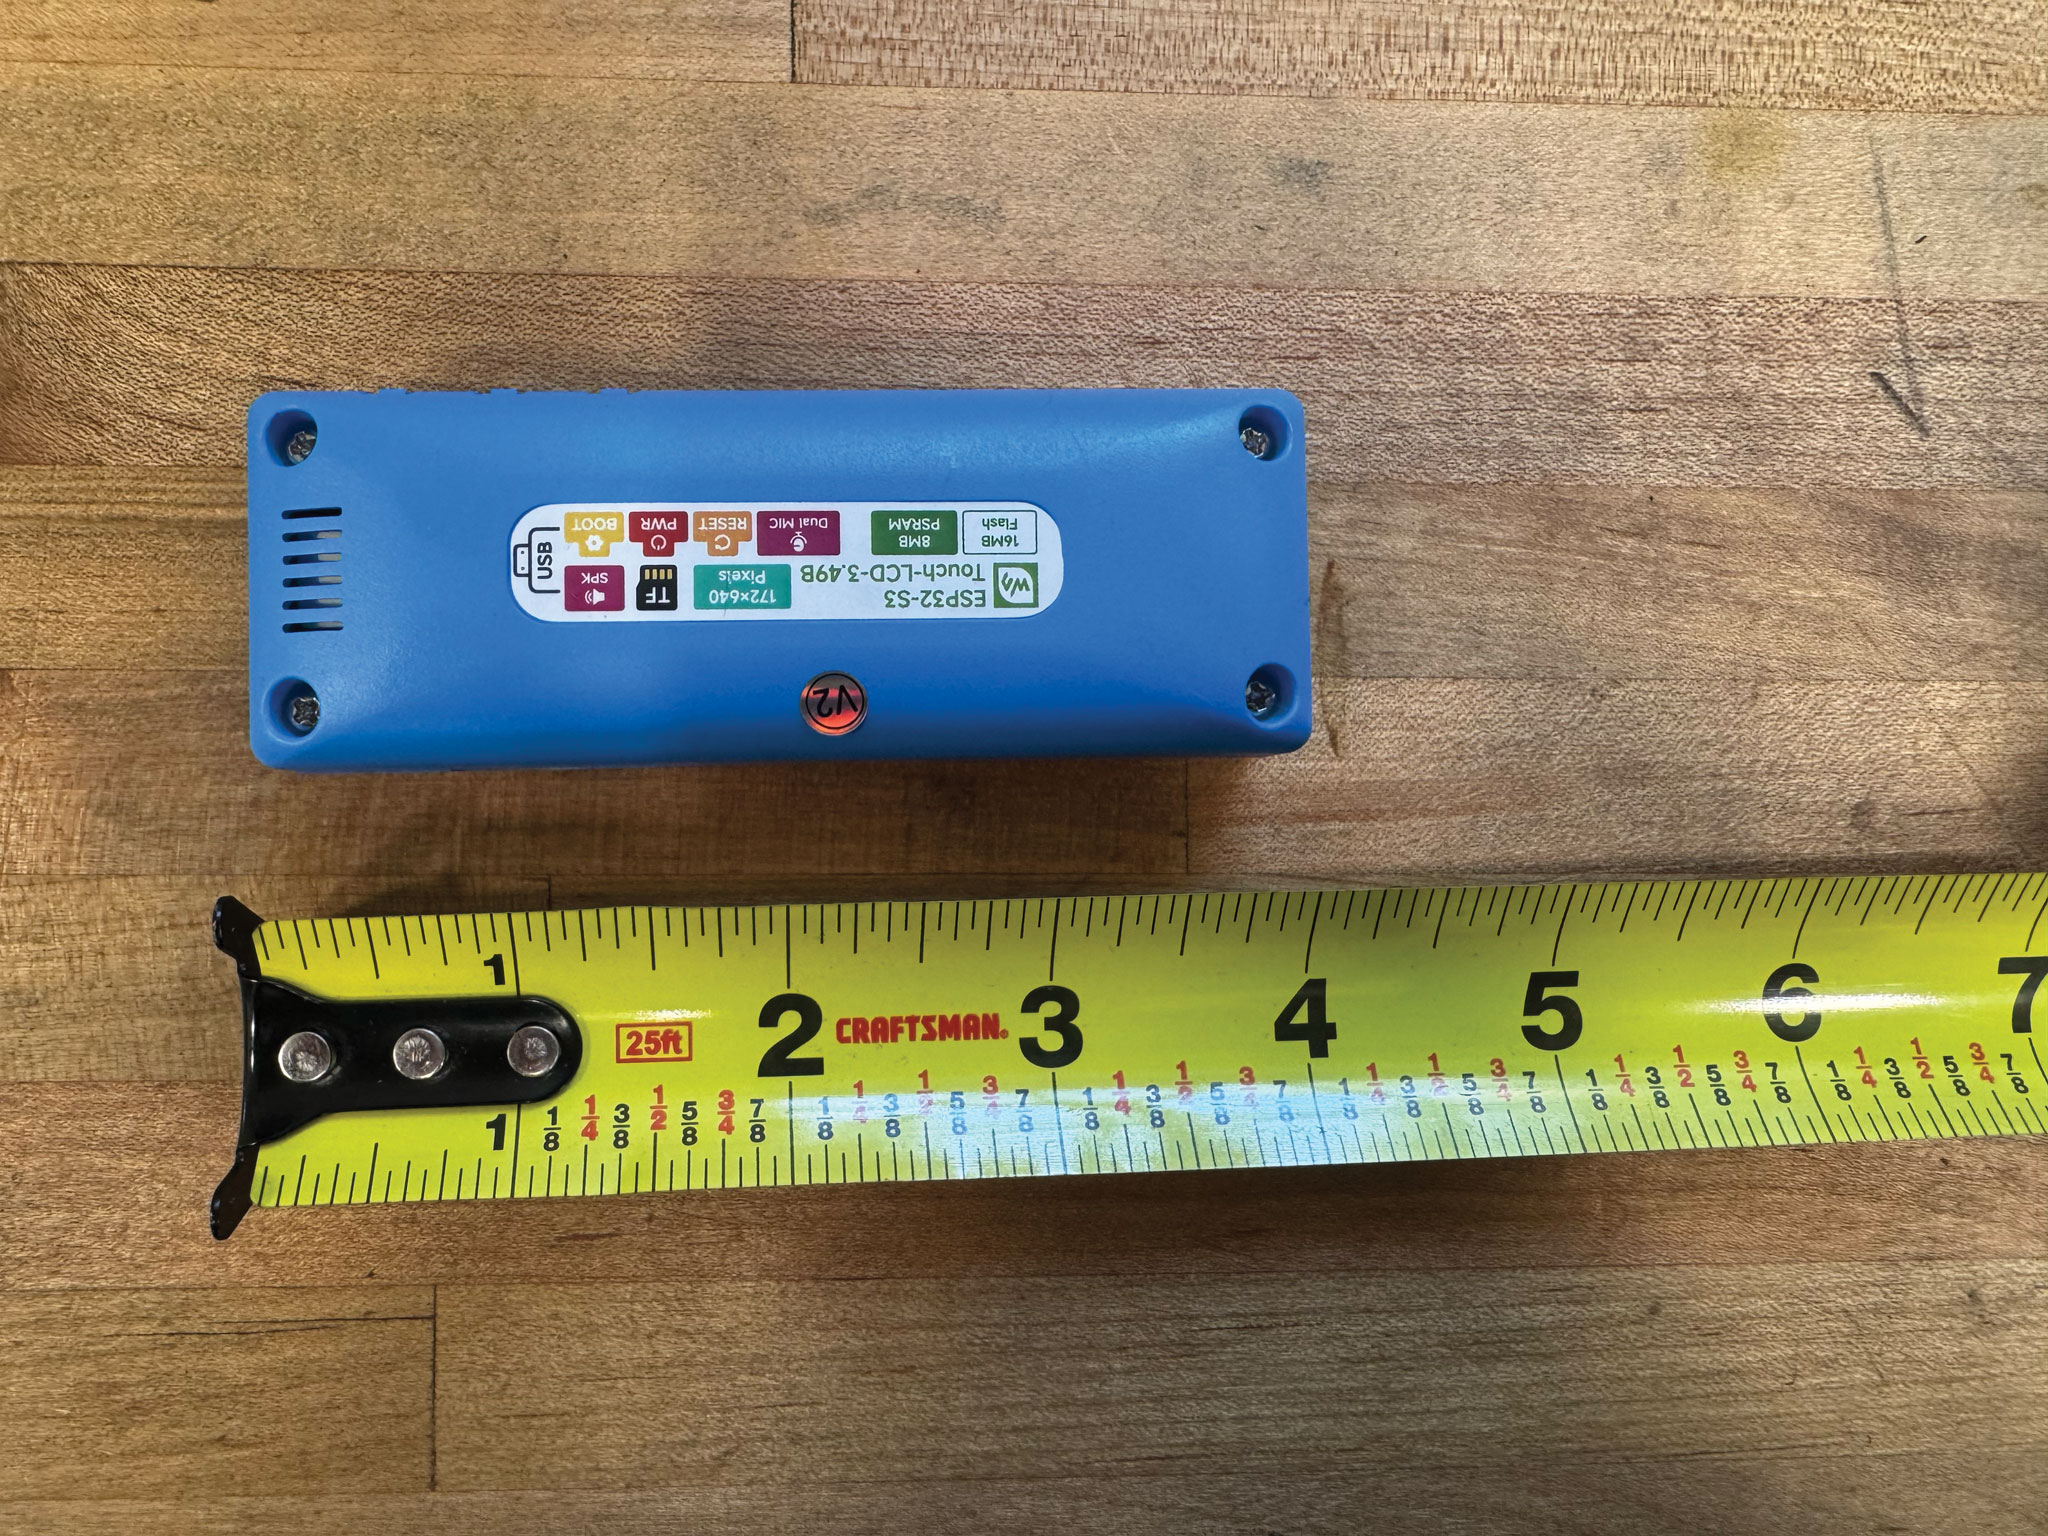
3.49″ Bar Display (Waveshare)
Waveshare ESP32-S3-Touch-LCD-3.49 (V2)V2 board only (PCB Rev1.1, “V2” label on the case); the original V1 isn’t supported. One USB-C port, used for both flashing and normal operation. A wide bar: image cards like box art, logo and marquee fit well; text-heavy cards are small.
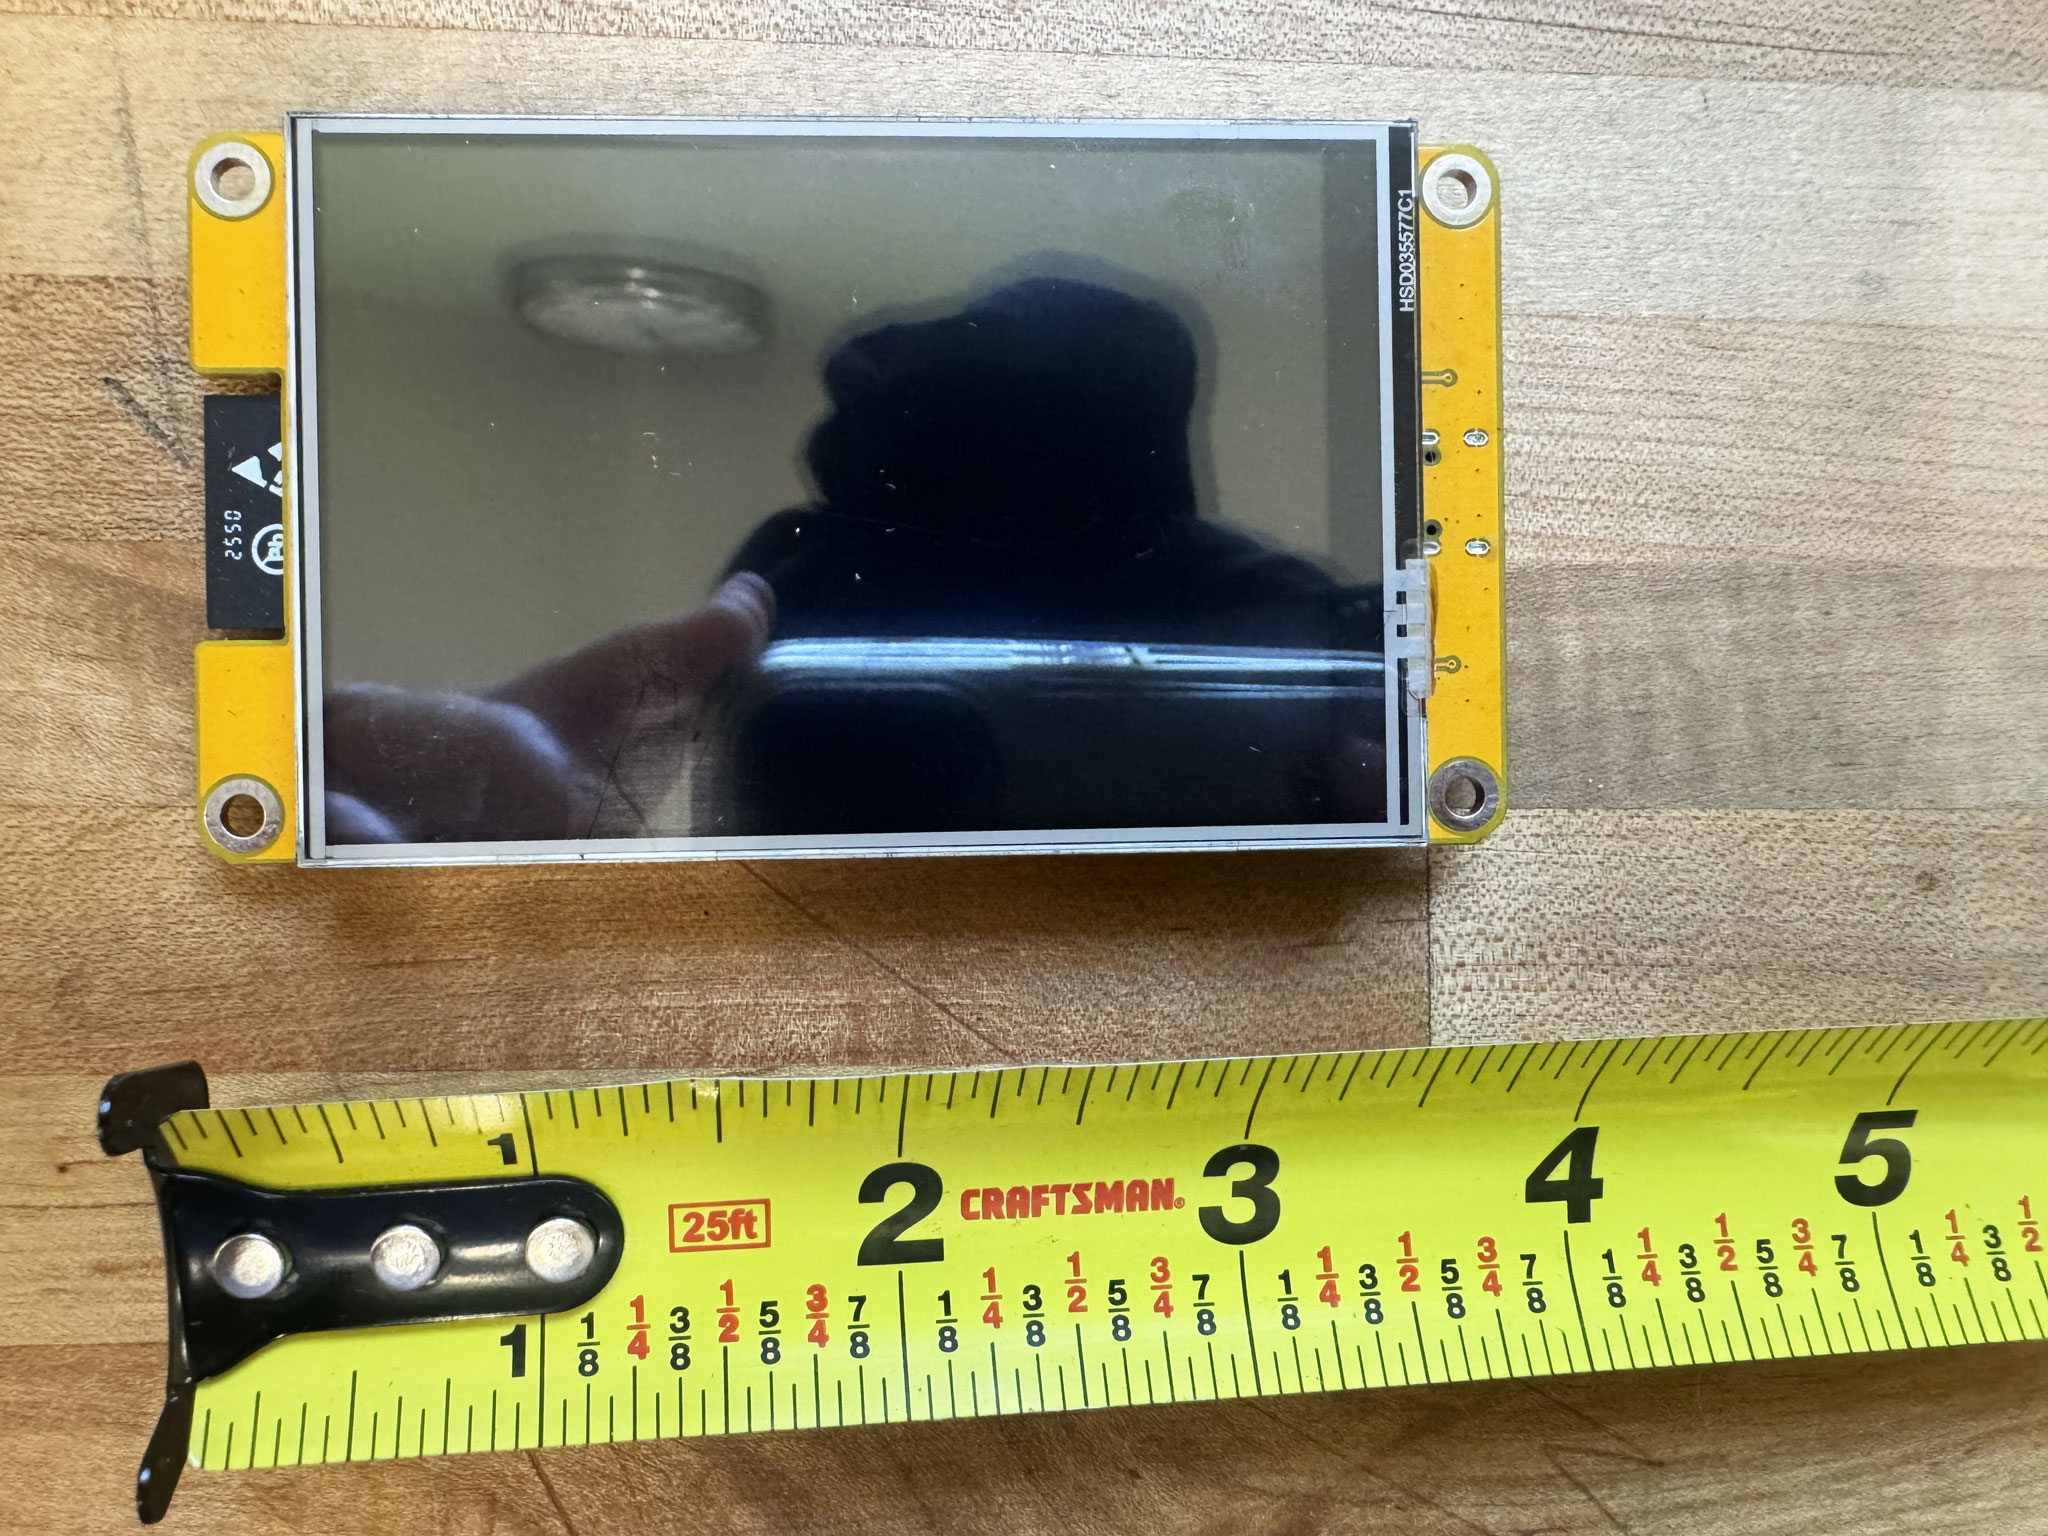
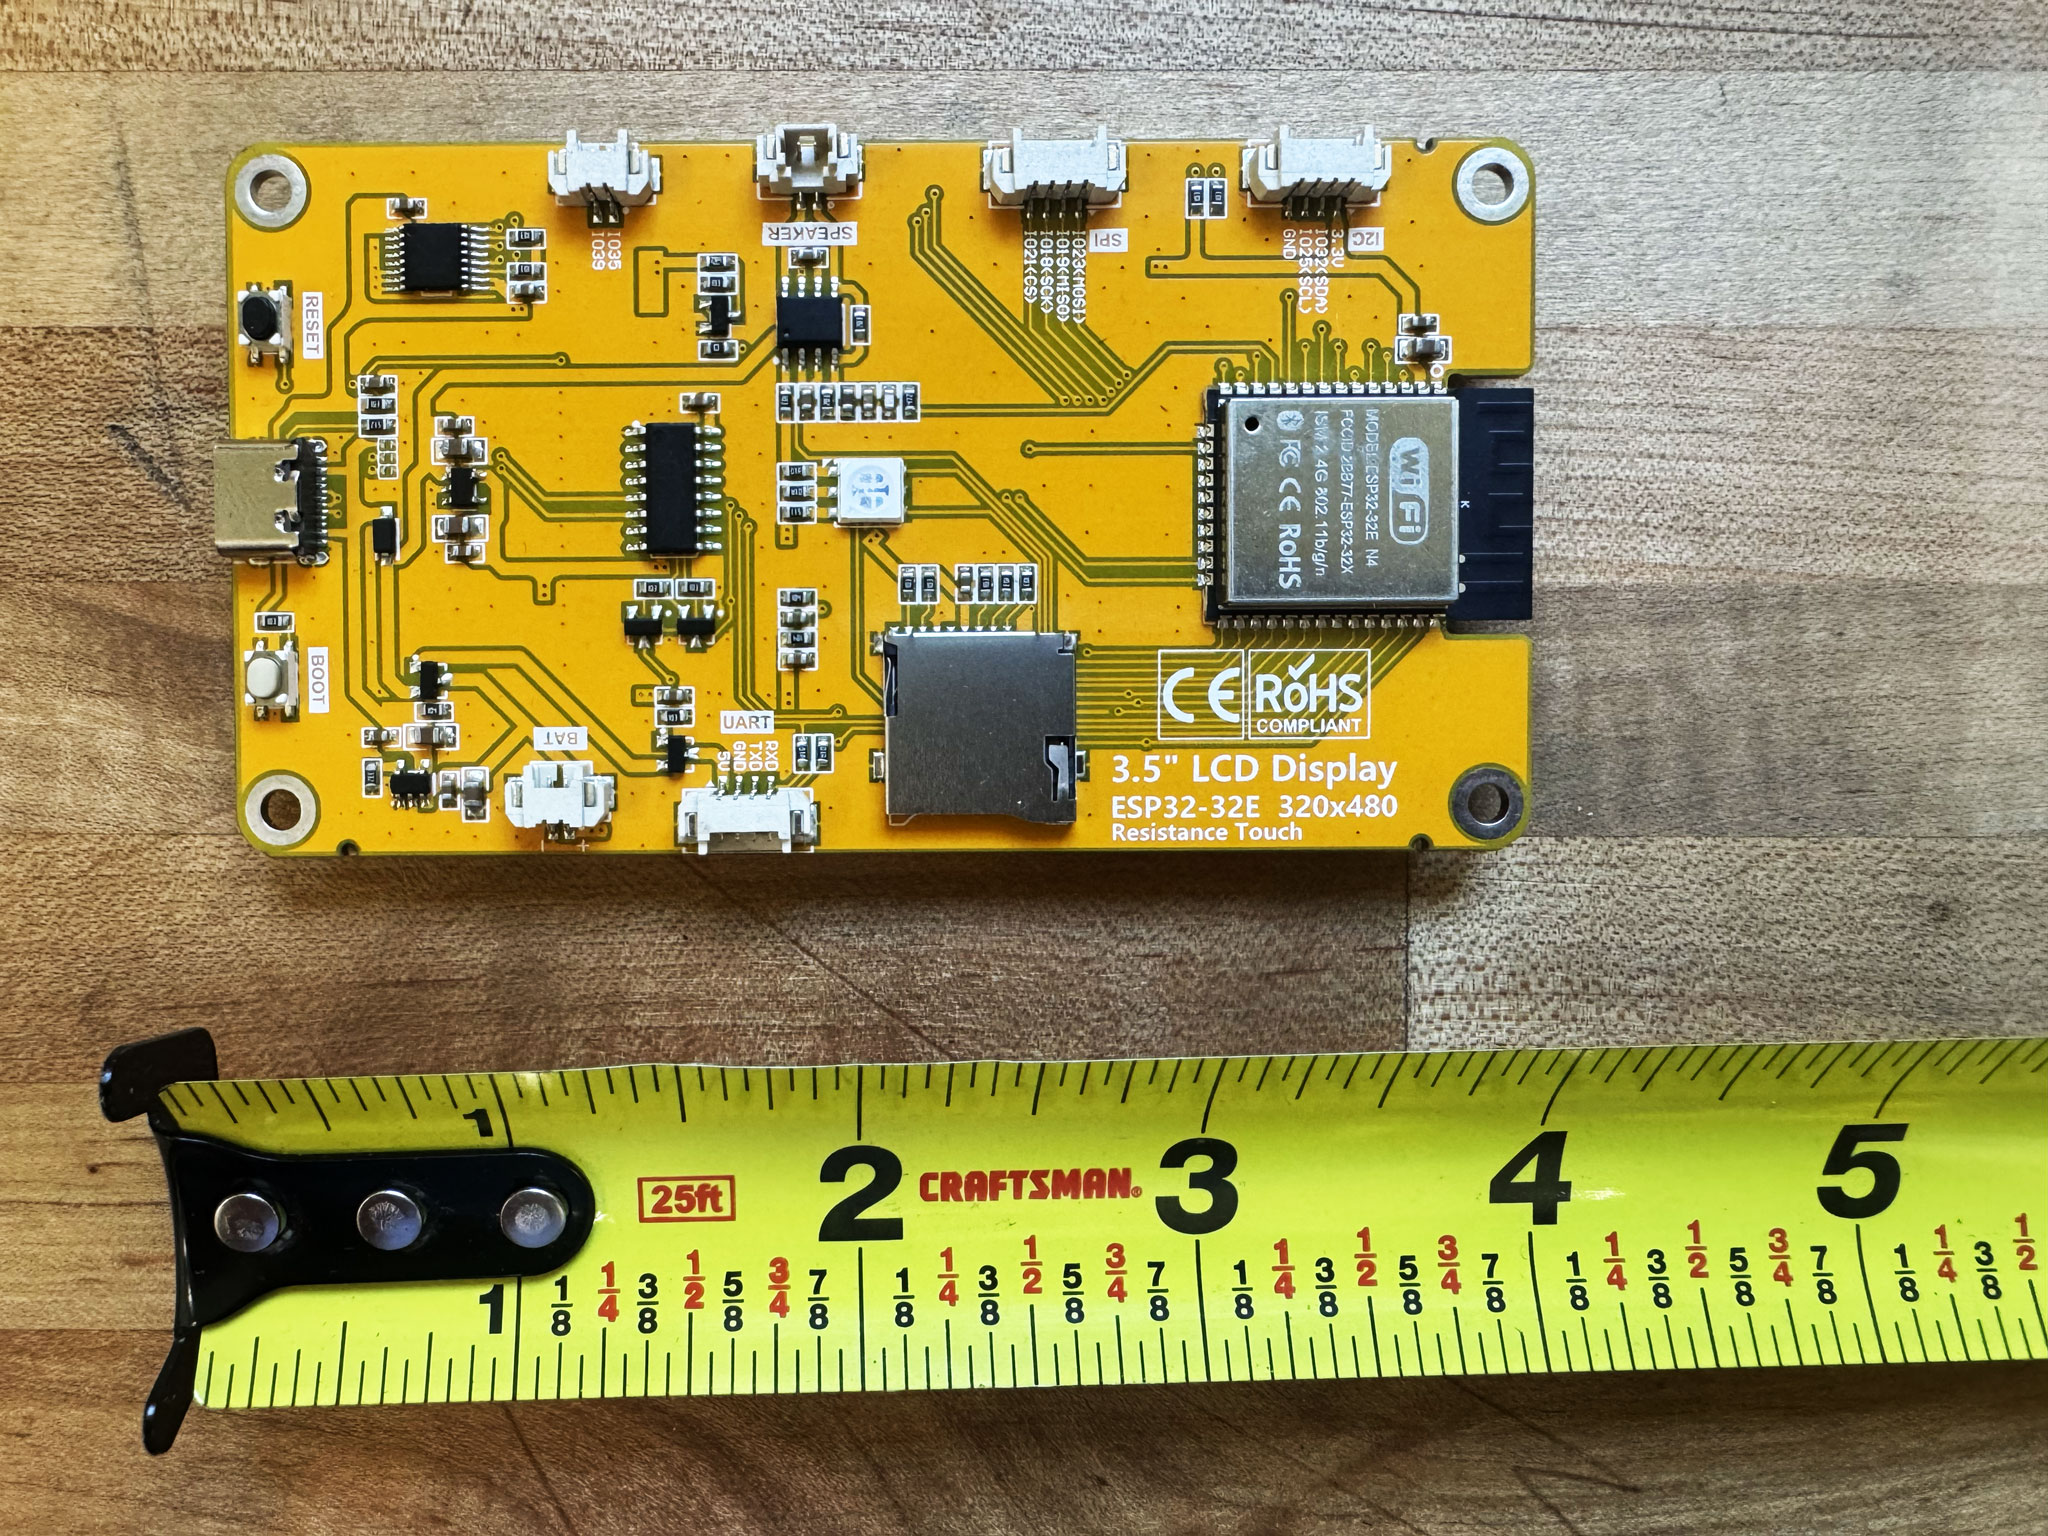
3.5″ Display (Resistive)
Sunton ESP32-3248S035RResistive touch is not good. 3D printable stand
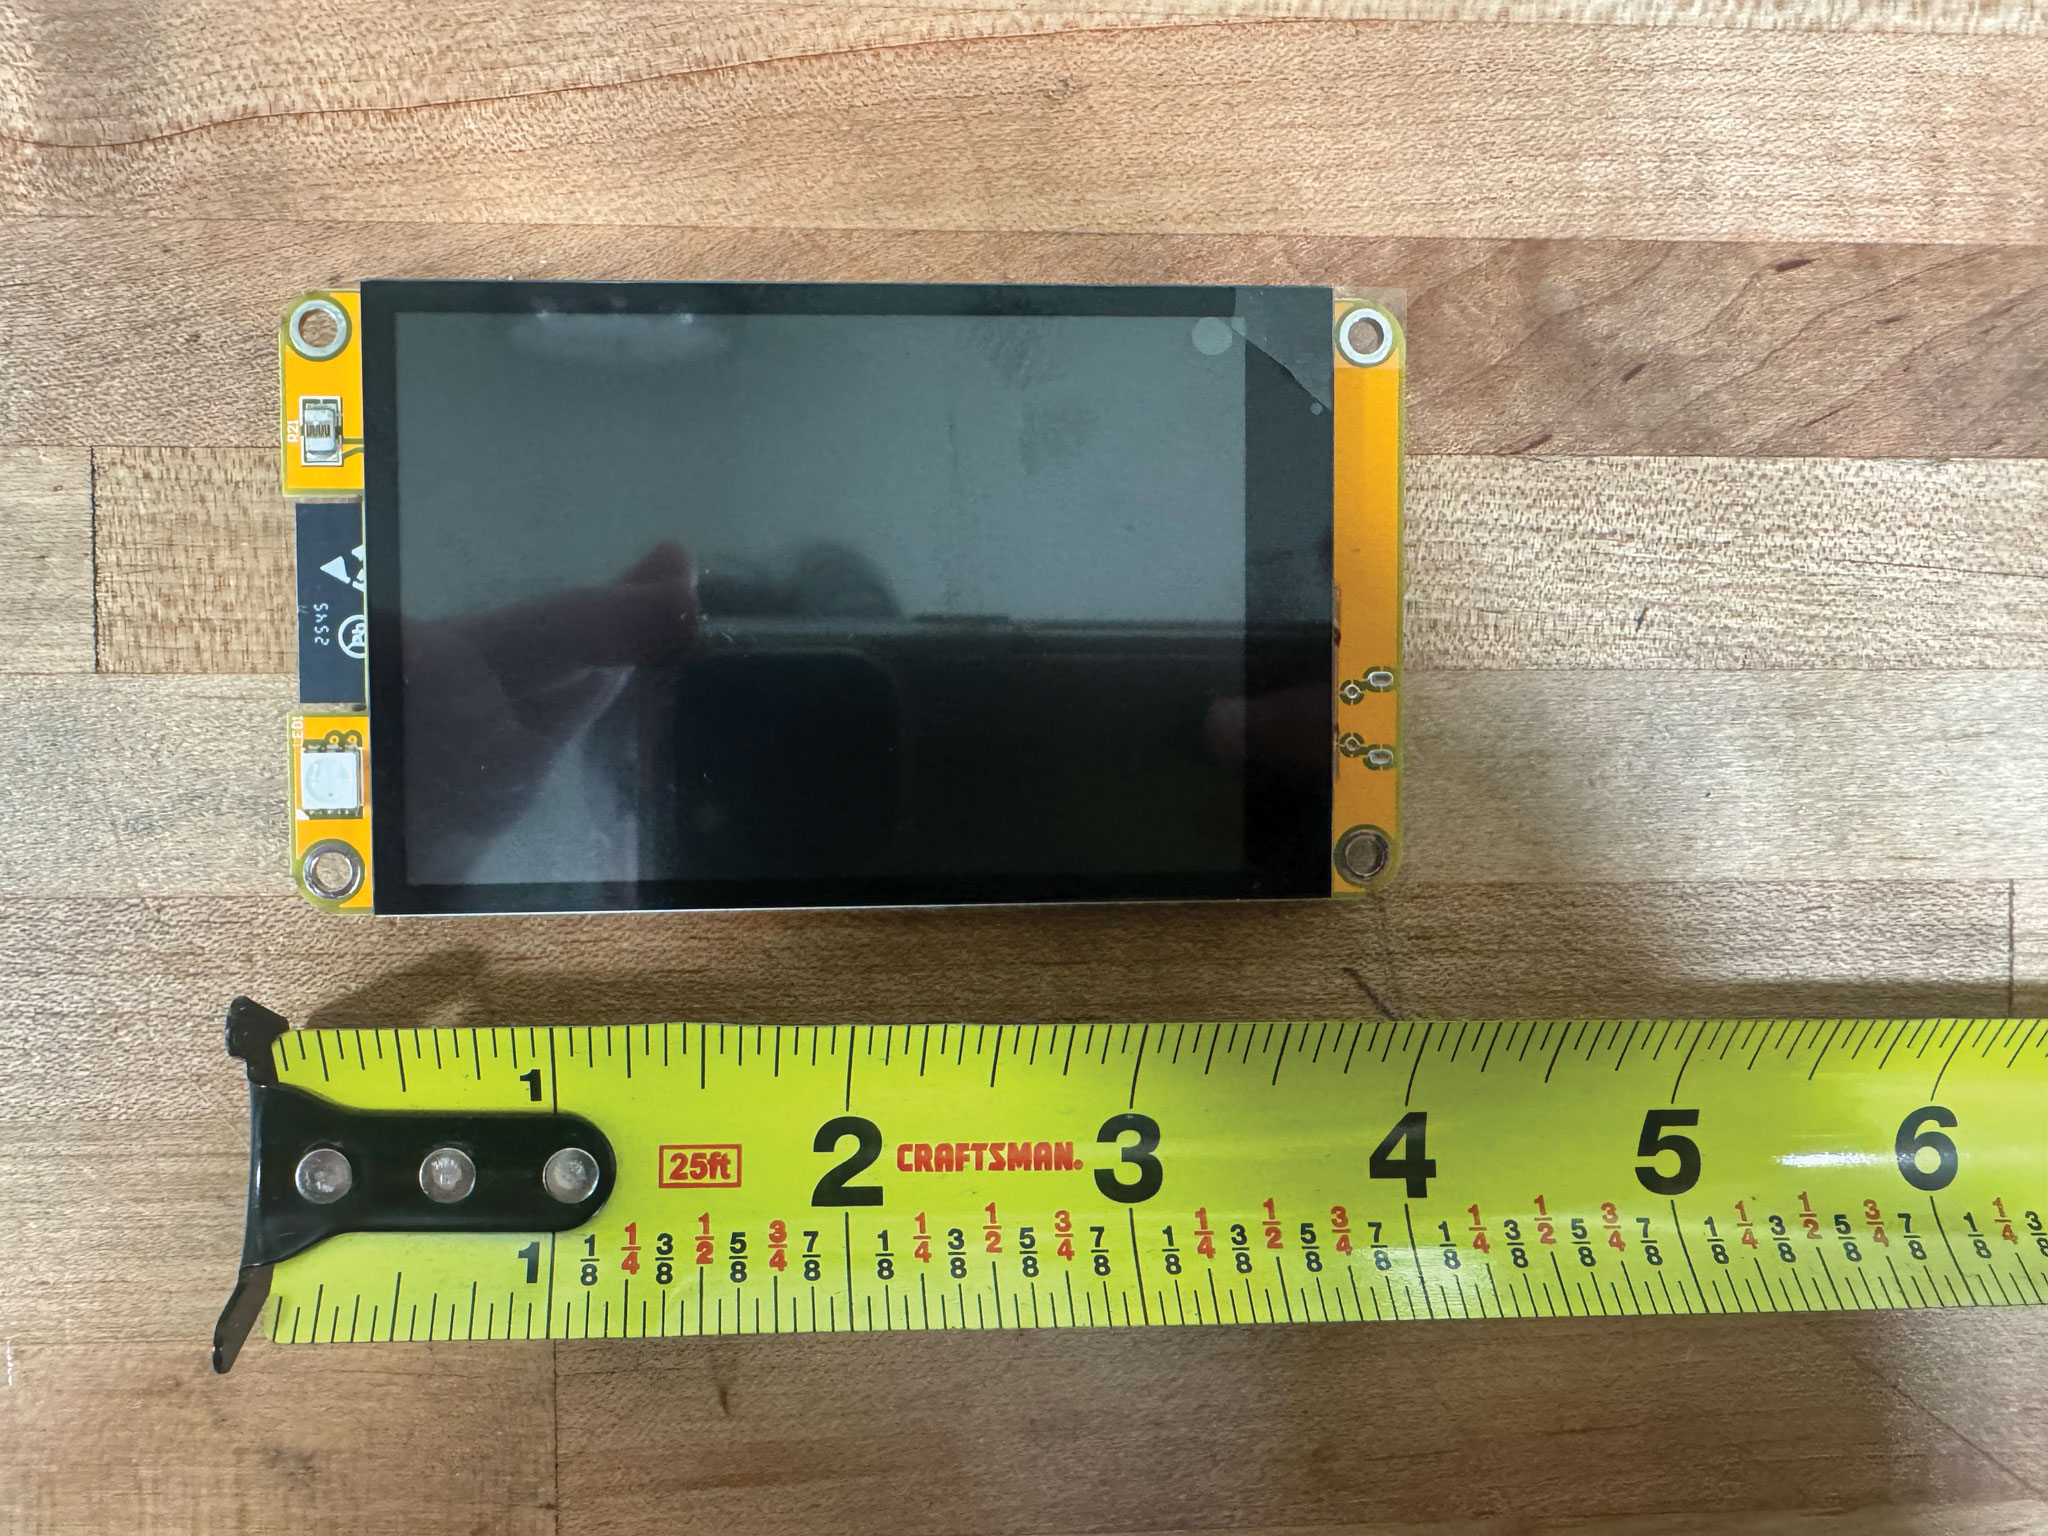
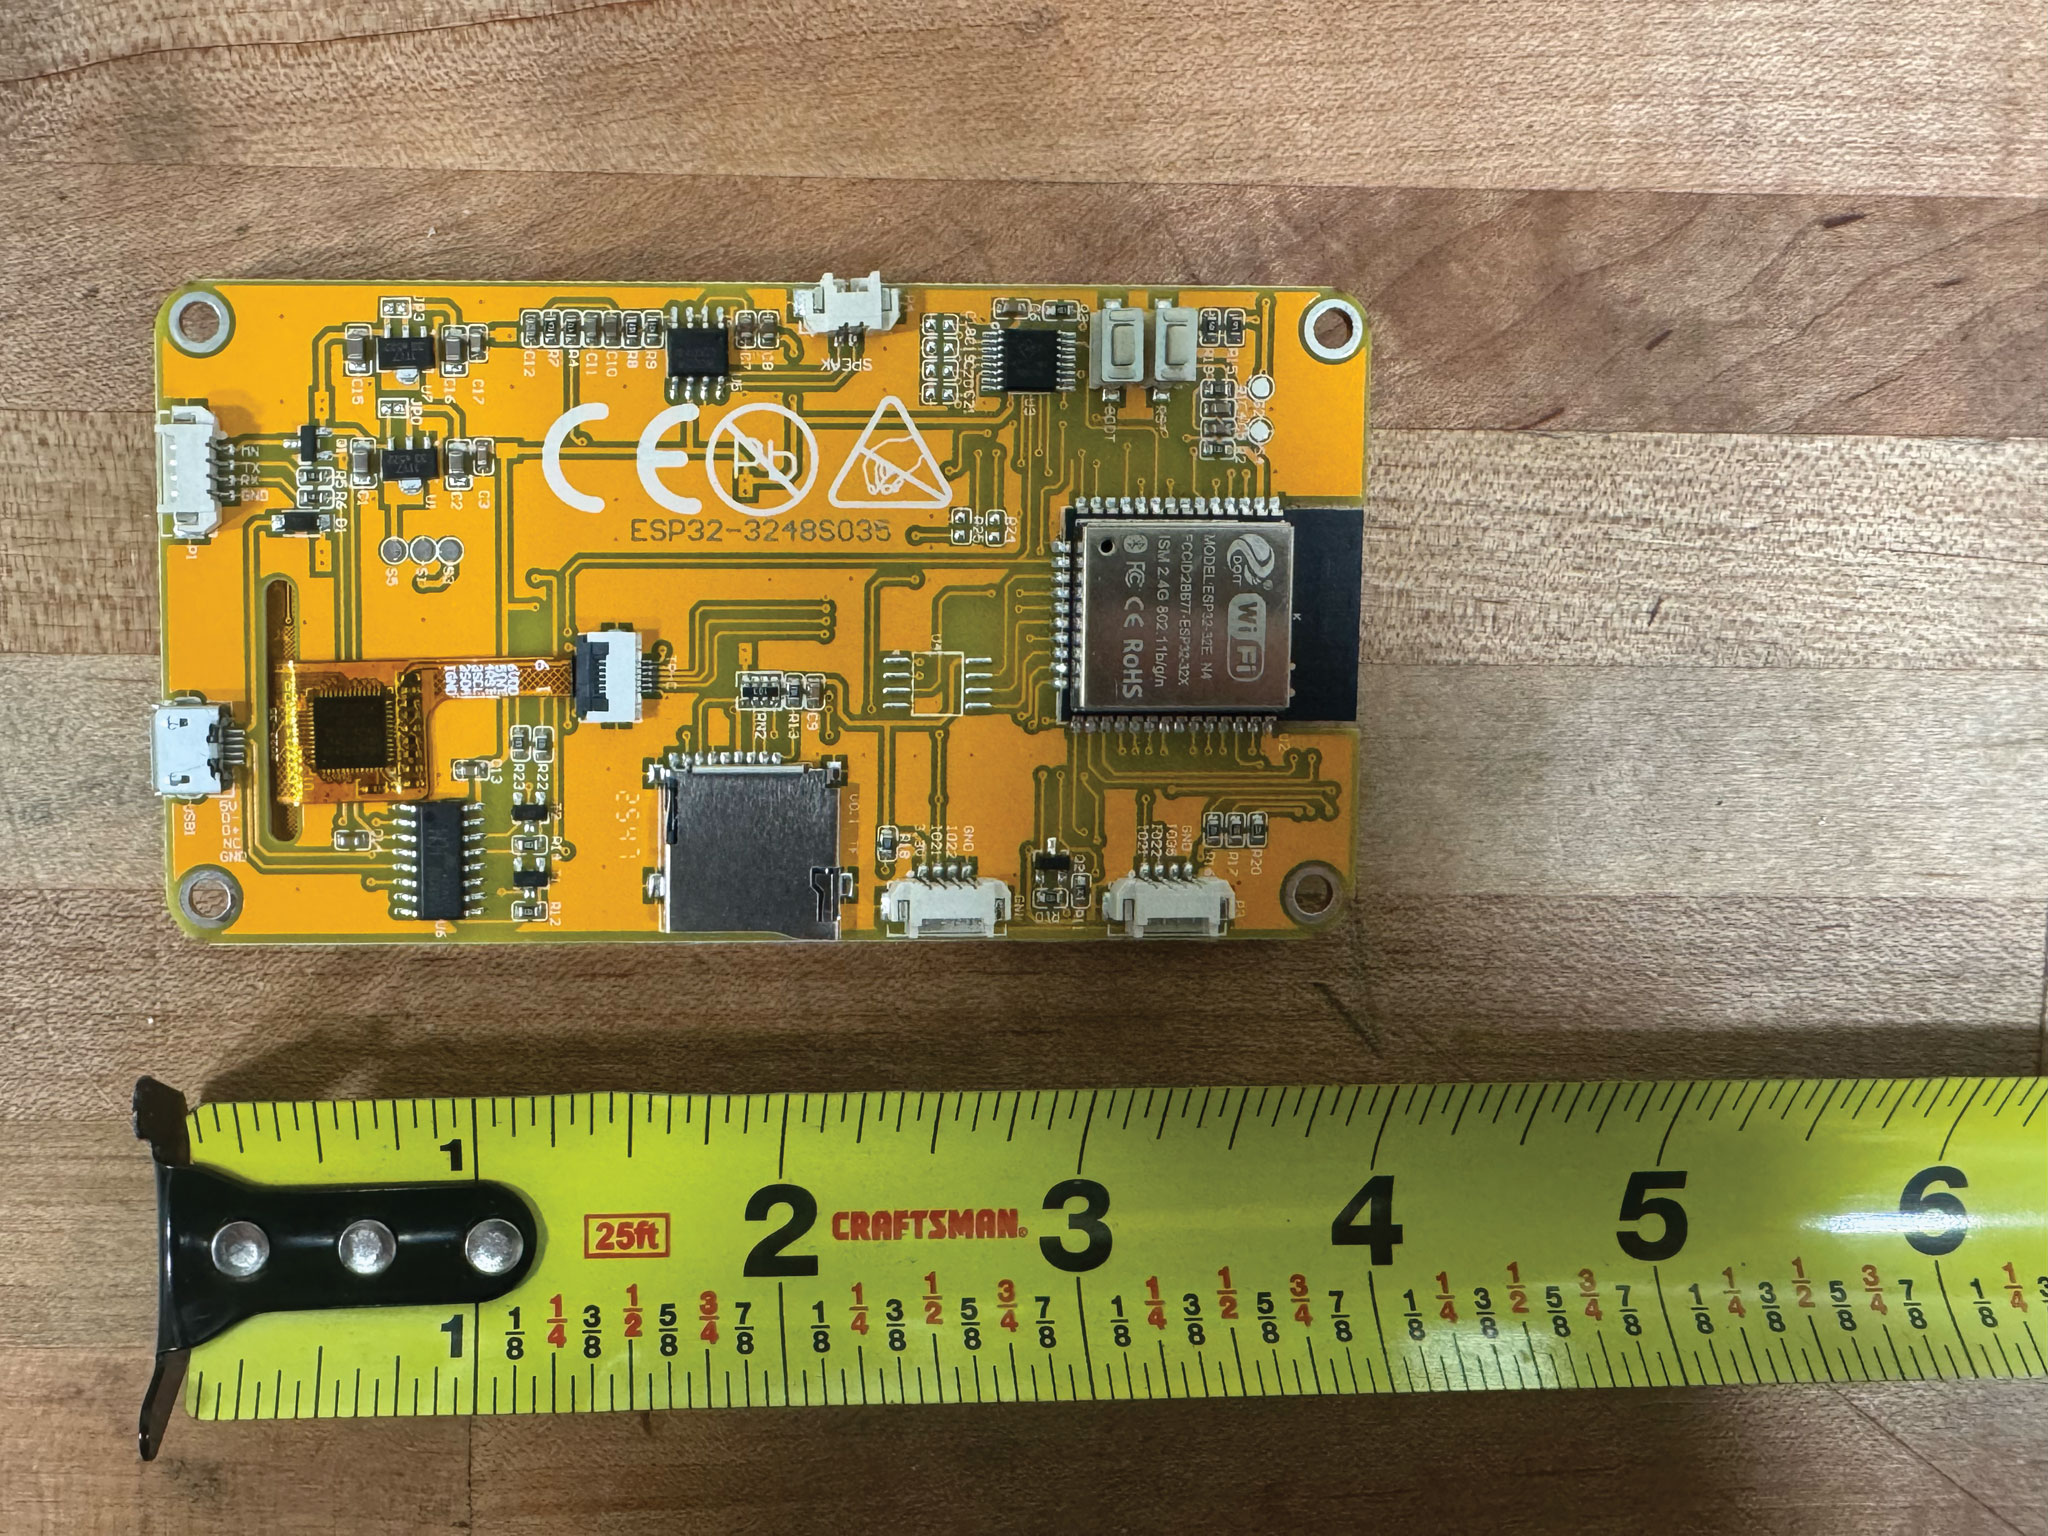
3.5″ Display (Capacitive)
Sunton ESP32-3248S035CMicro USB connector (not USB-C). 3D printable stand
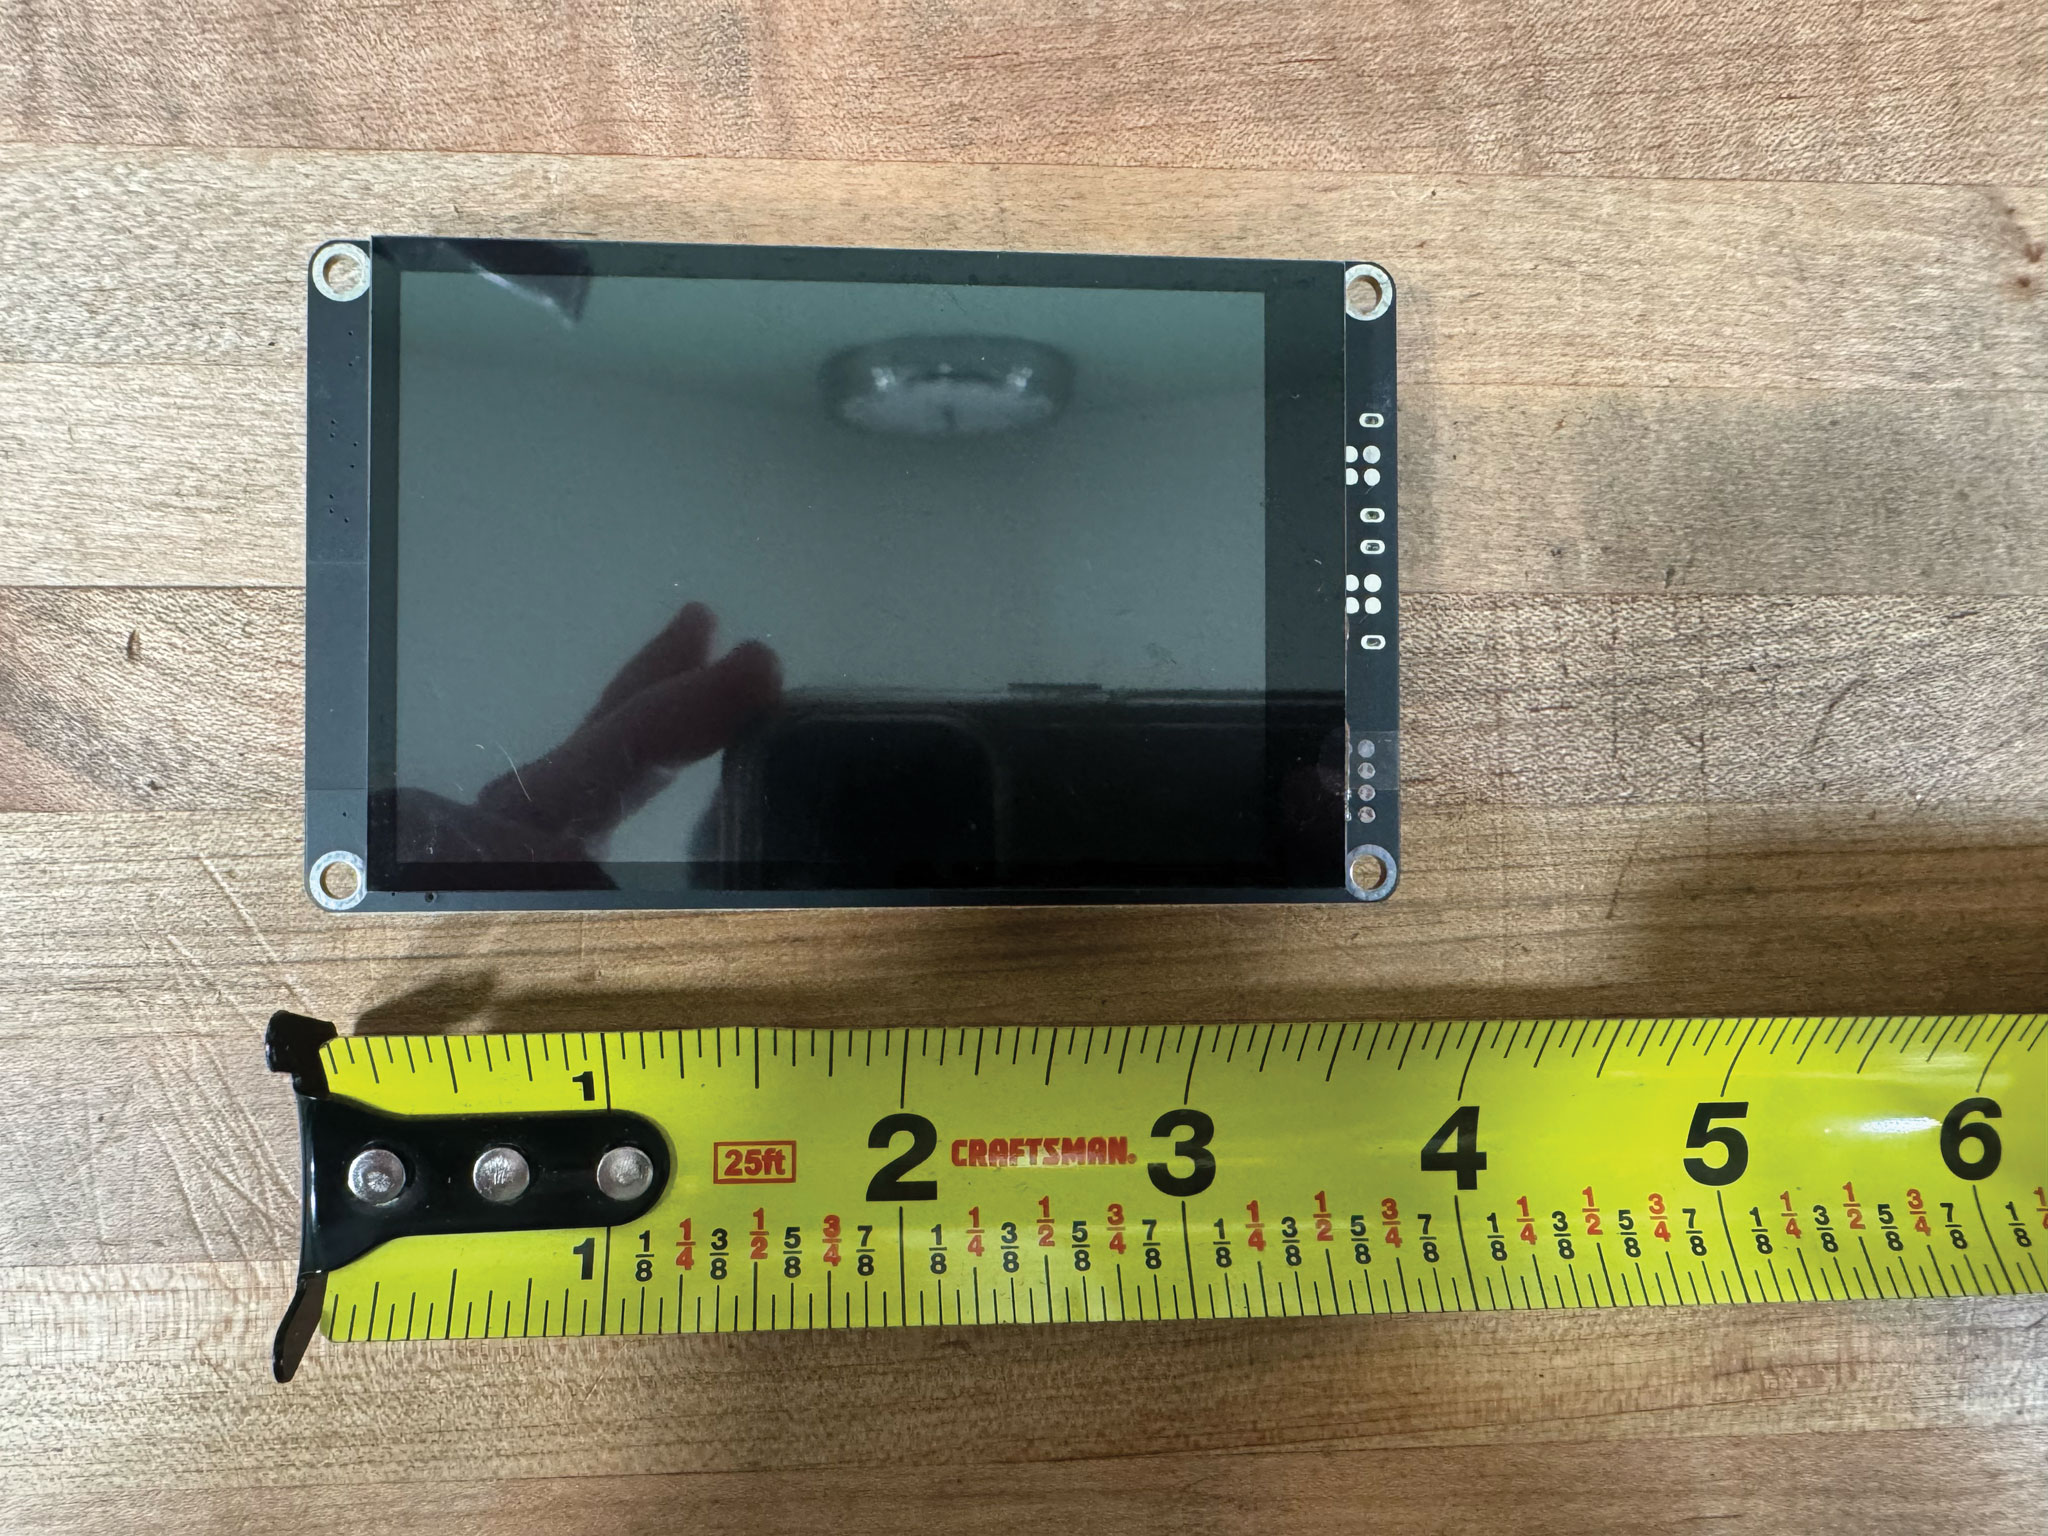
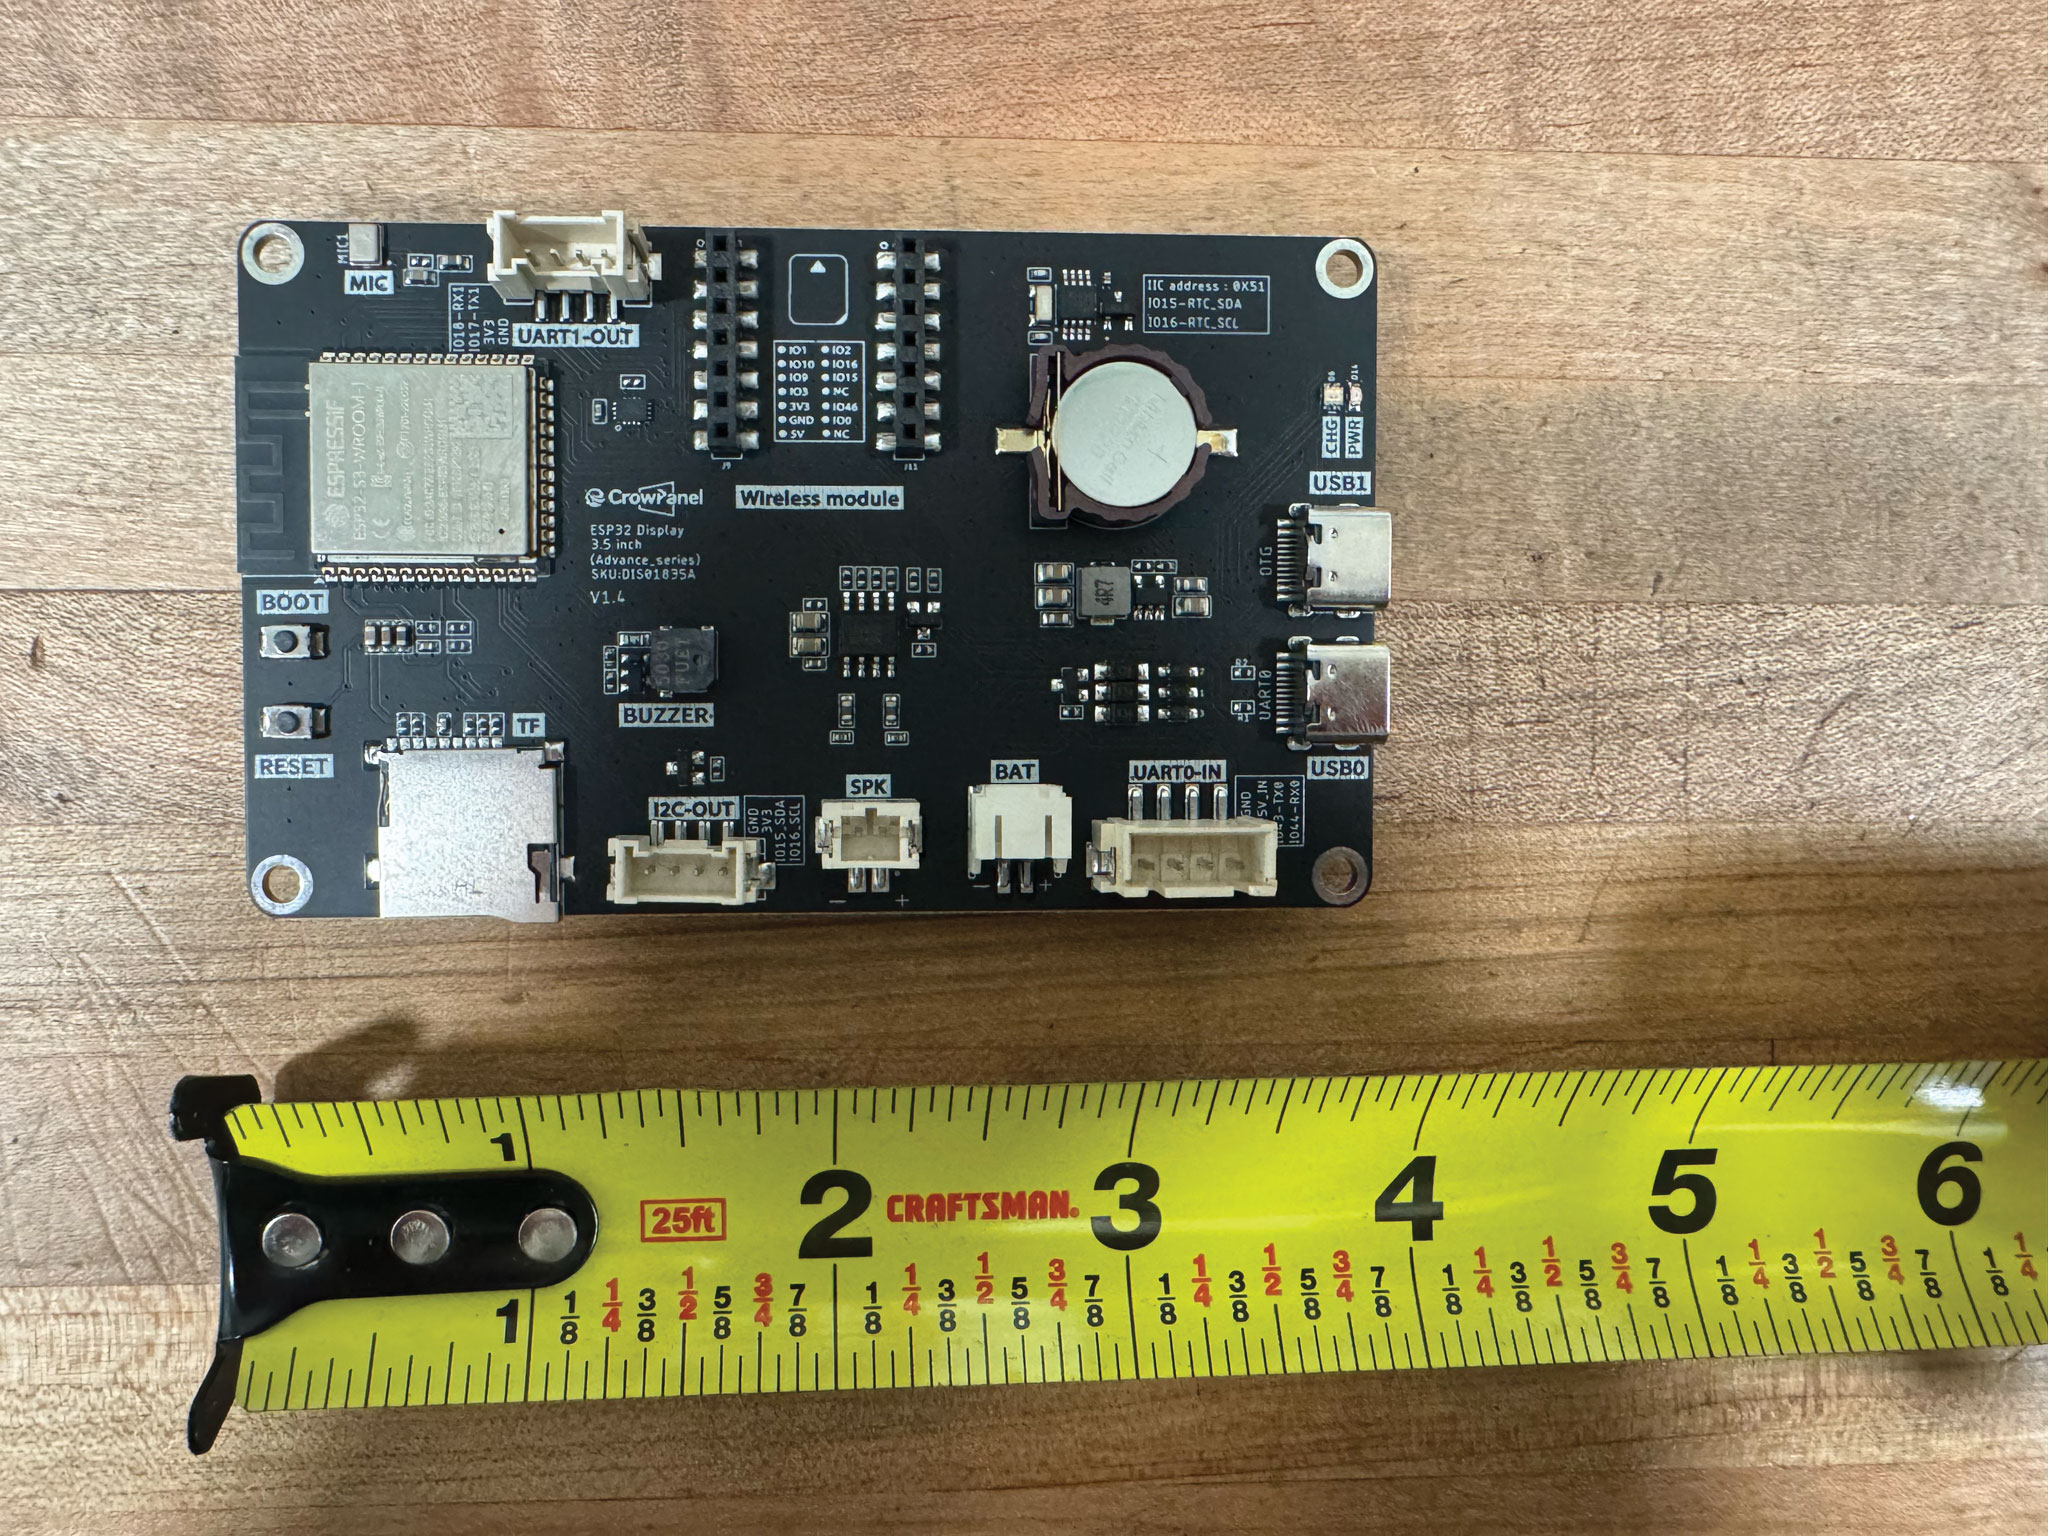
3.5″ Display (Elecrow Advance)
Elecrow CrowPanel Advance 3.5 HMI ESP32-S3 (480×320)Has two USB-C ports: use the one labeled USB1 / OTG for flashing and normal operation, not USB0 / UART0. If the first flash won't connect, hold BOOT, tap RESET, release BOOT, then try again.
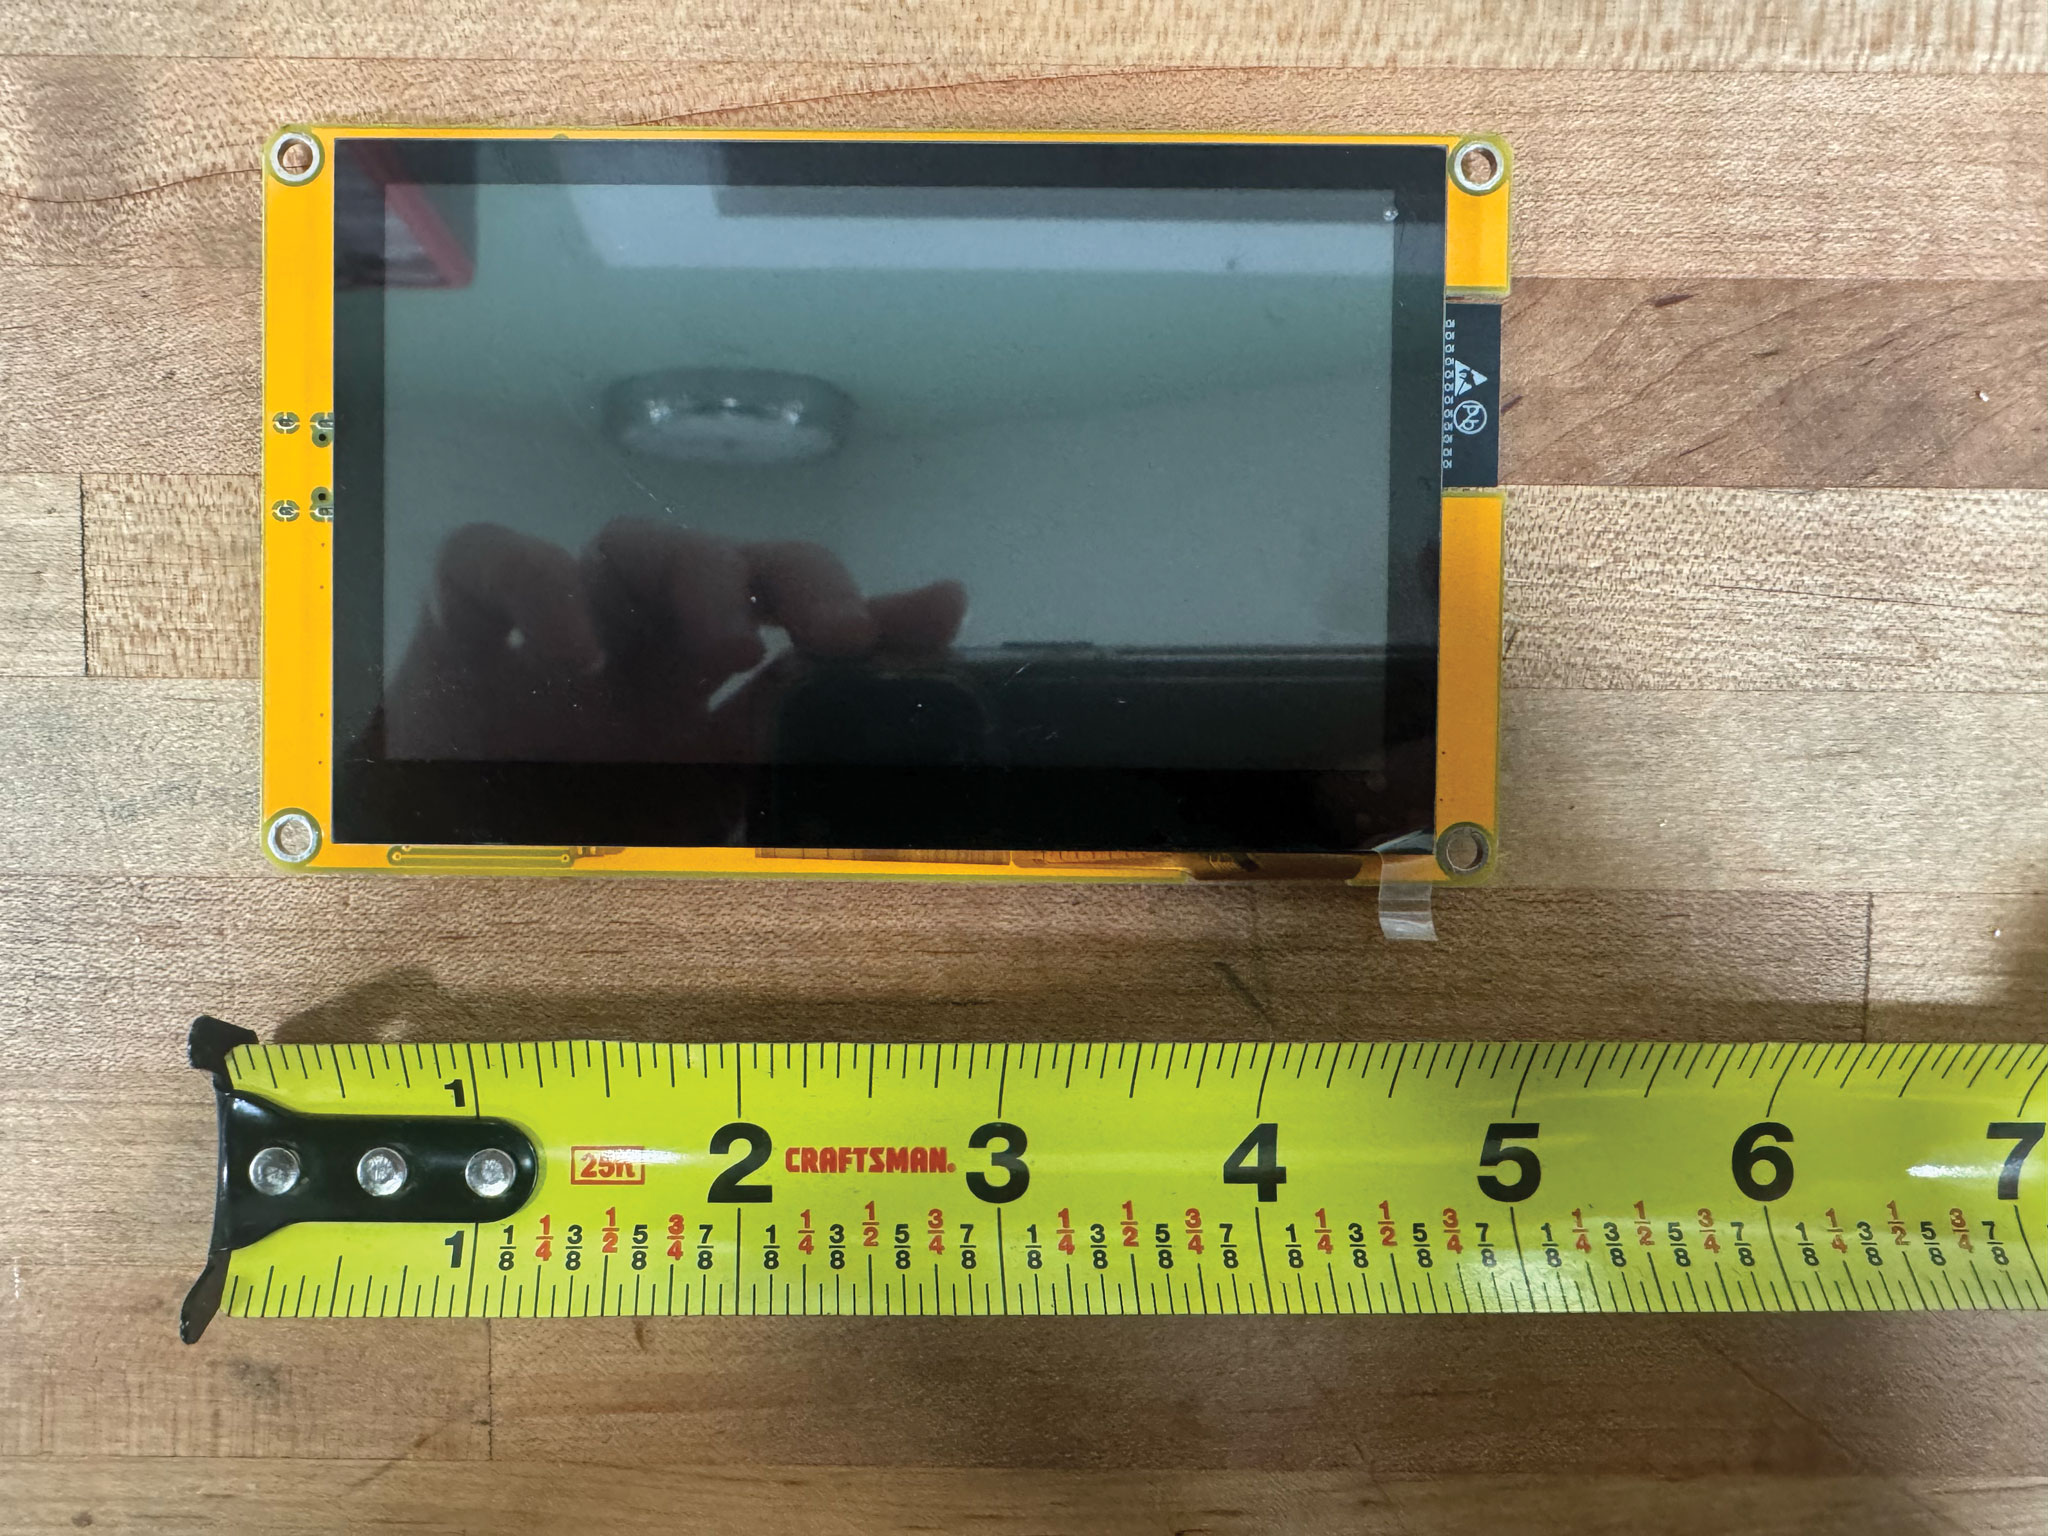
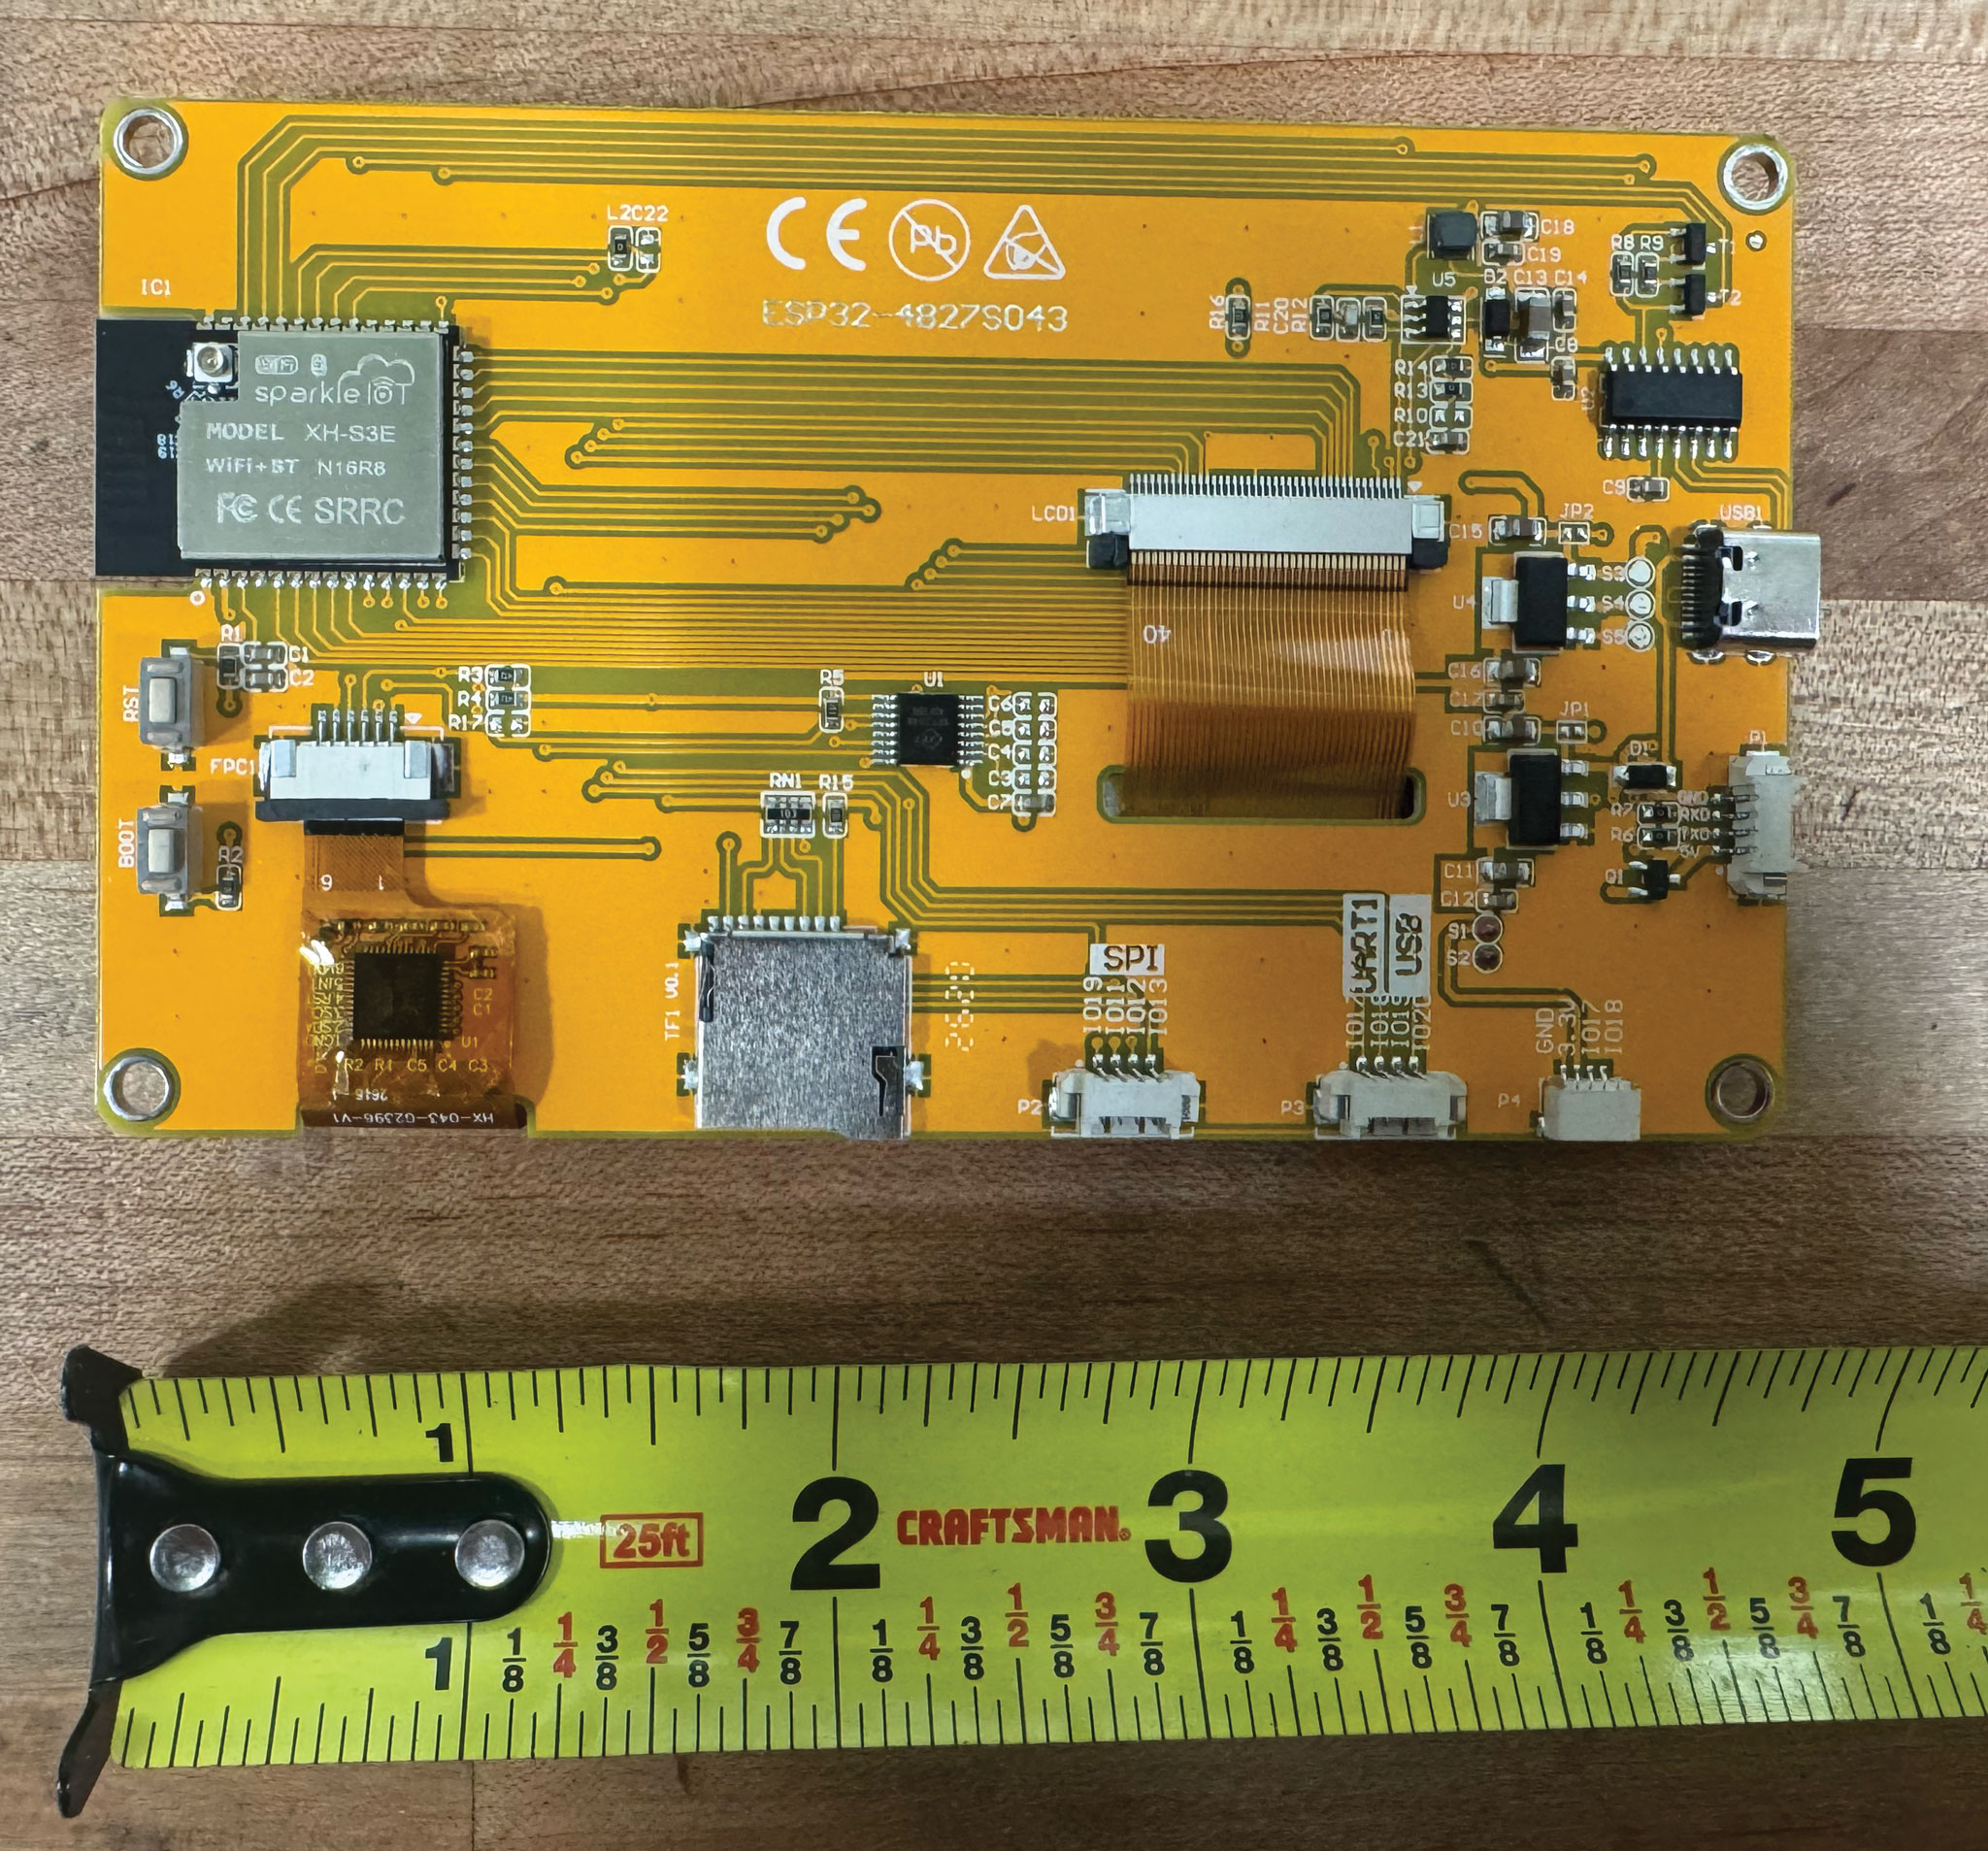
4.3″ Display (Sunton)
Sunton ESP32-4827S043C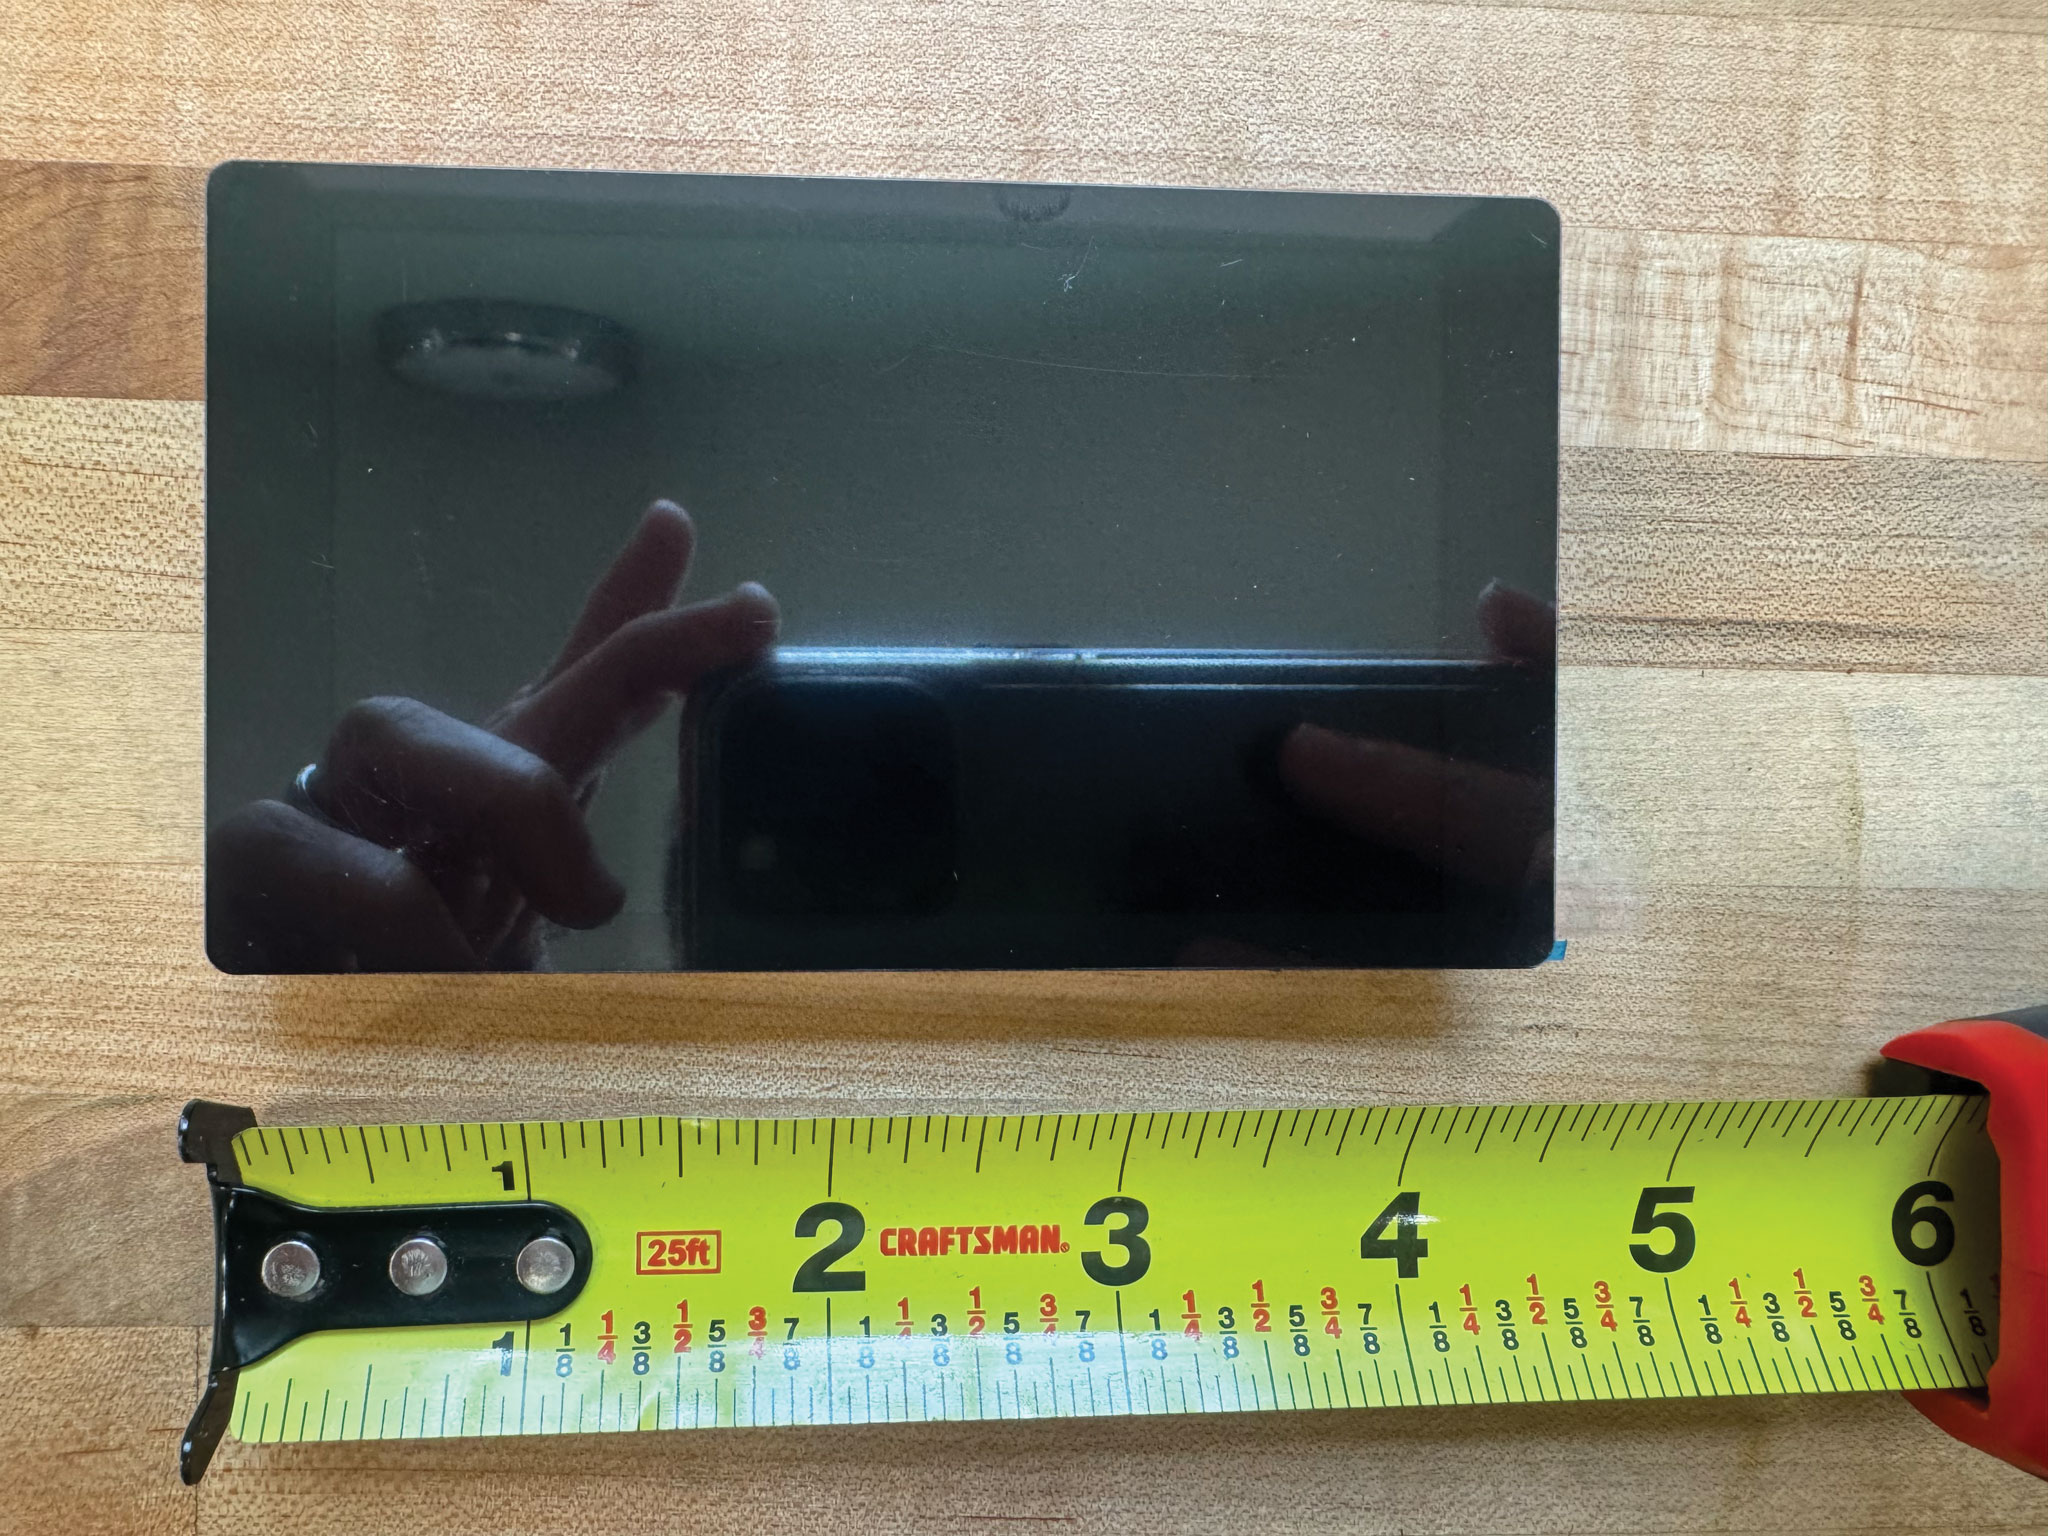
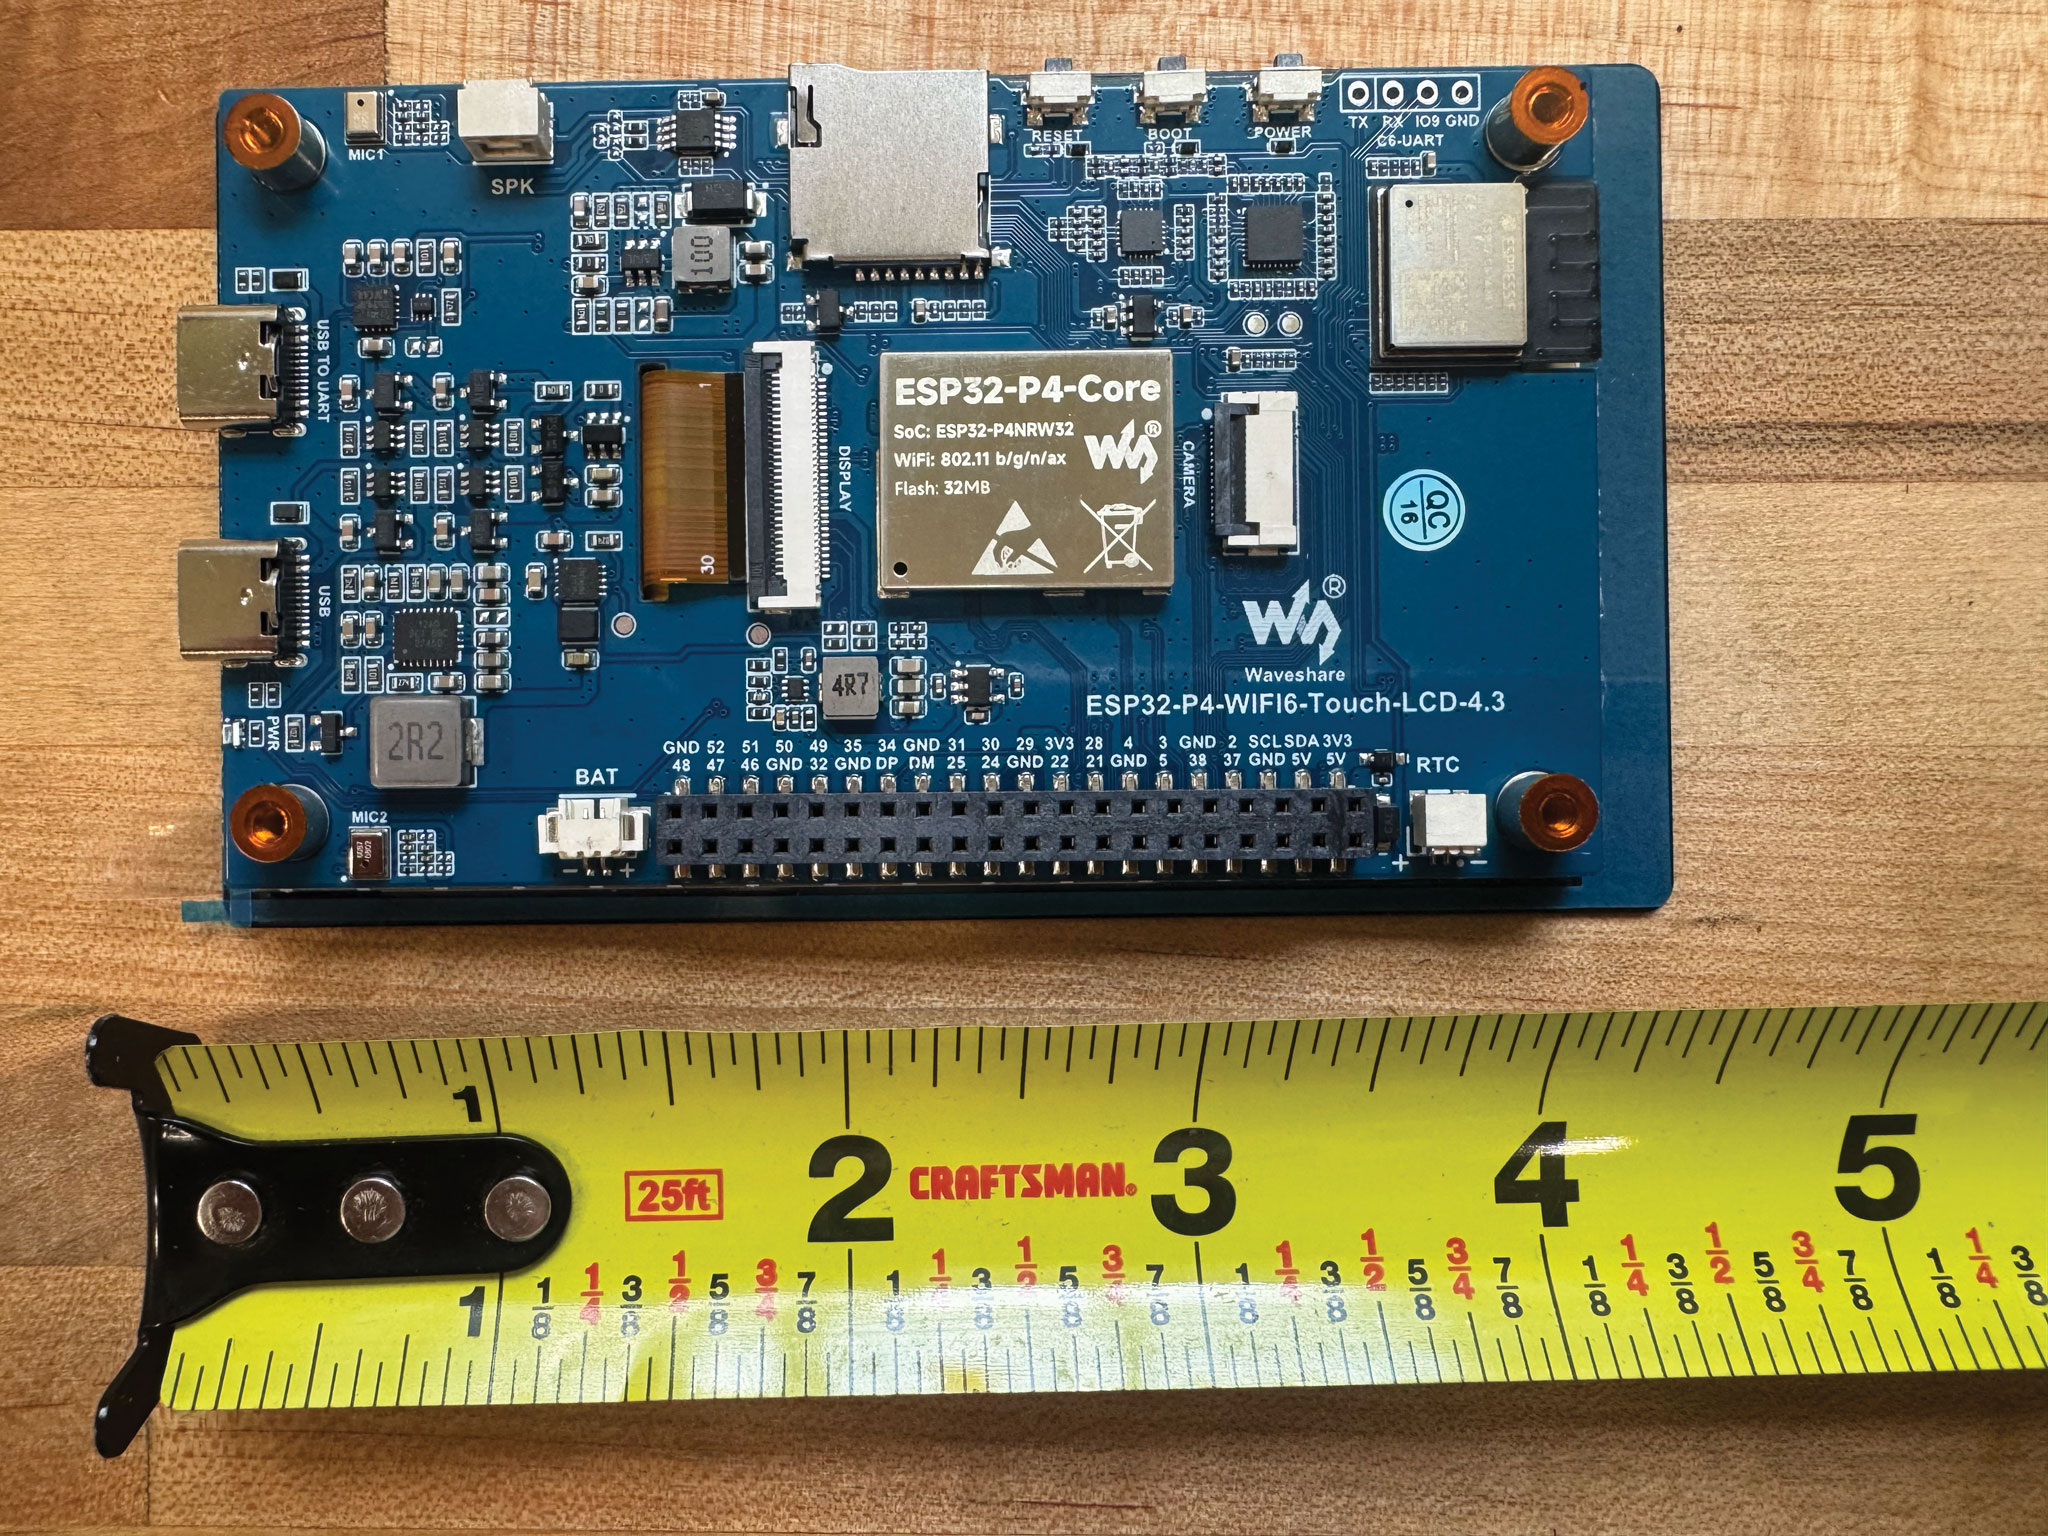
4.3″ Display (Waveshare)
Waveshare ESP32-P4-WIFI6 4.3inchUse the USB port labeled UART initially for the first flash, then use the USB labeled port for normal operation and ongoing flashing.
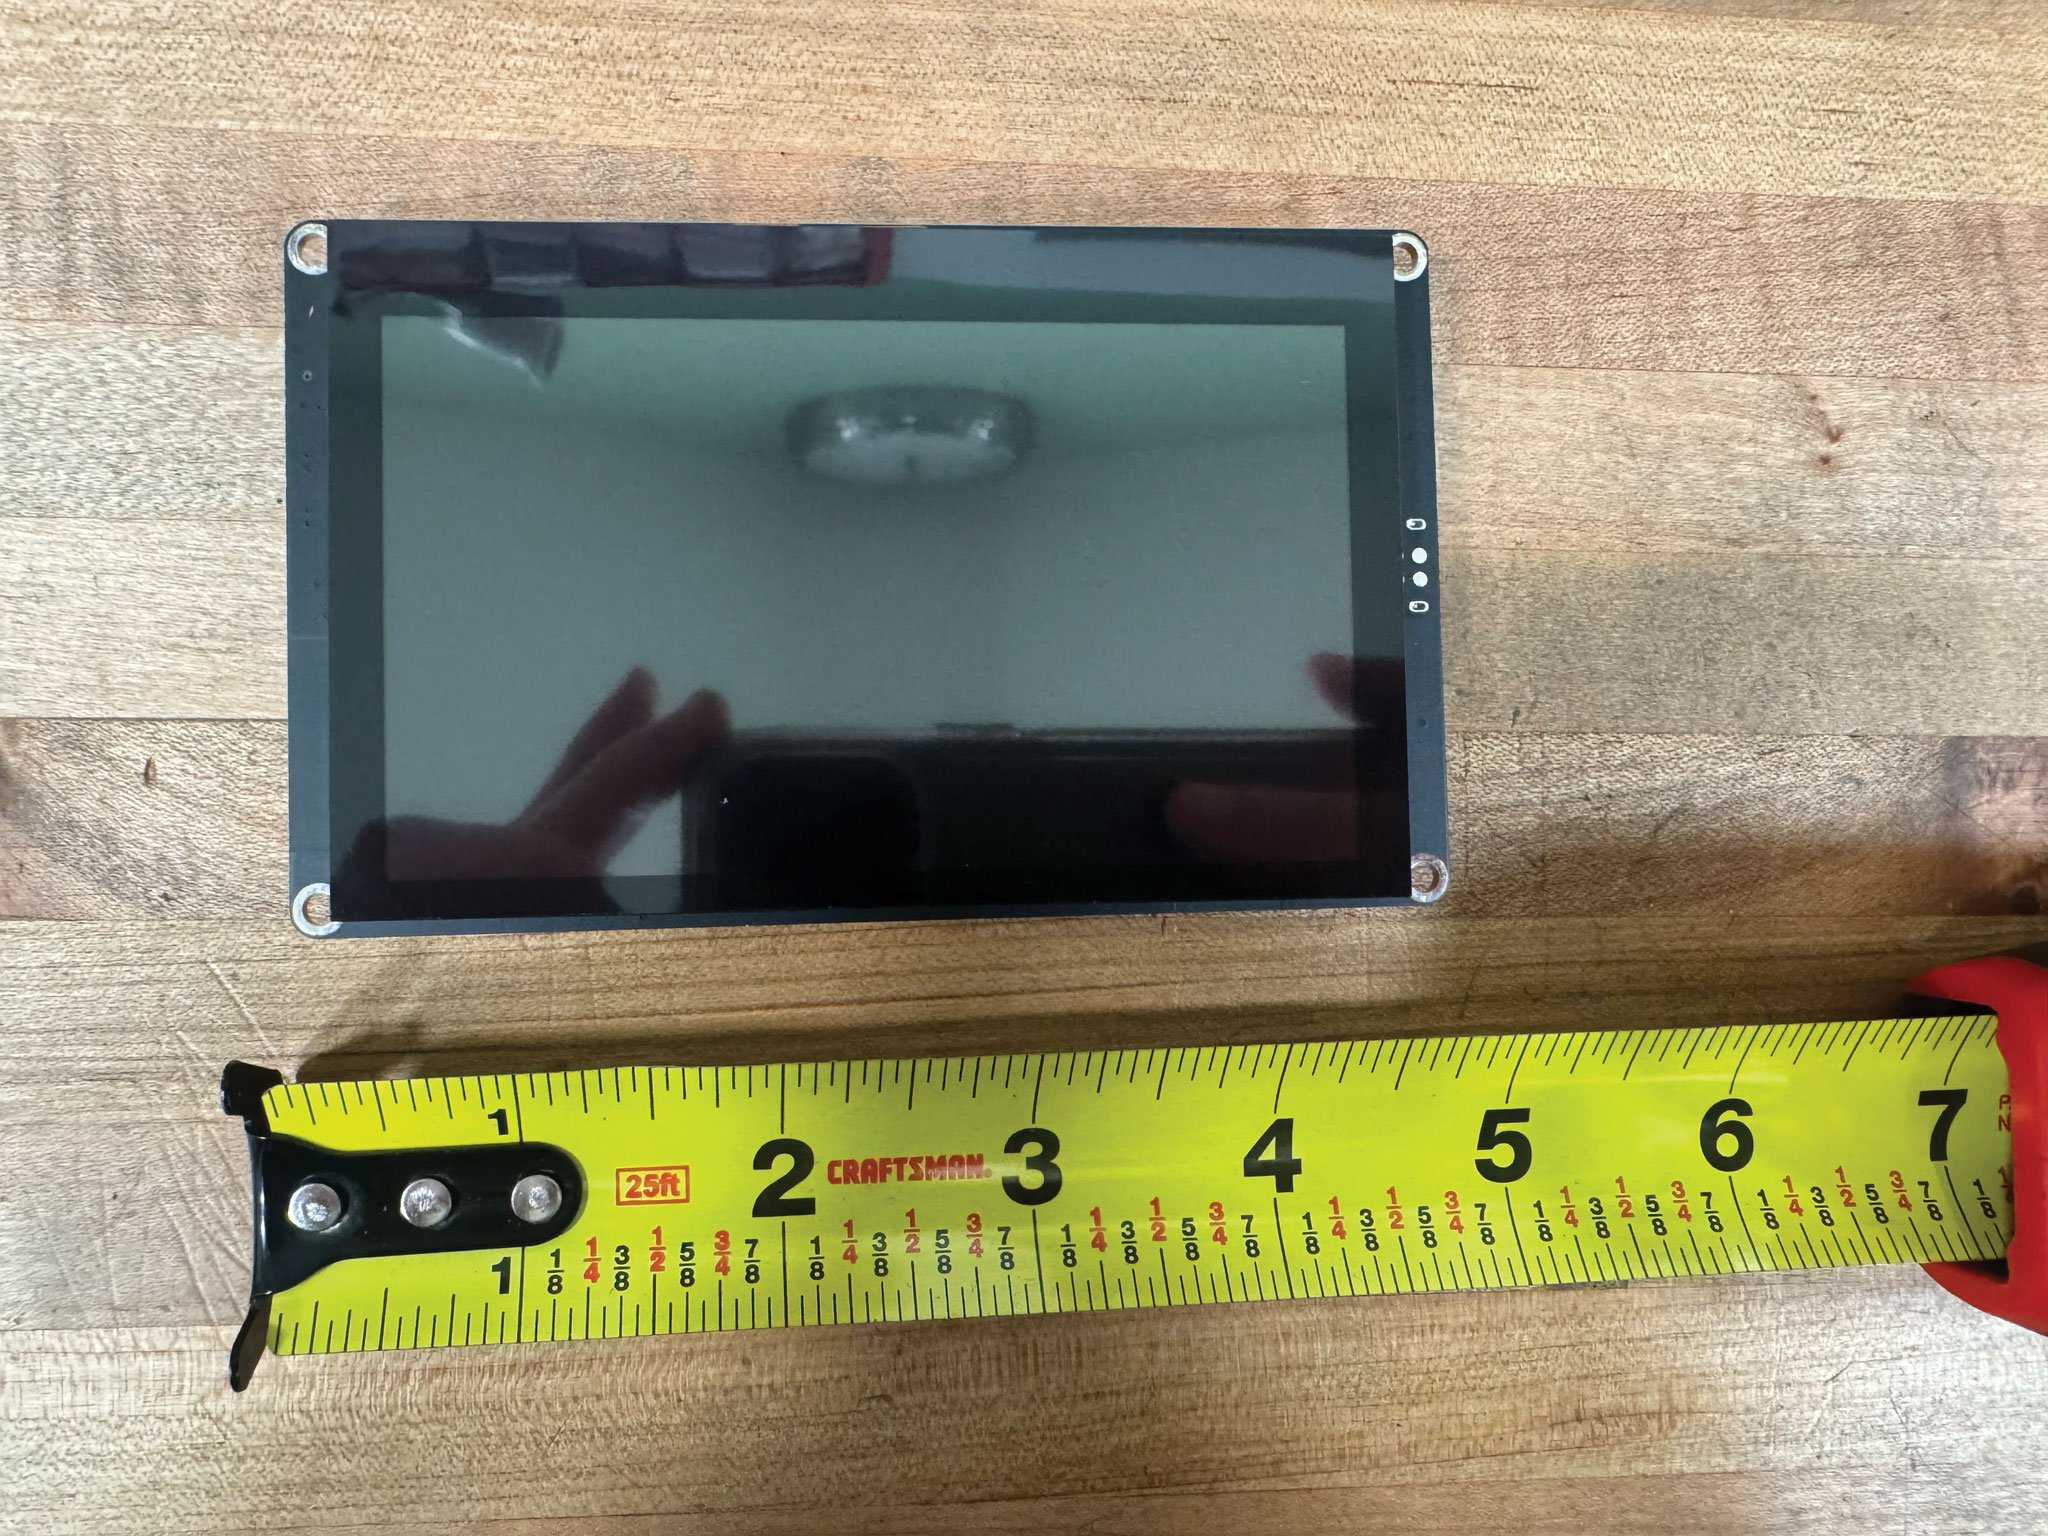
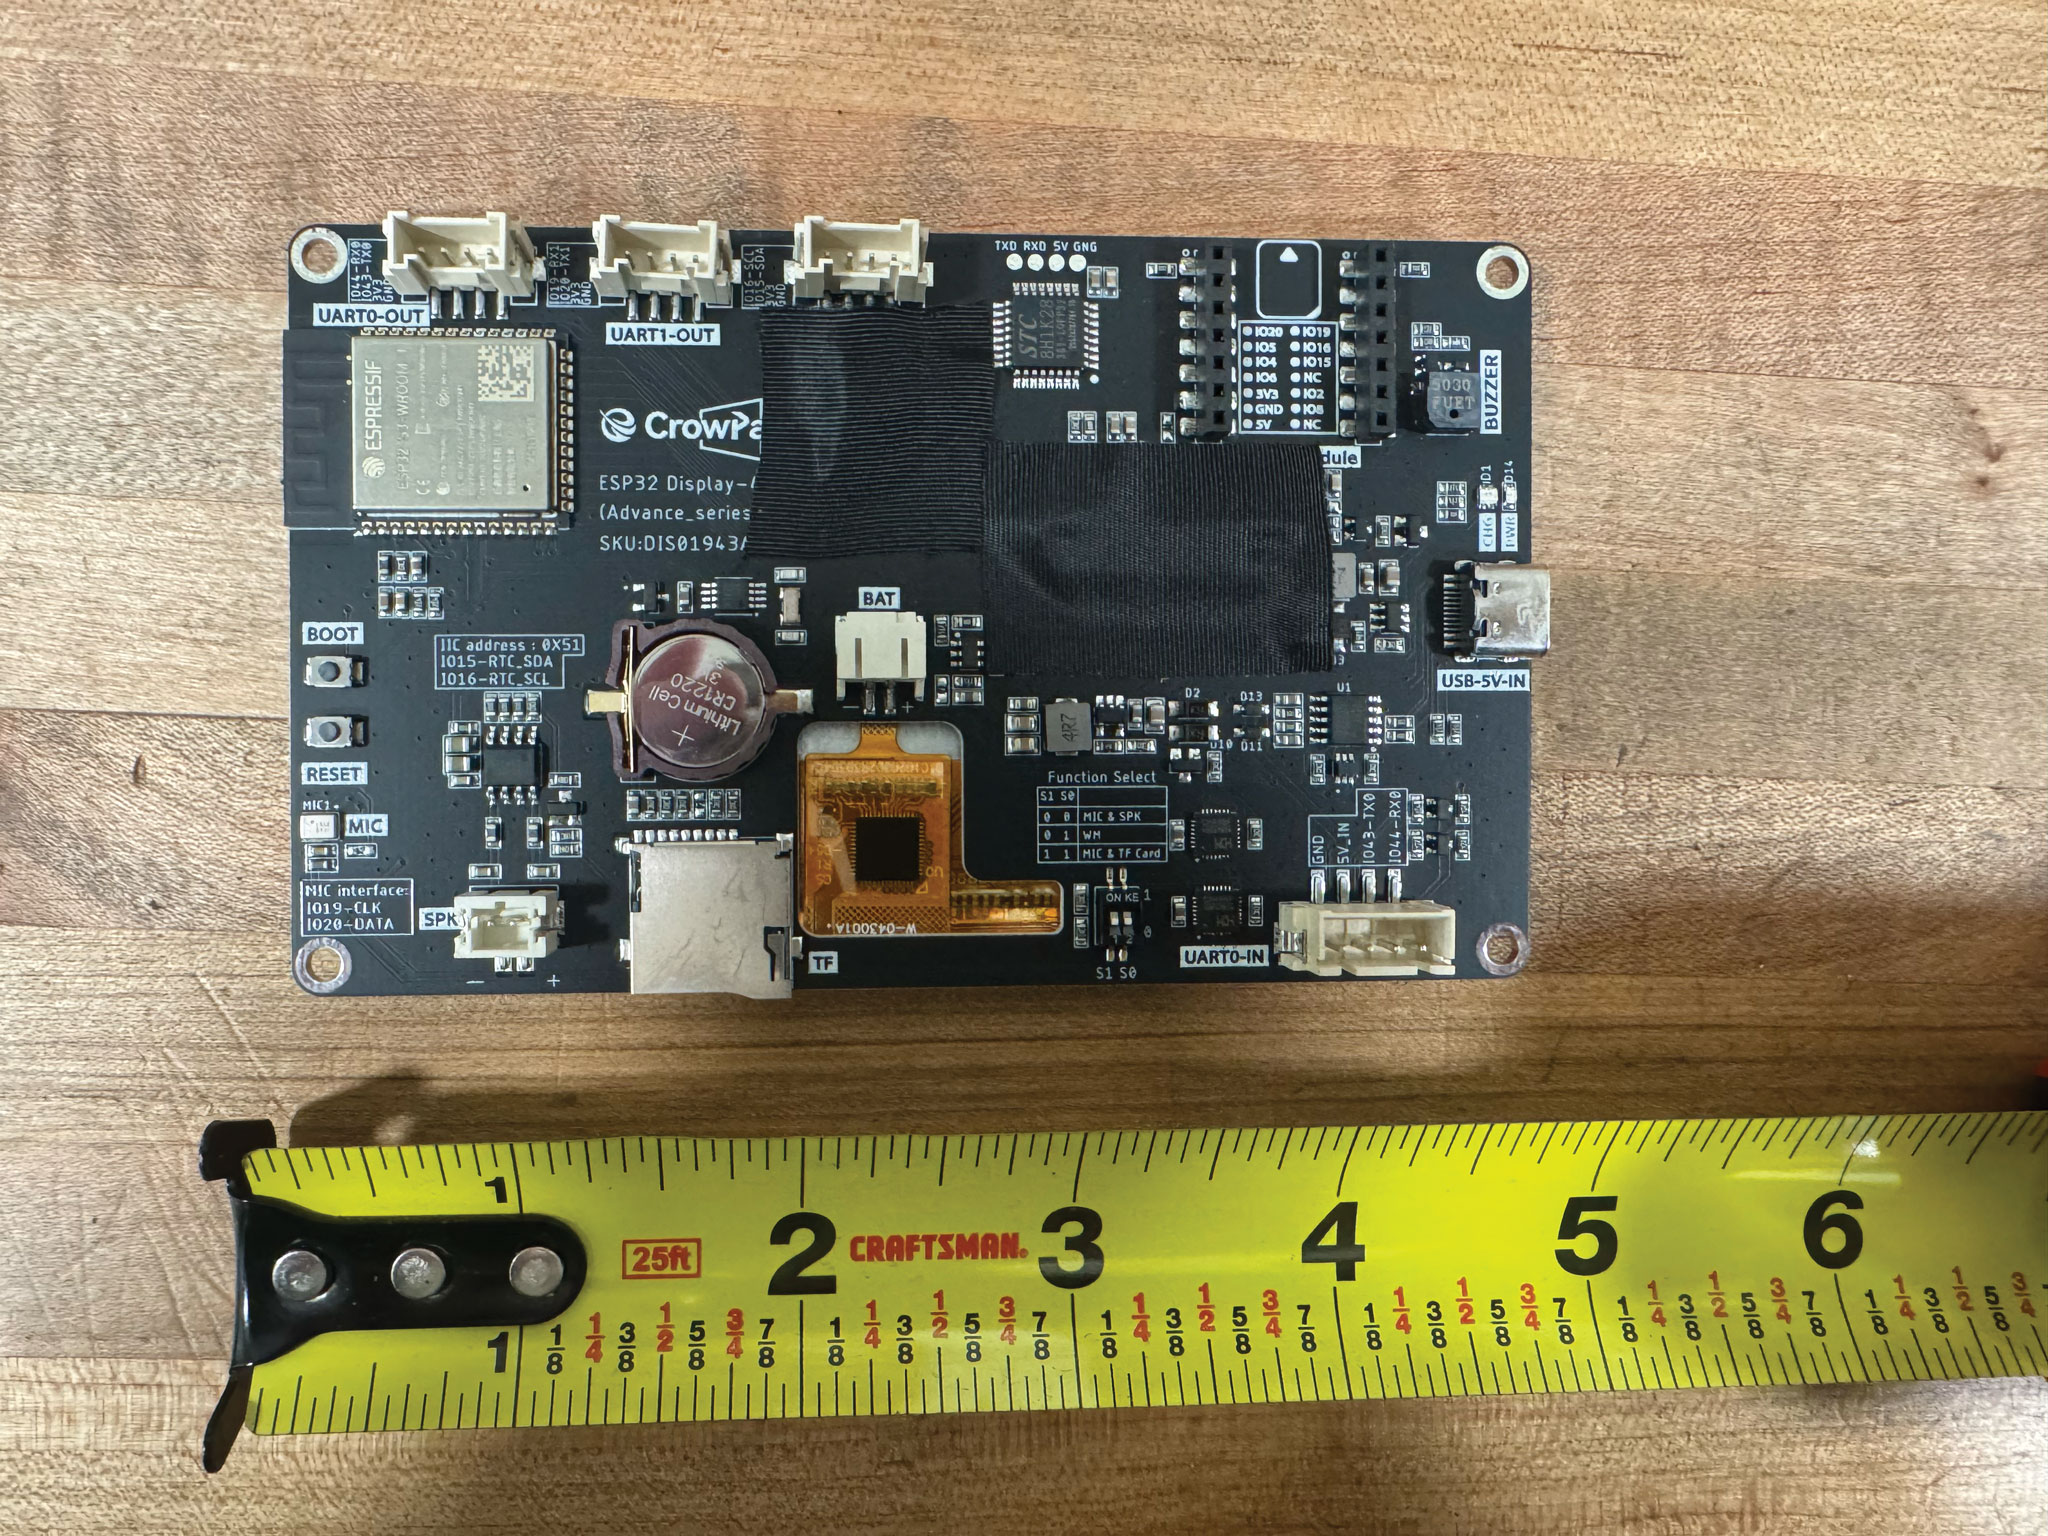
4.3″ Display (Elecrow Advance)
Elecrow CrowPanel Advance 4.3 HMI ESP32-S3 (800×480)Same board family as the 5″ Elecrow Advance with a smaller screen, but it has its own firmware: pick 4.3″ (Elecrow Advance) in Companion.
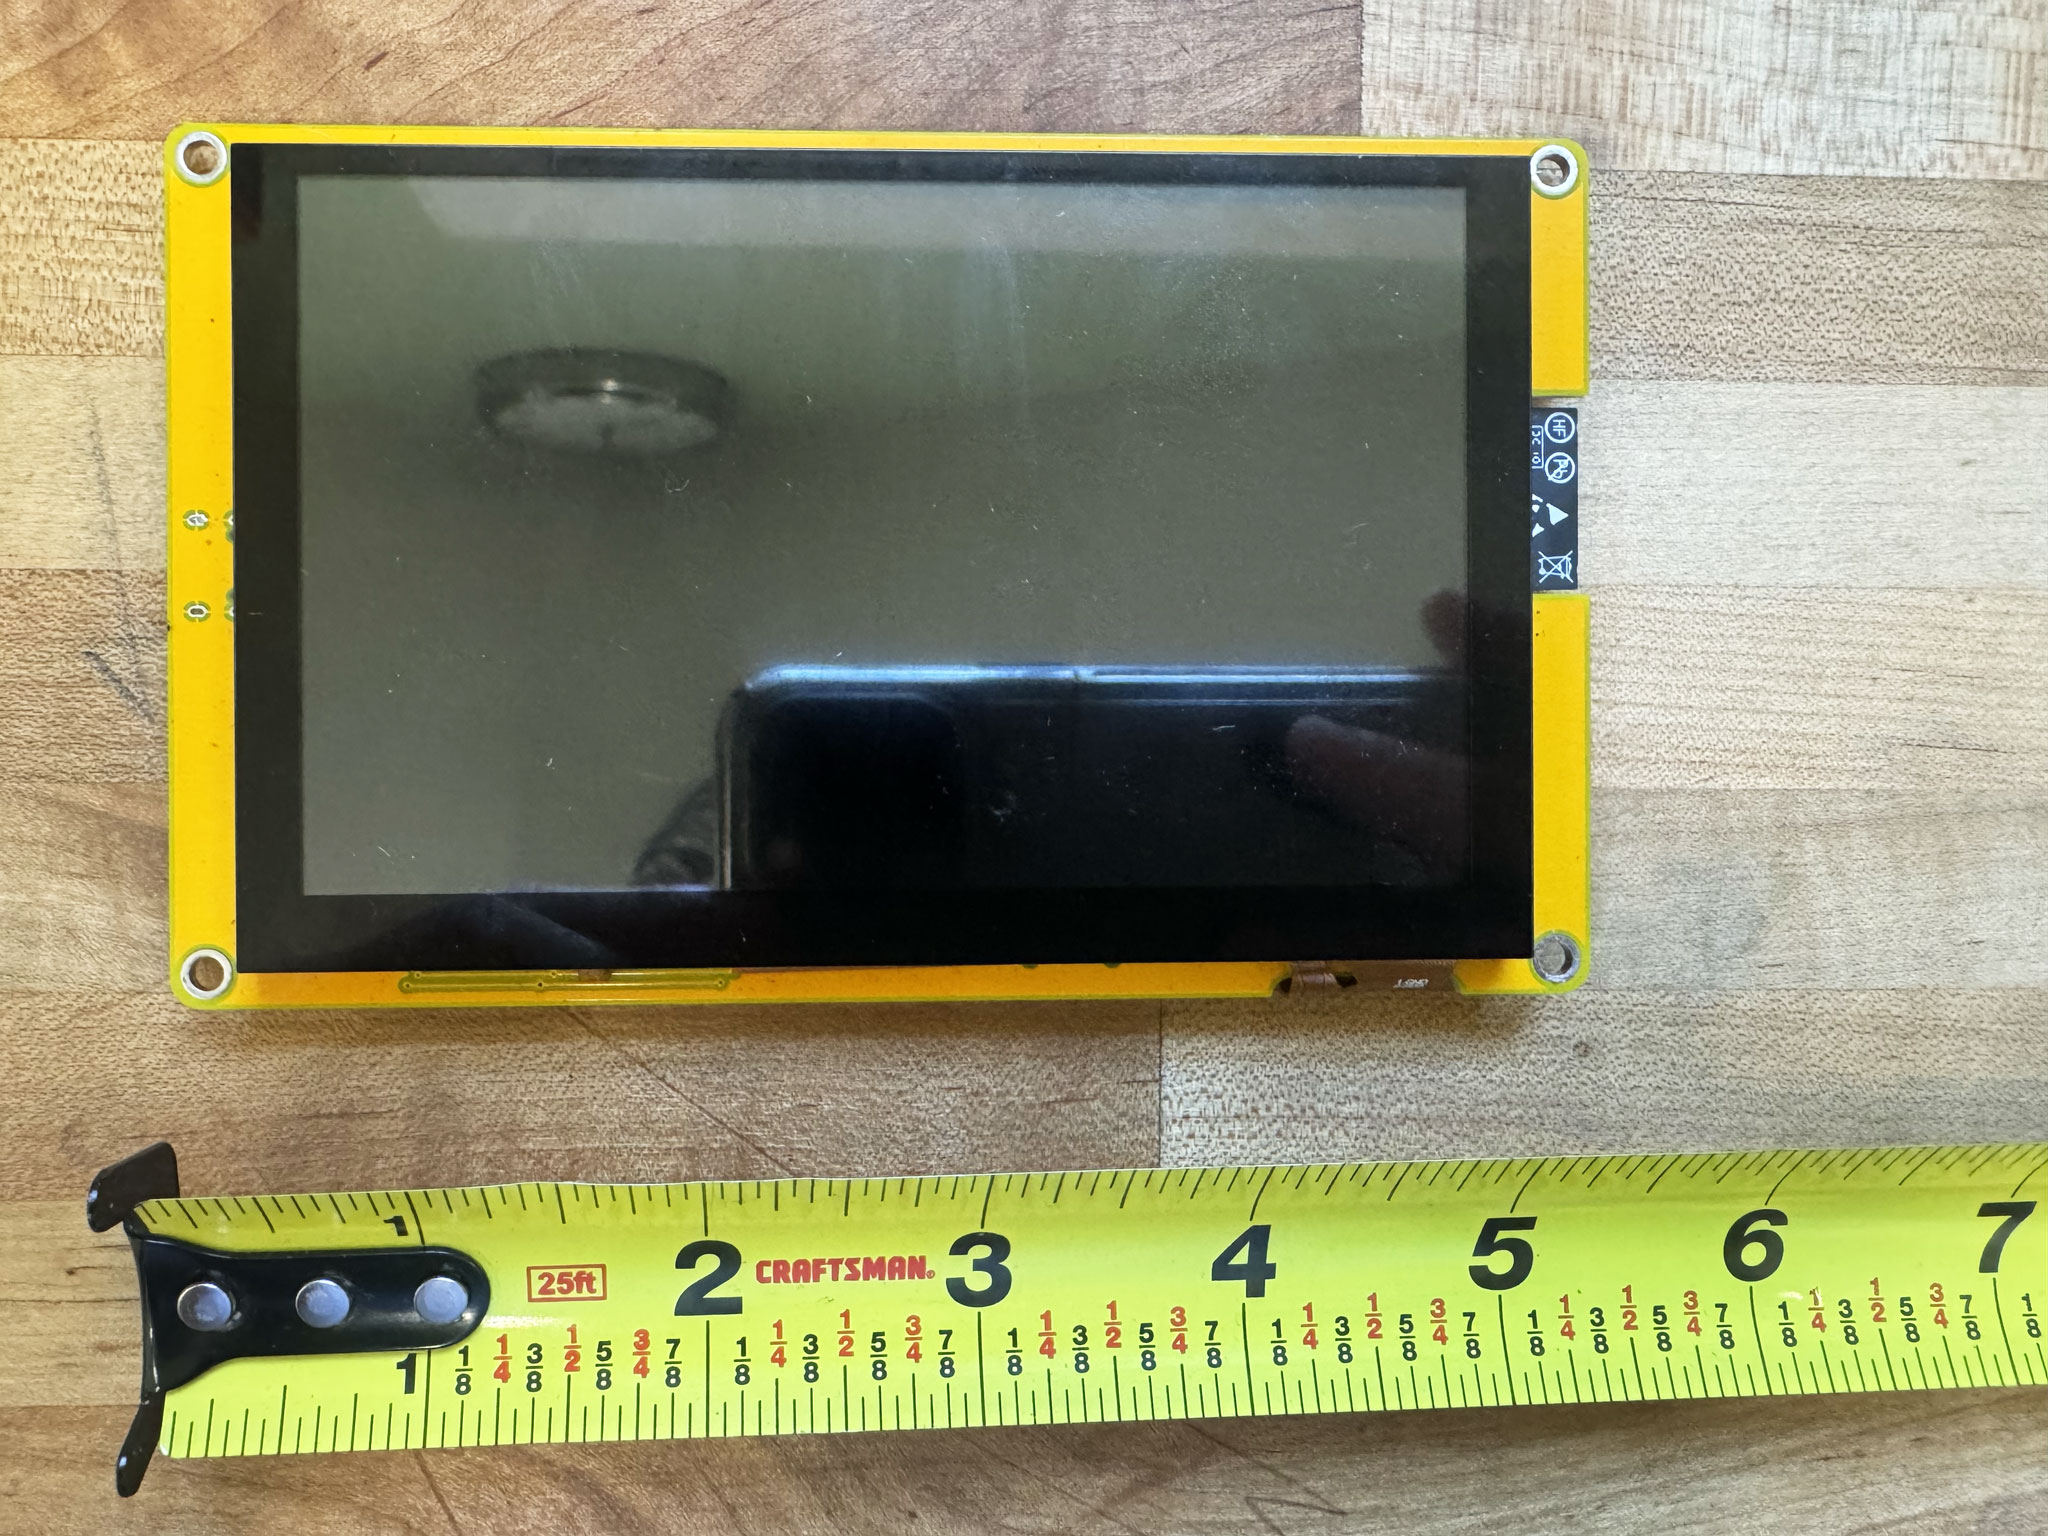
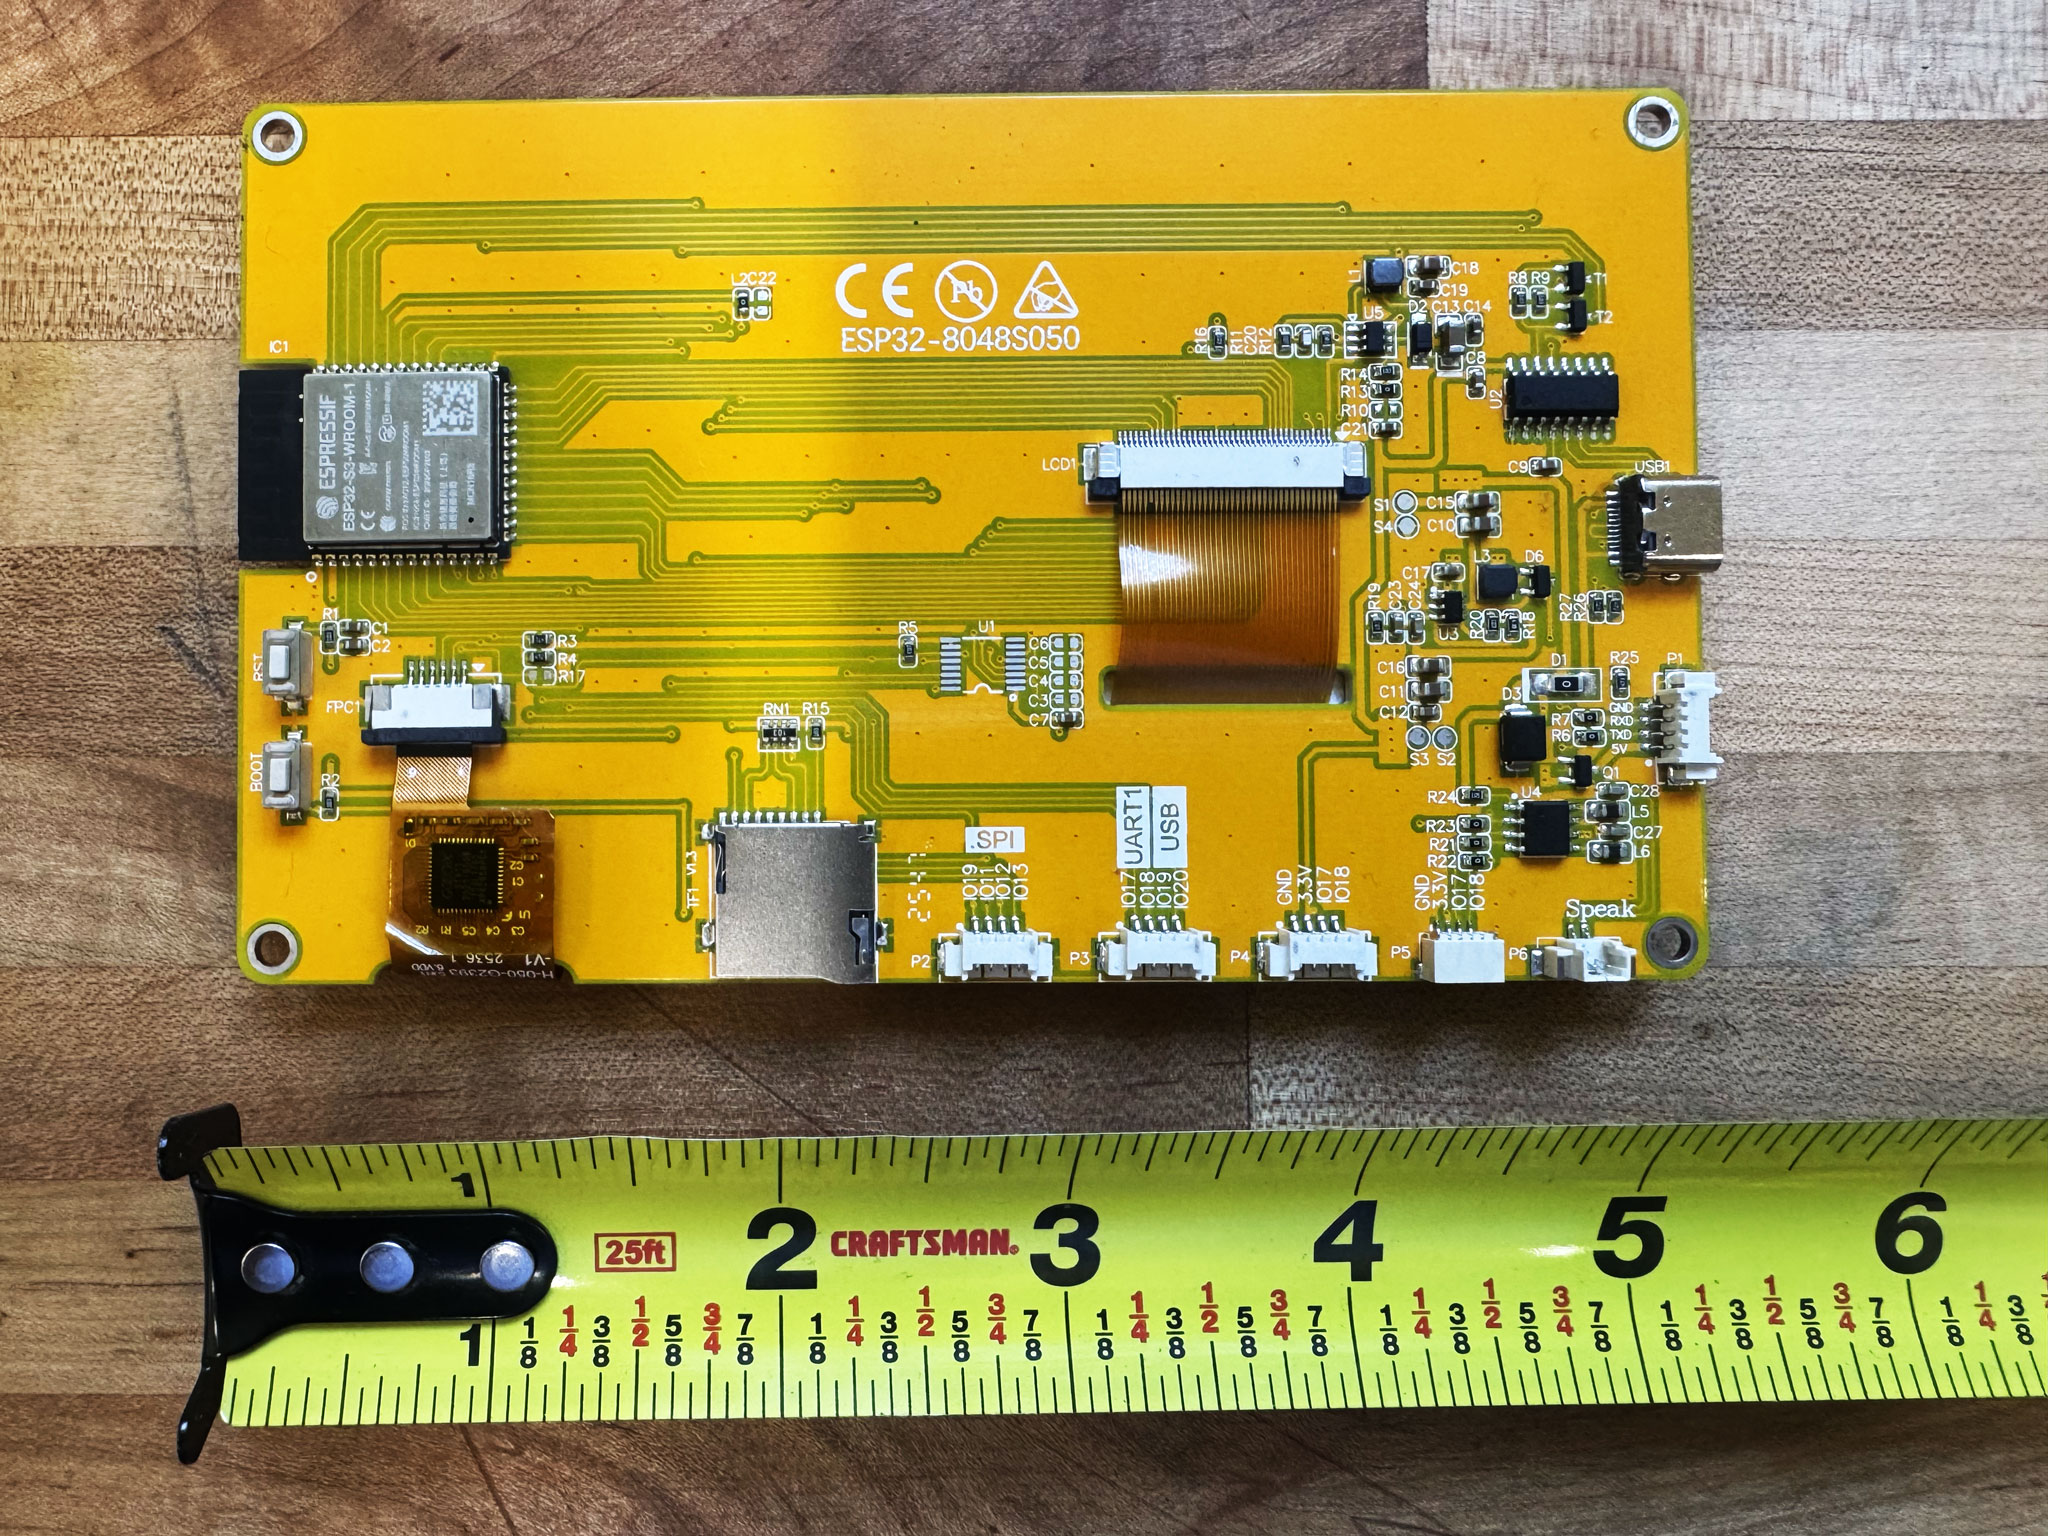
5″ Display (Sunton)
ESP32-8048S050 / JC8048W550C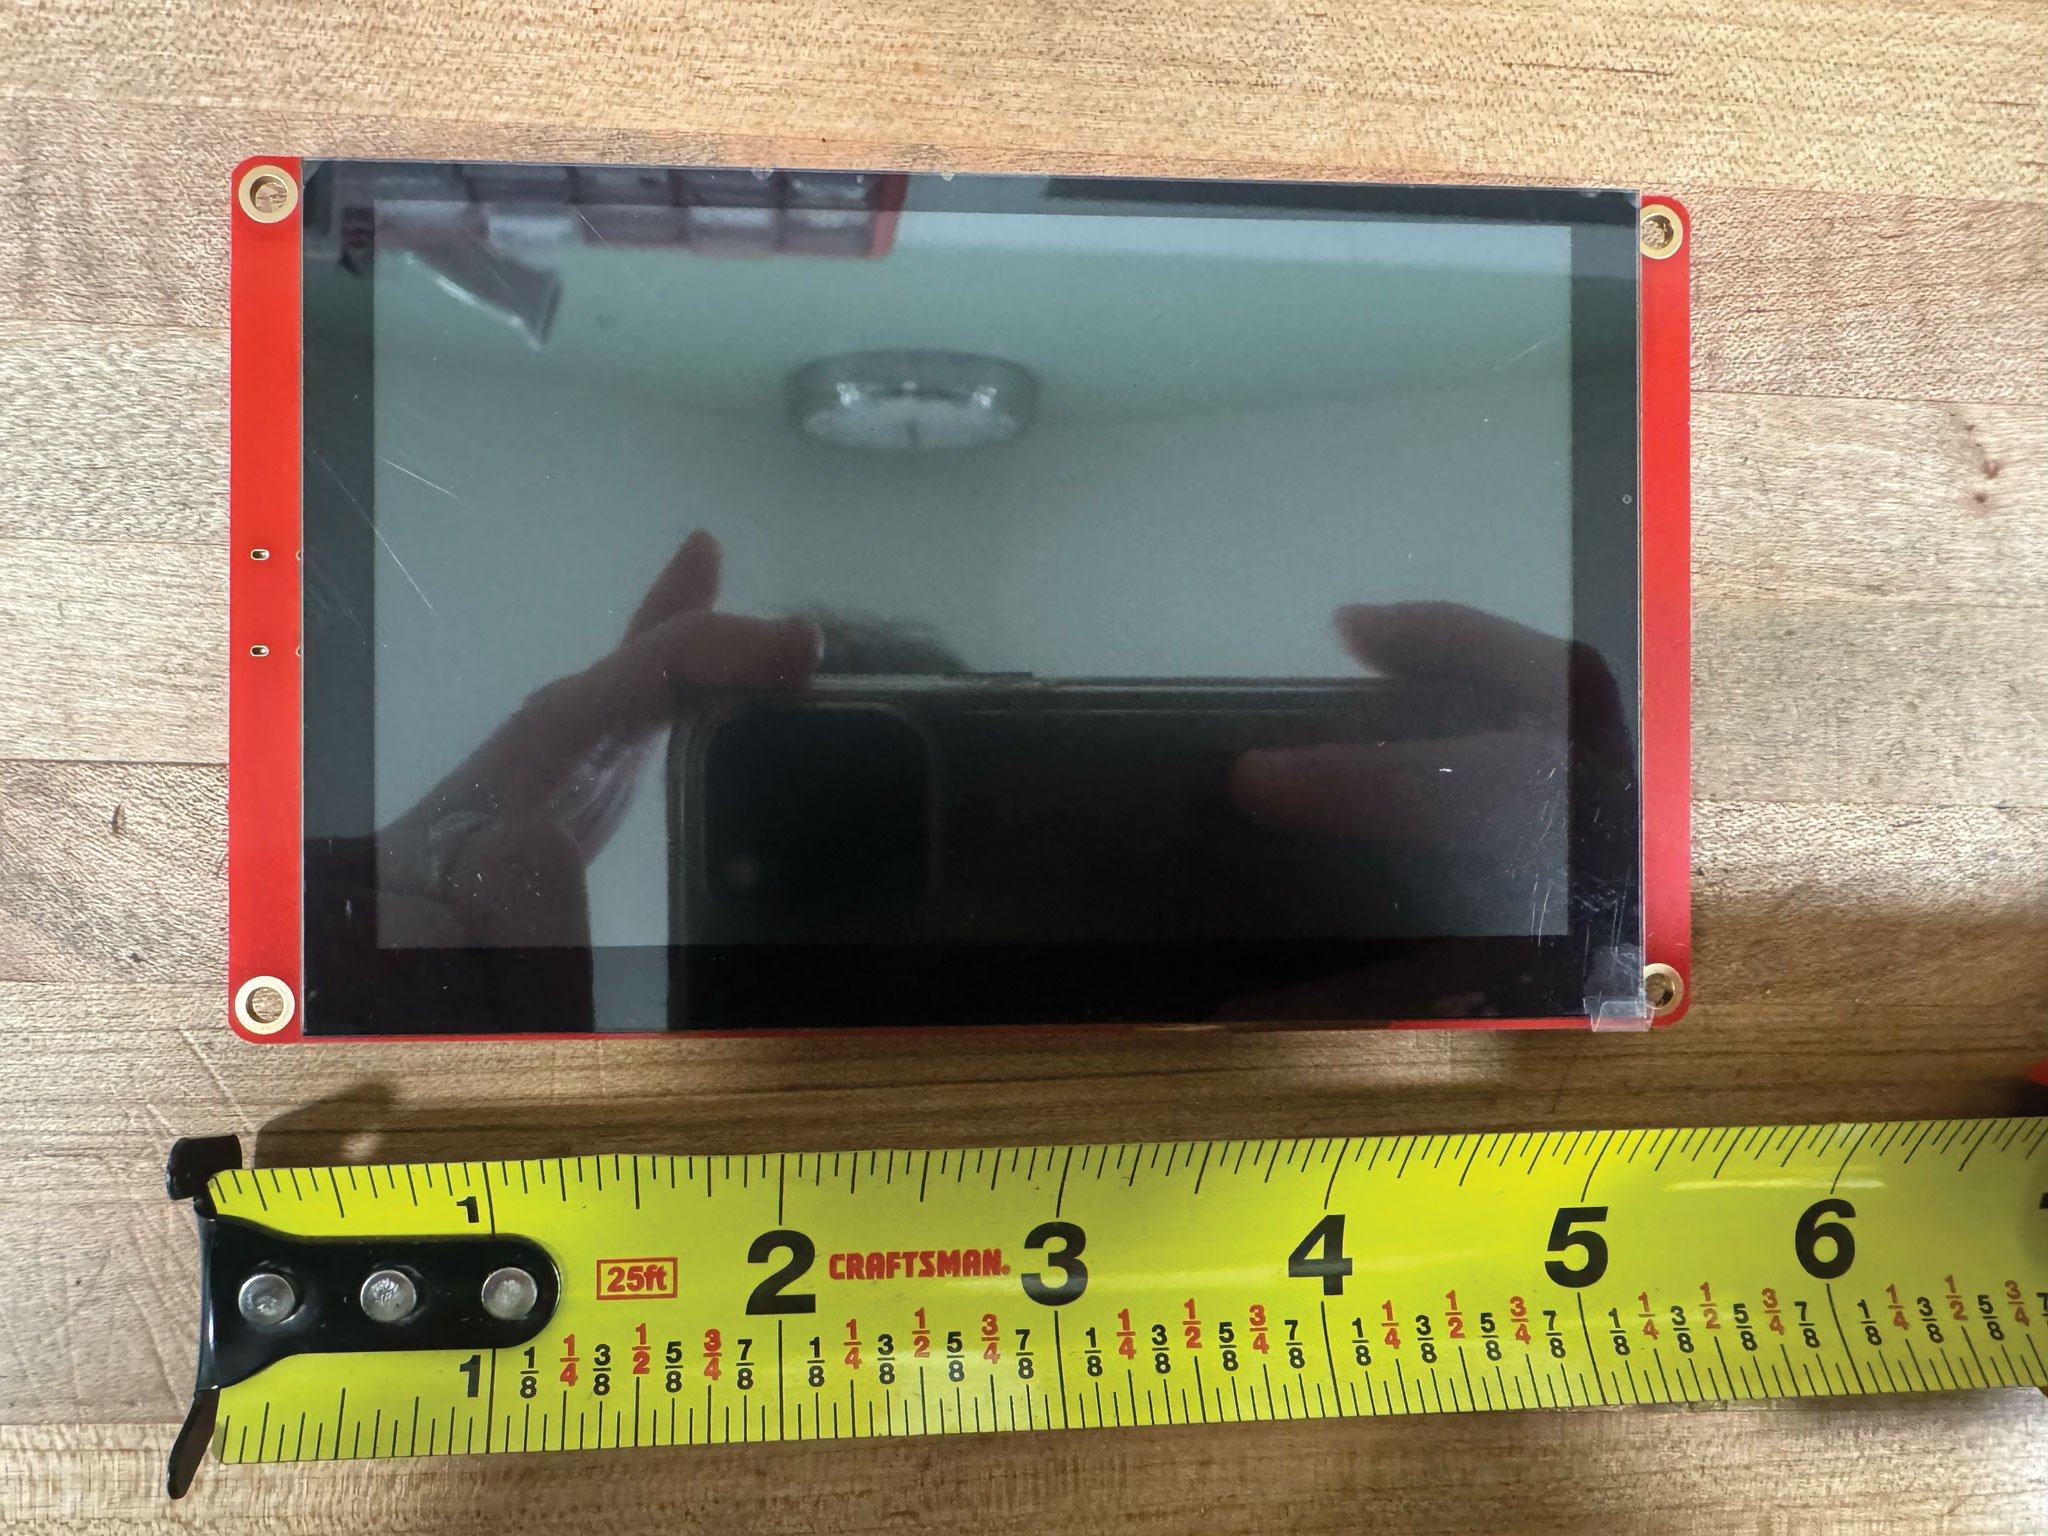
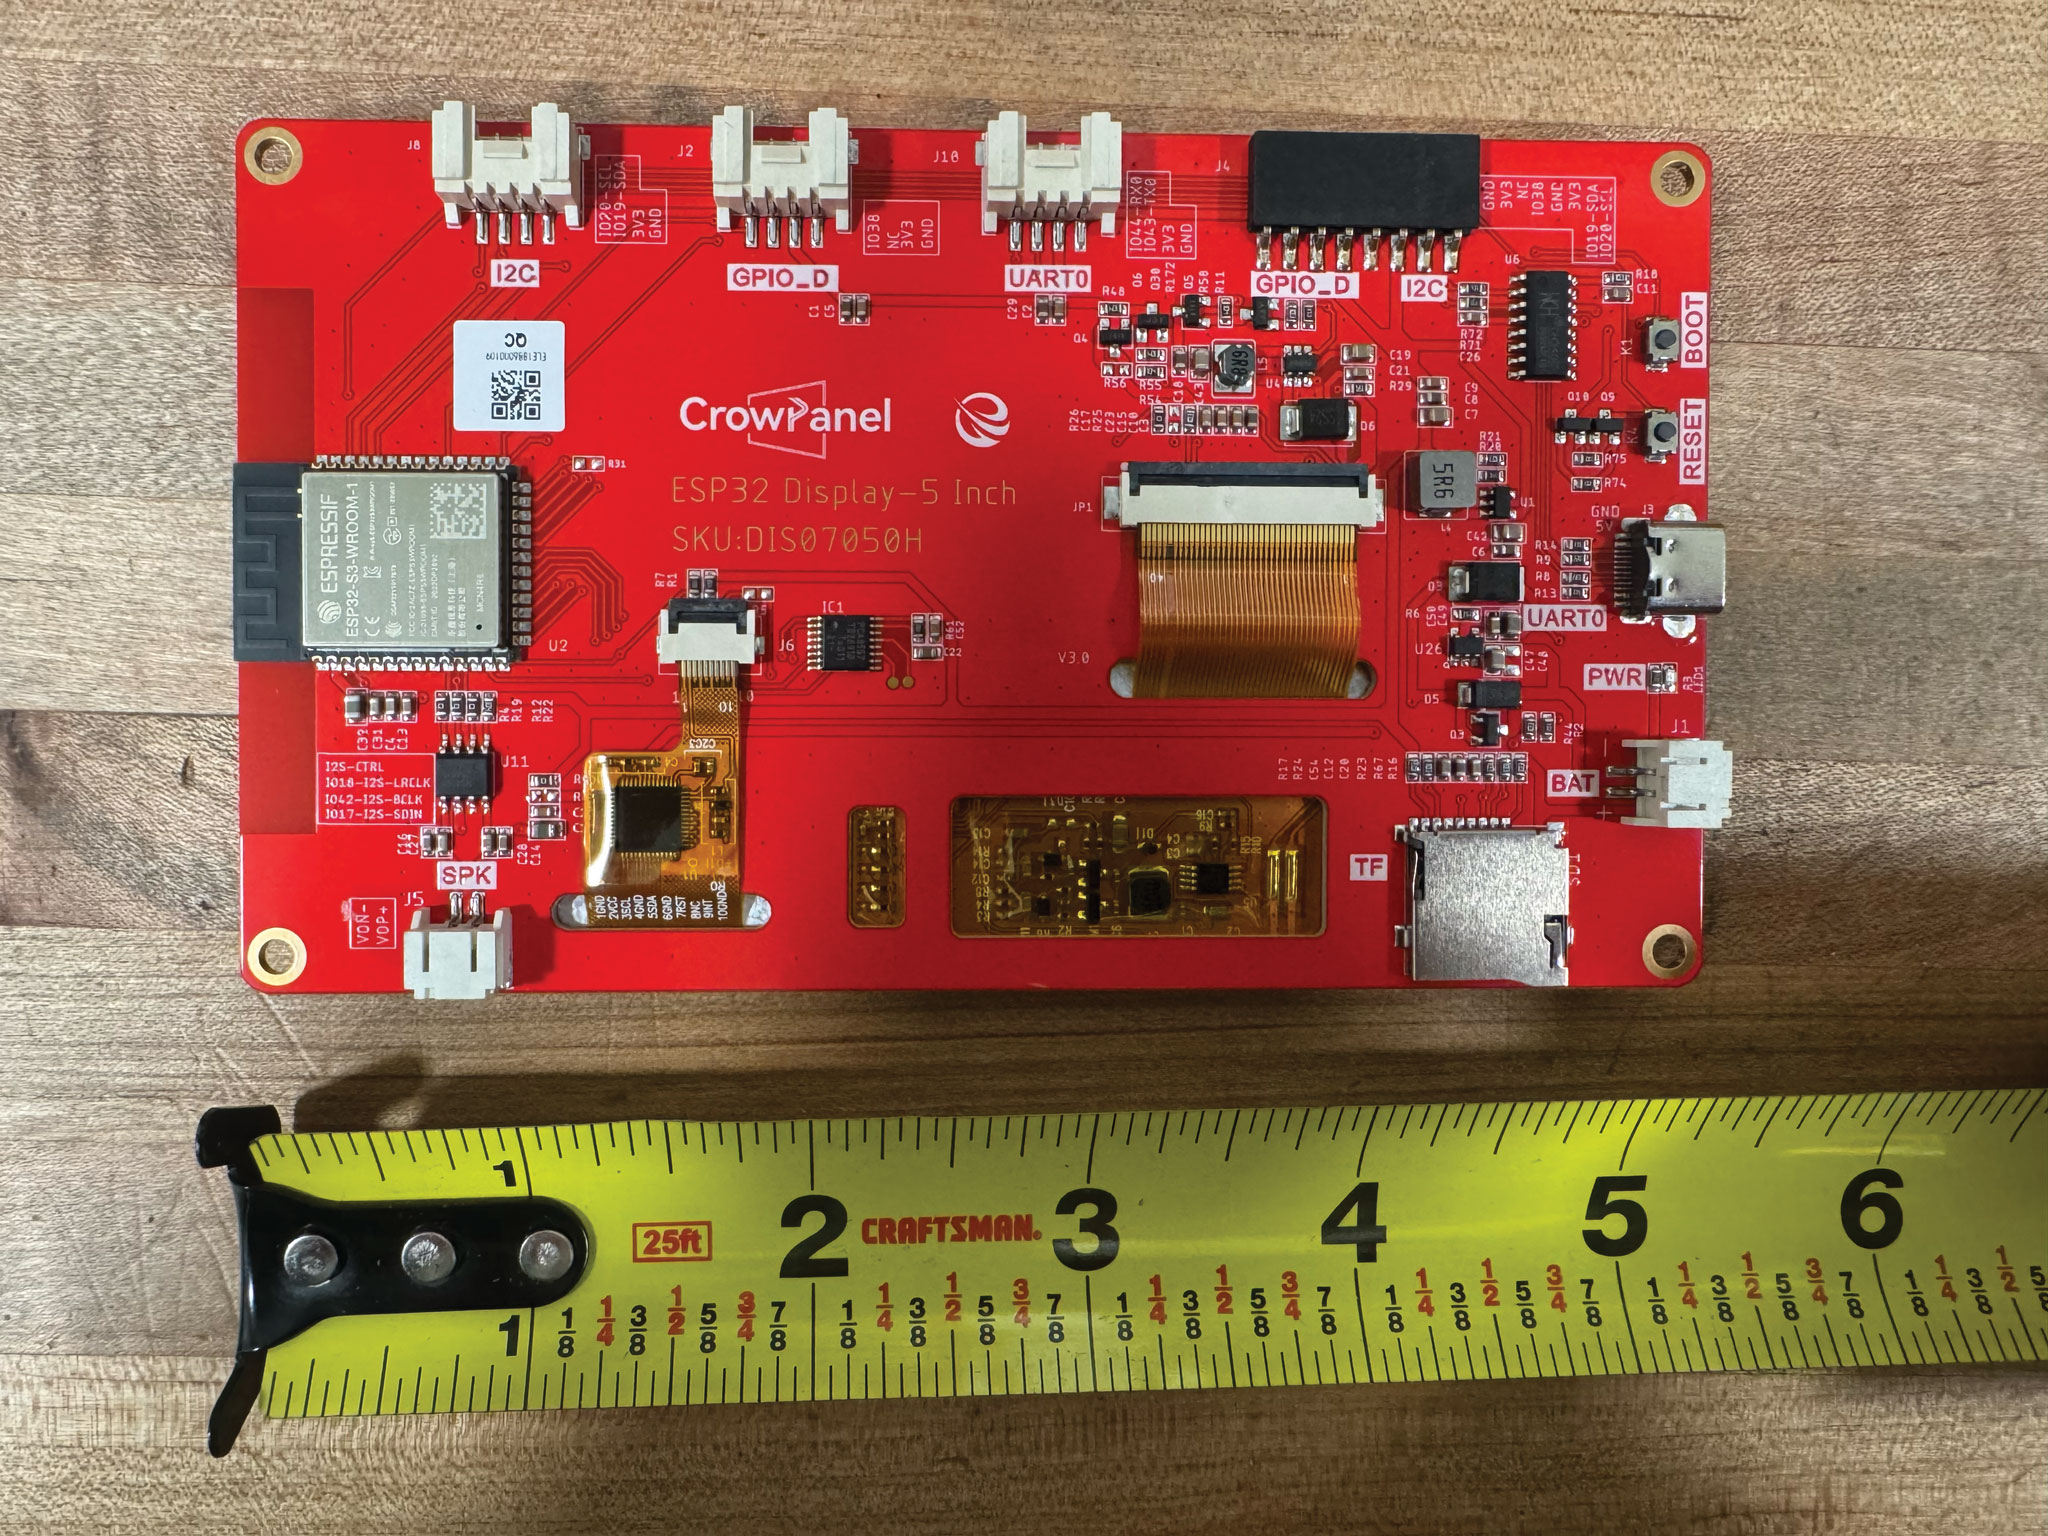
5″ Display (Elecrow Basic)
Elecrow ESP32 Display 5 inch HMI (red board, RGB, 800×480)The red board, not the Advance or AI series (see the note on 5″ boards below).
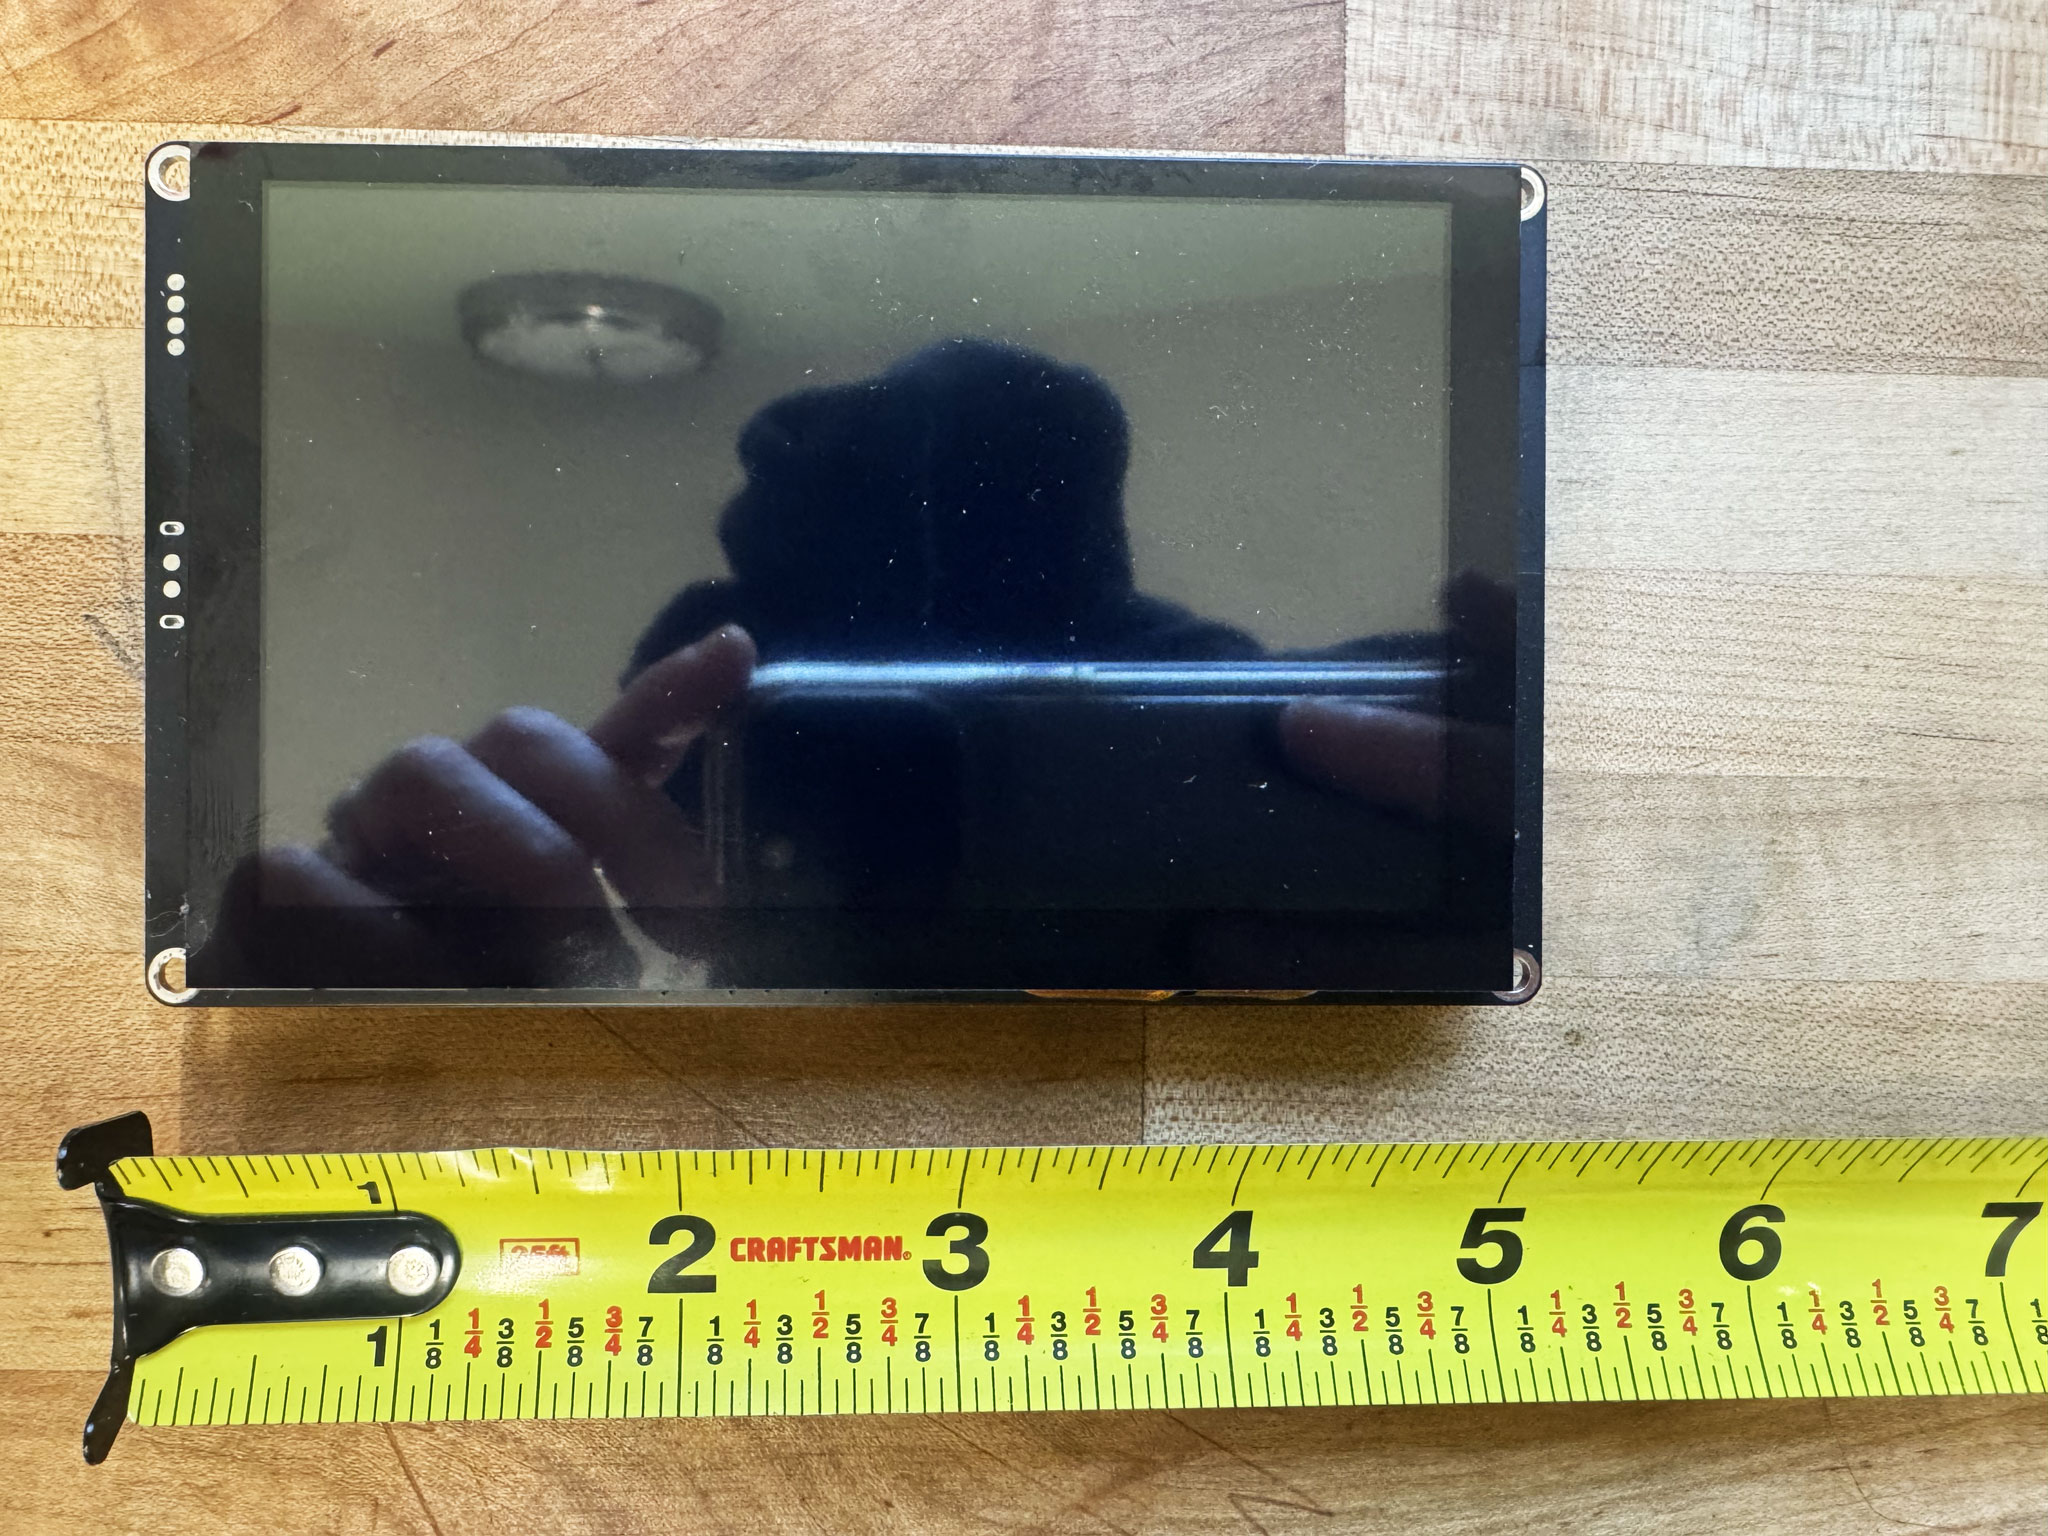

5″ Display (Elecrow Advance)
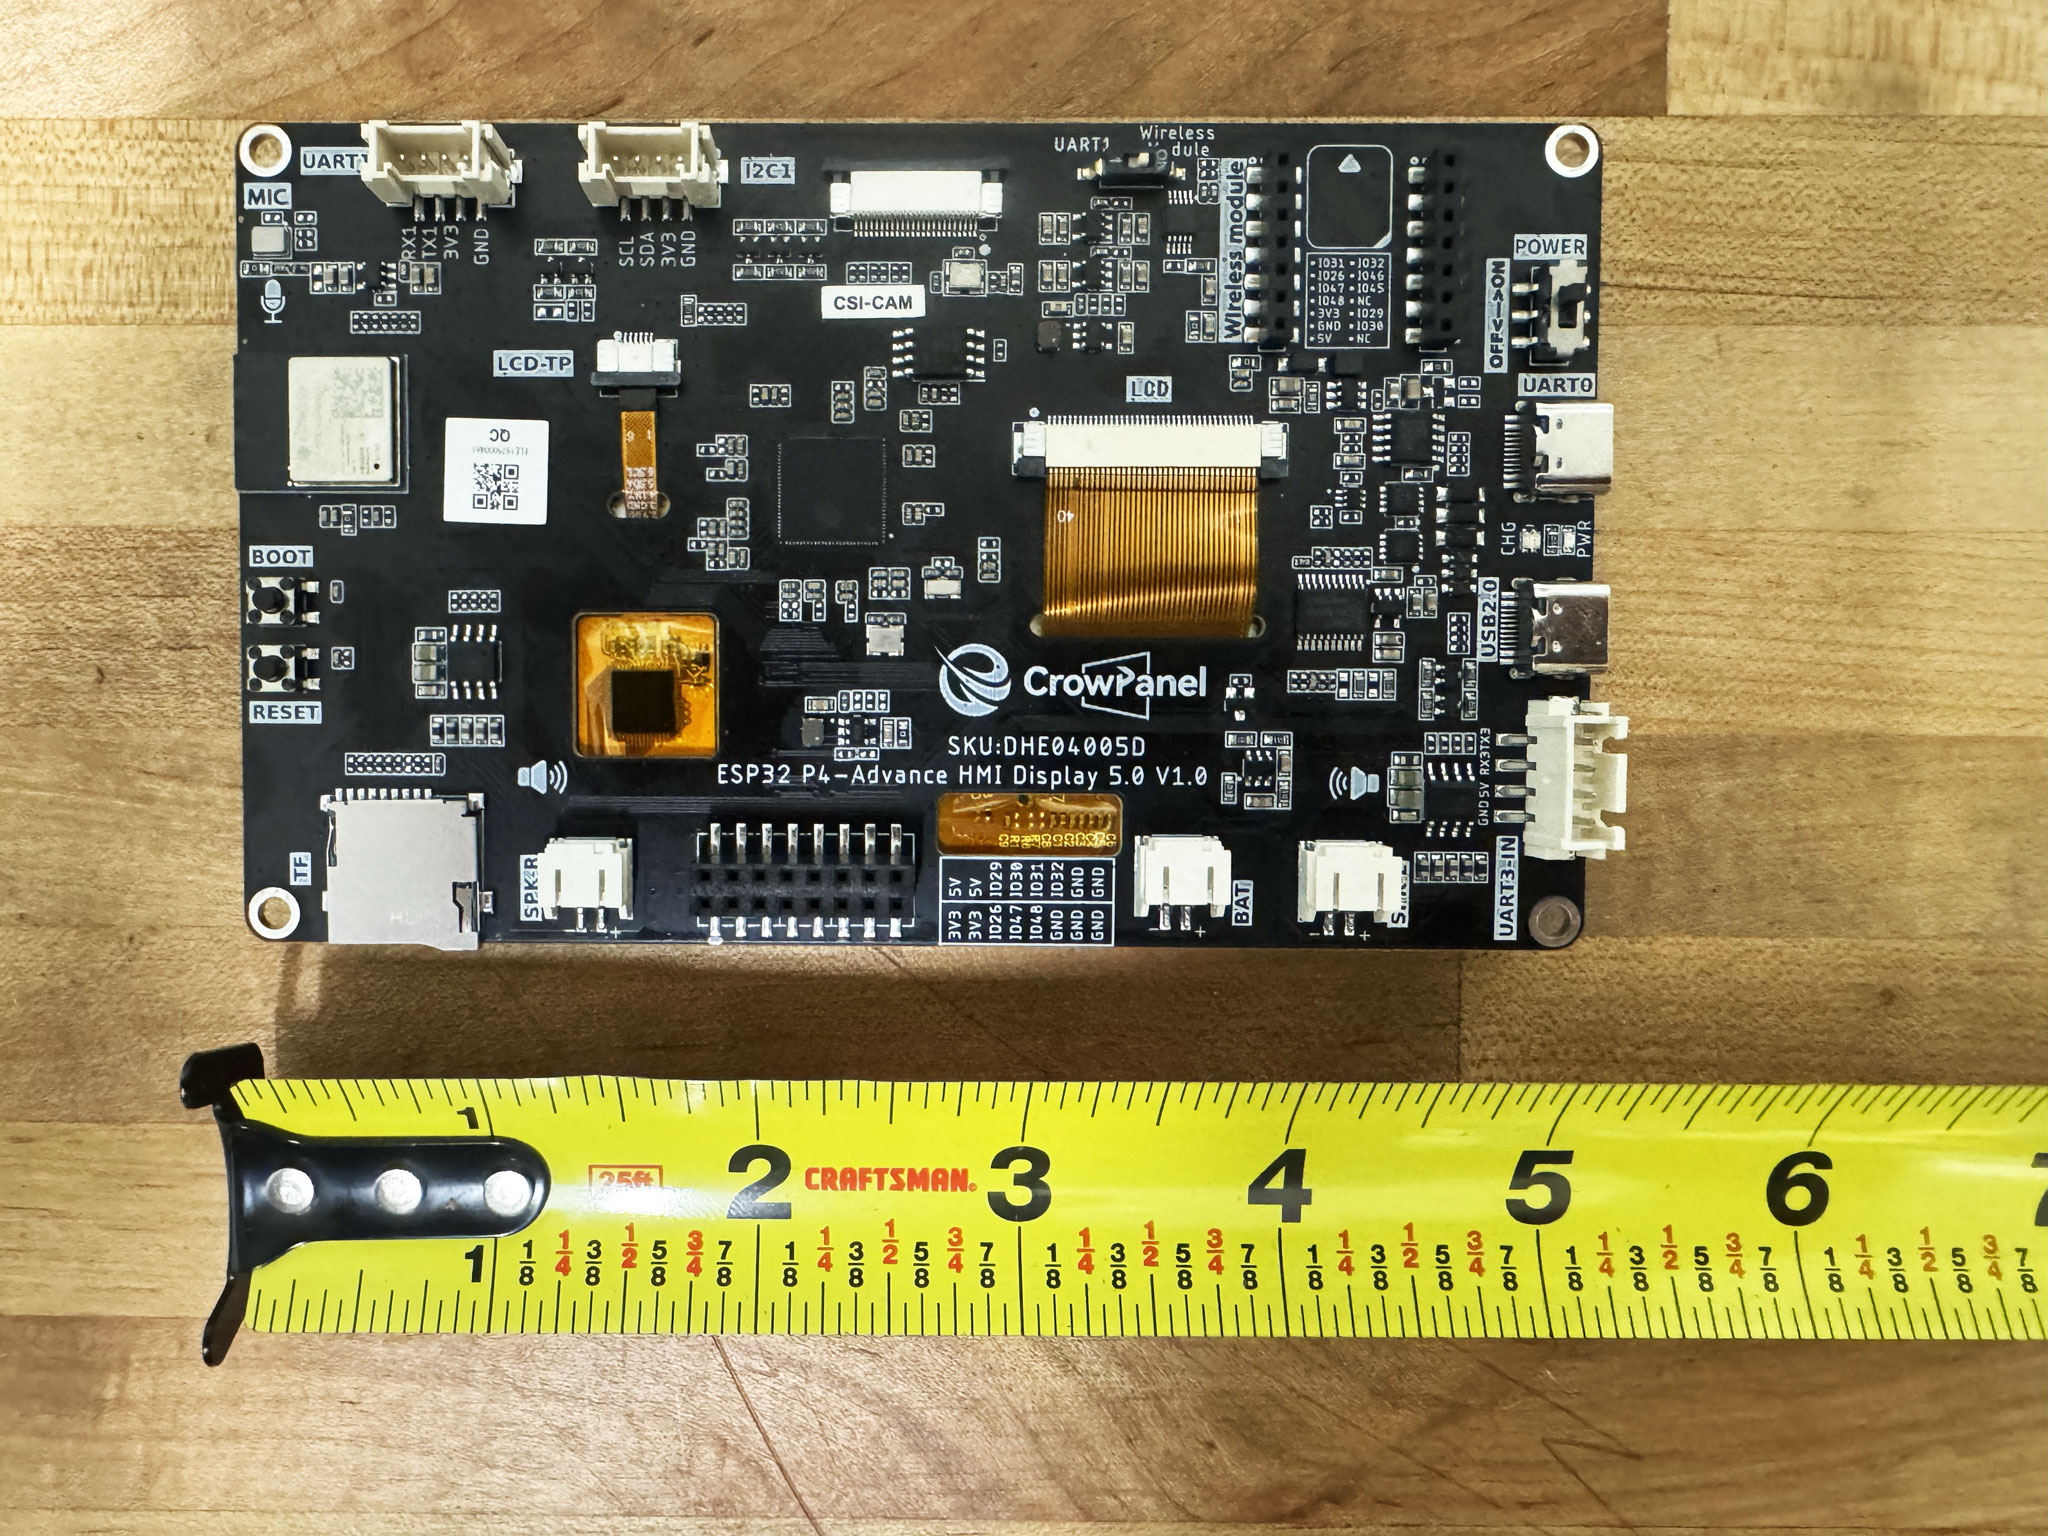
Elecrow CrowPanel Advance 5.0 HMI (RGB, 800×480, ST7262 driver, GT911 touch)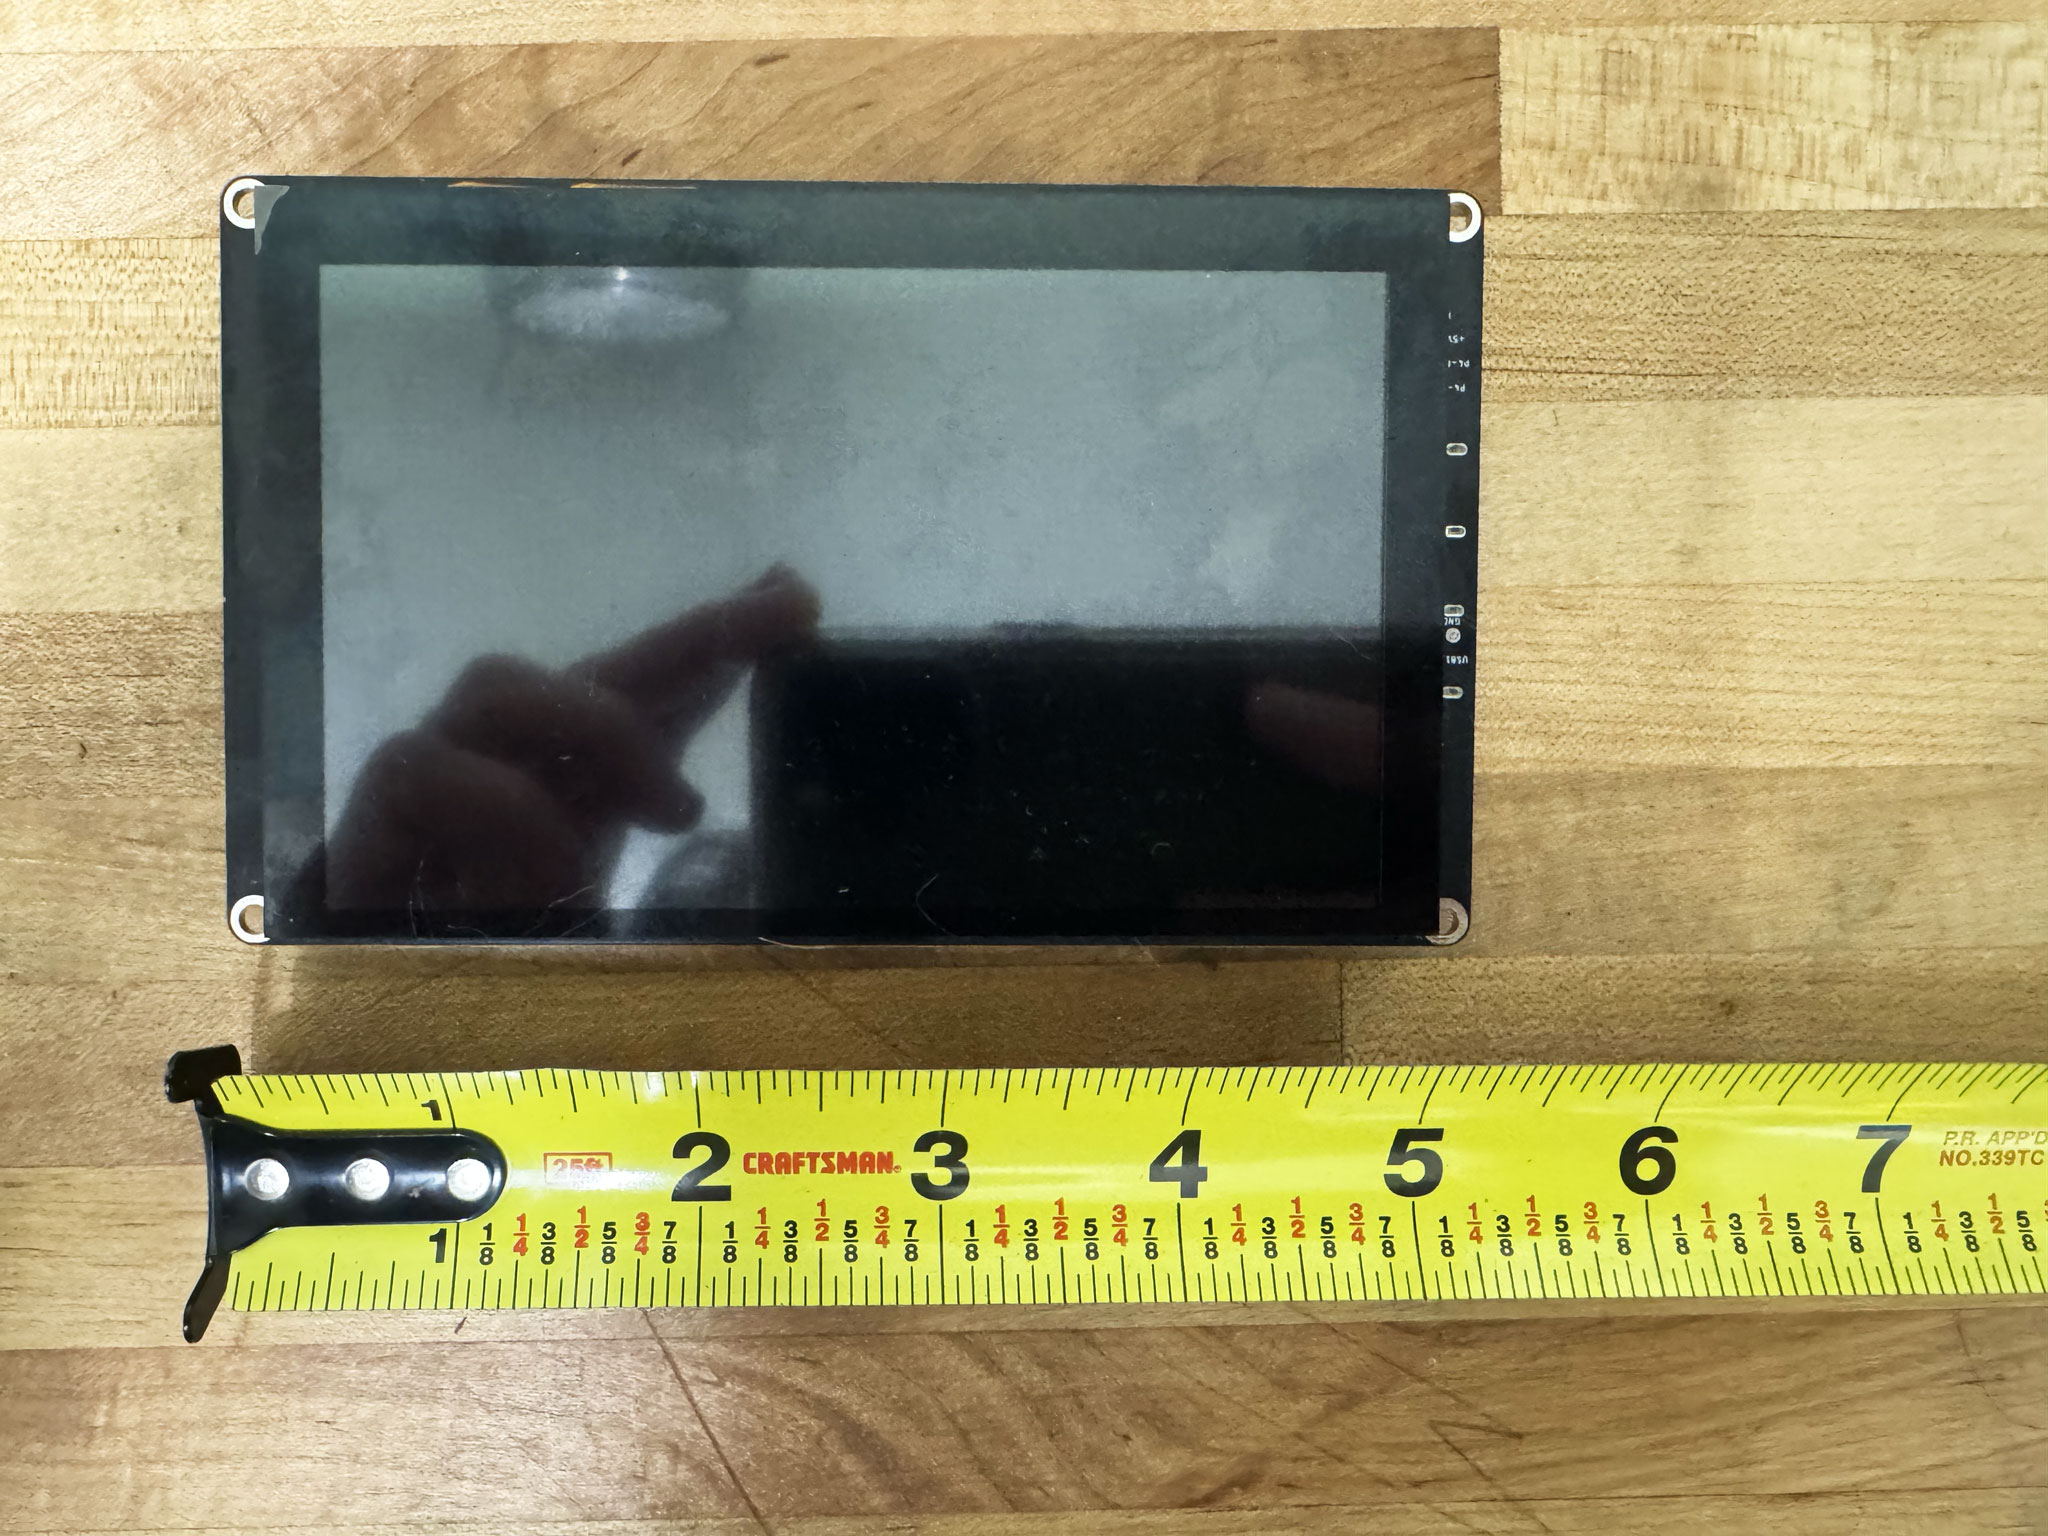
5″ Display (Elecrow AI)
Elecrow CrowPanel AI 5.0 ESP32-P4 HMI Display (RGB, 800×480, ST7262 driver, GT911 touch)Use the USB port labeled UART initially for the first flash, then use the USB 2.0 labeled port for normal operation and ongoing flashing.
M5Stack Tab5
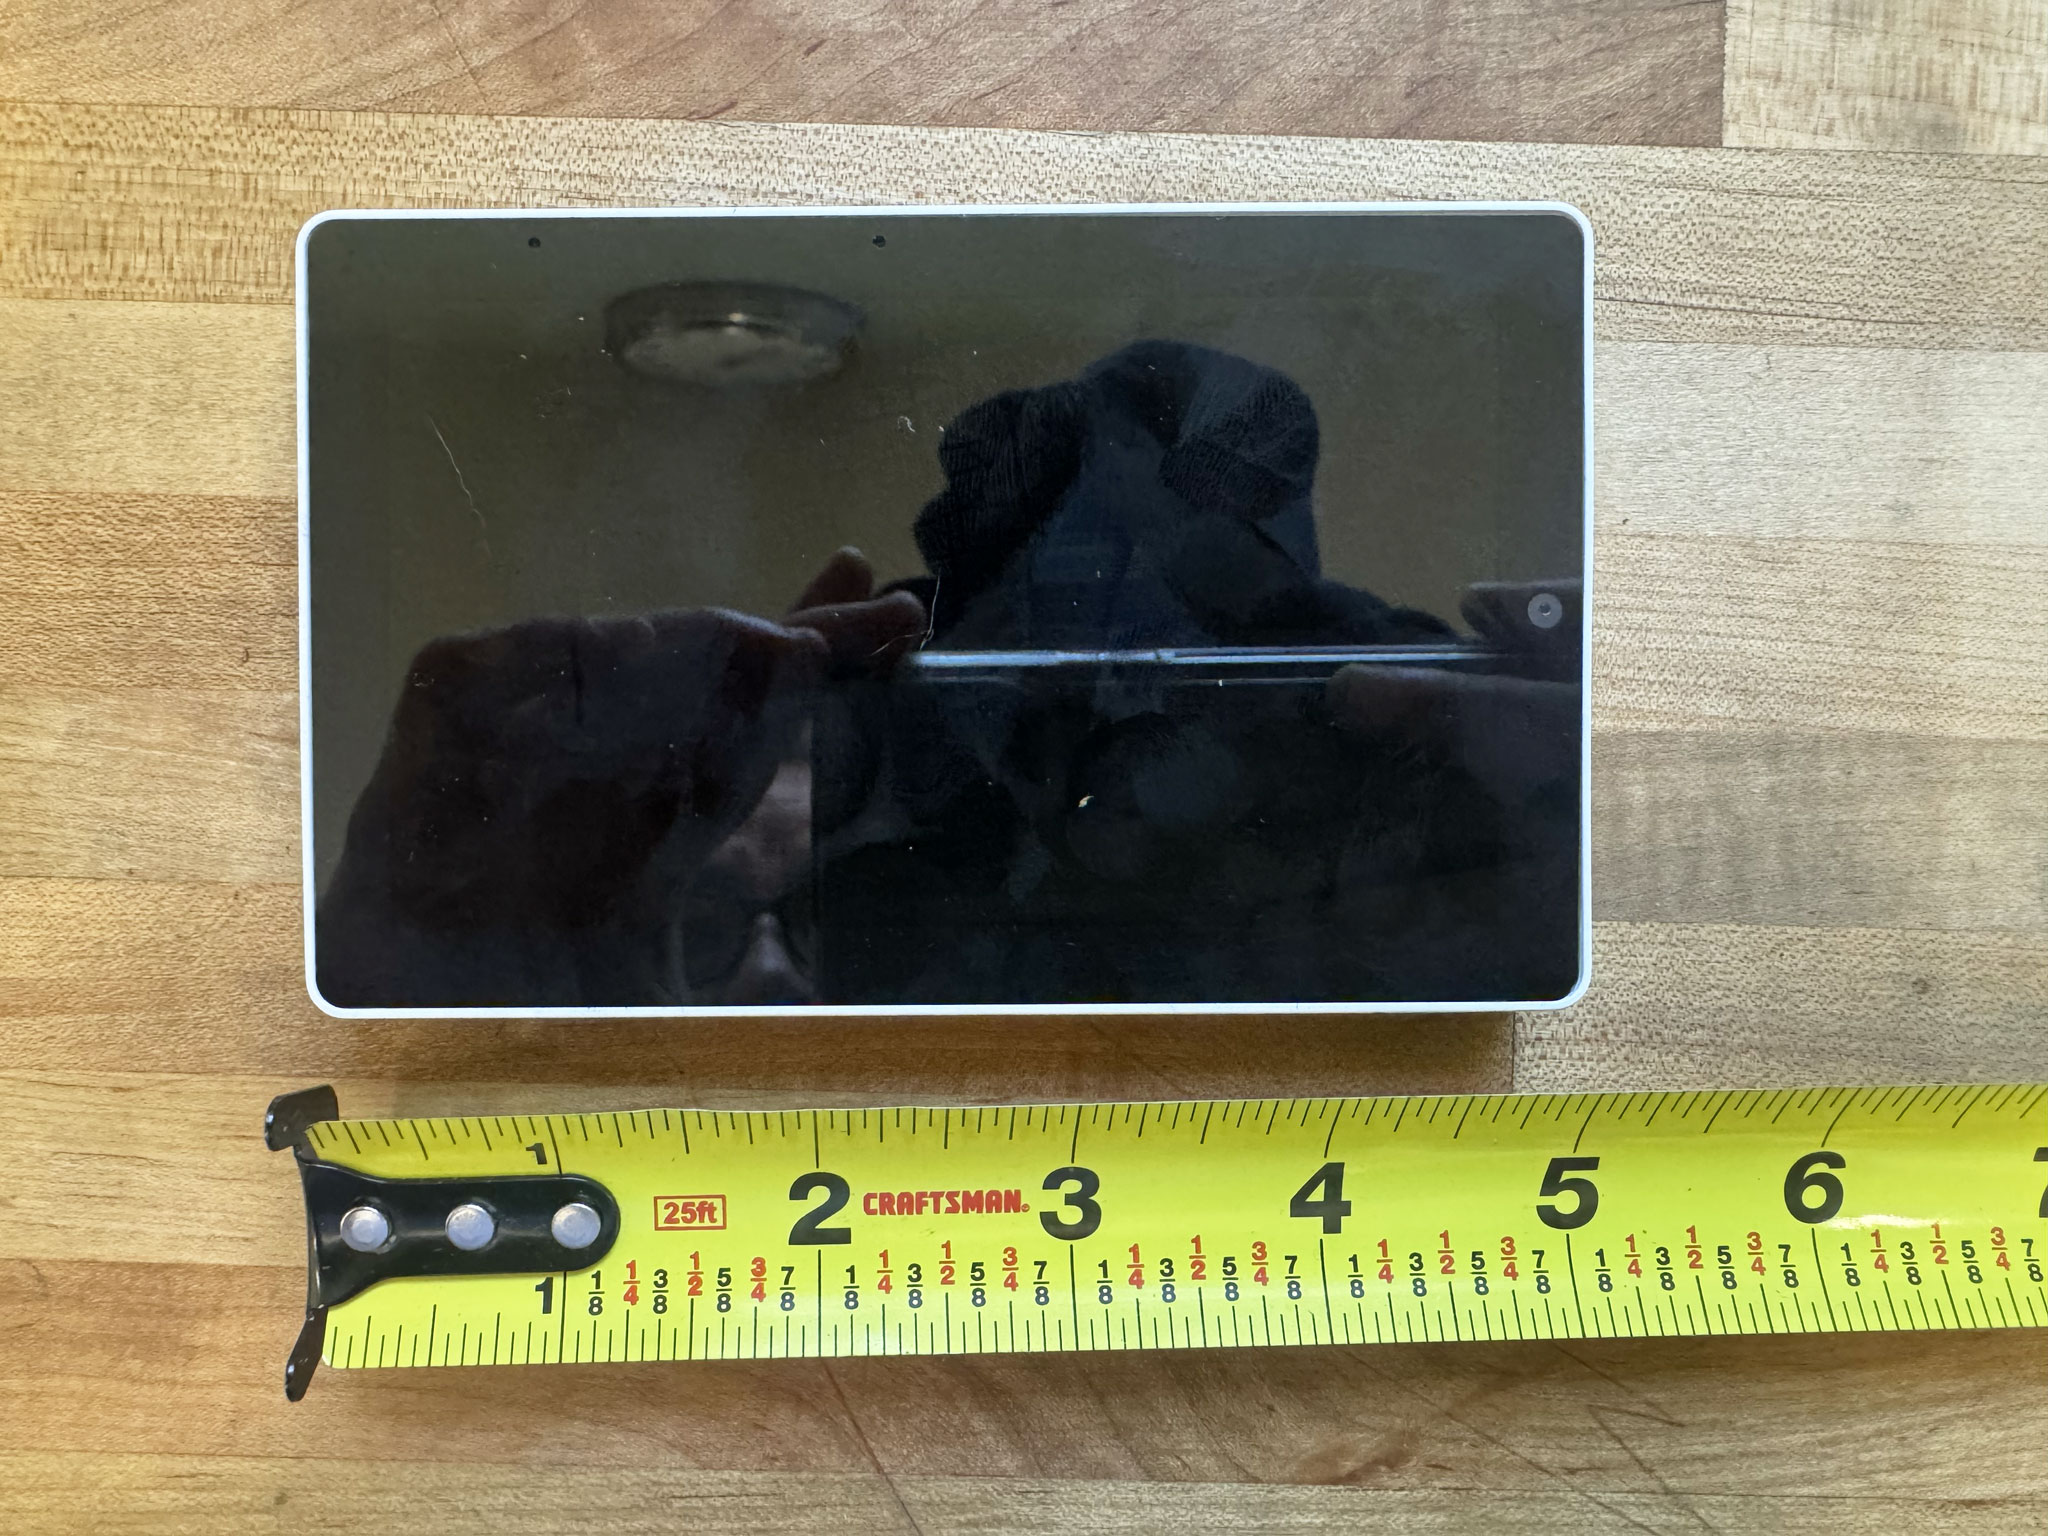
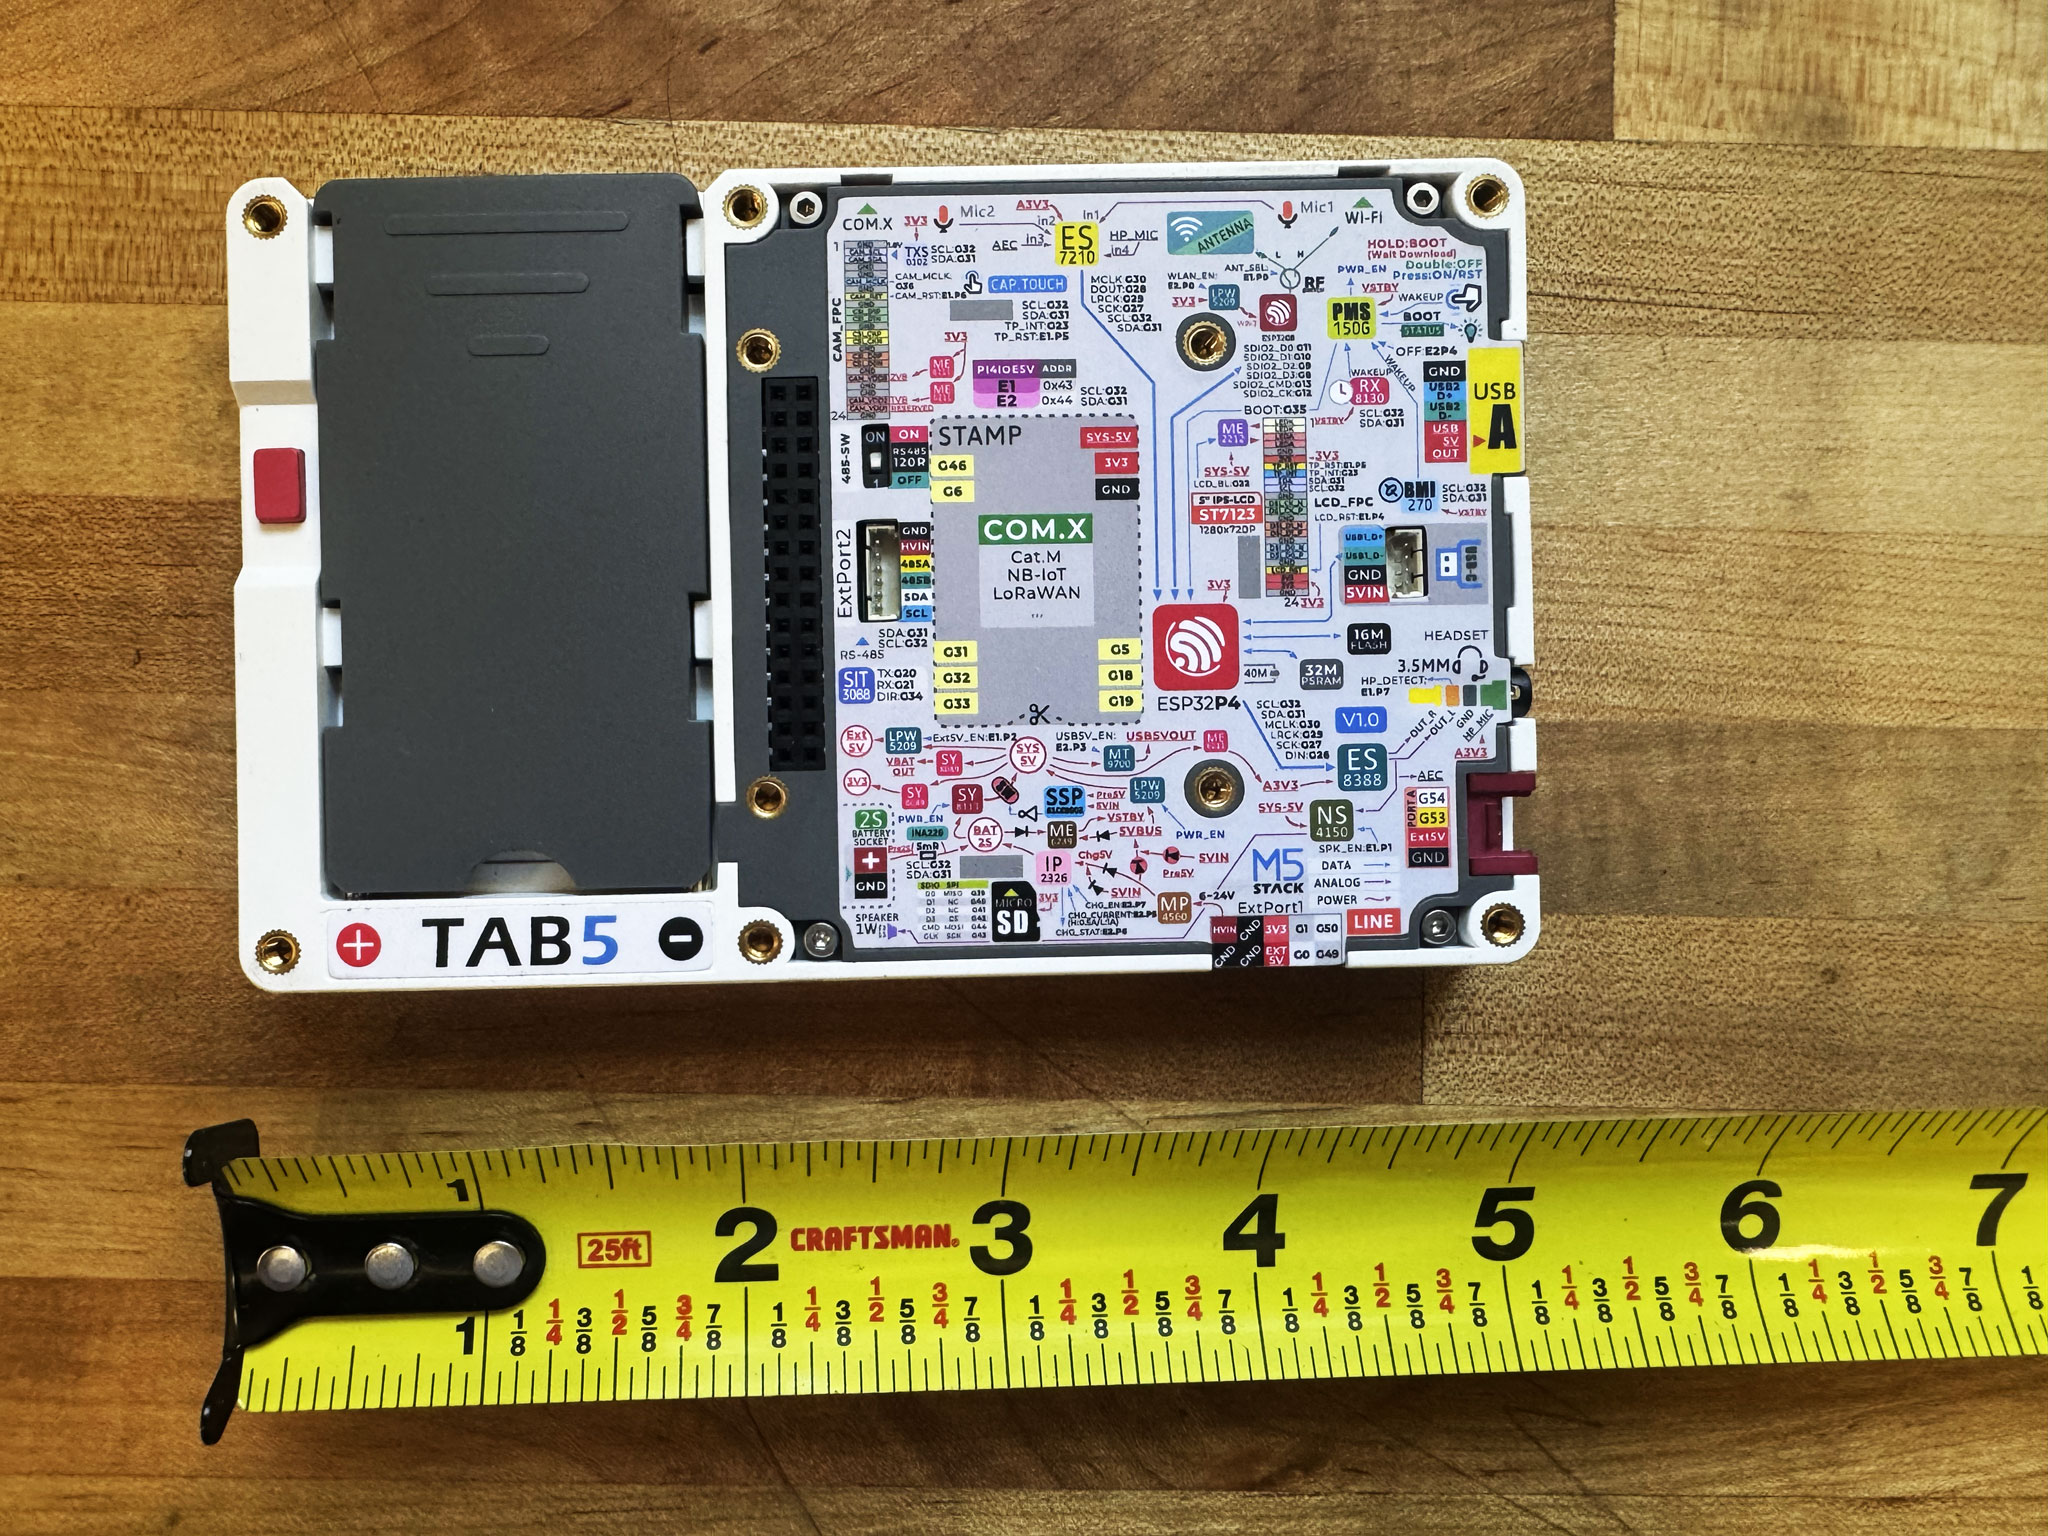
M5Stack Tab5Built-in speaker plays short chimes for certain events, like unlocking a RetroAchievement. 3D printable stand
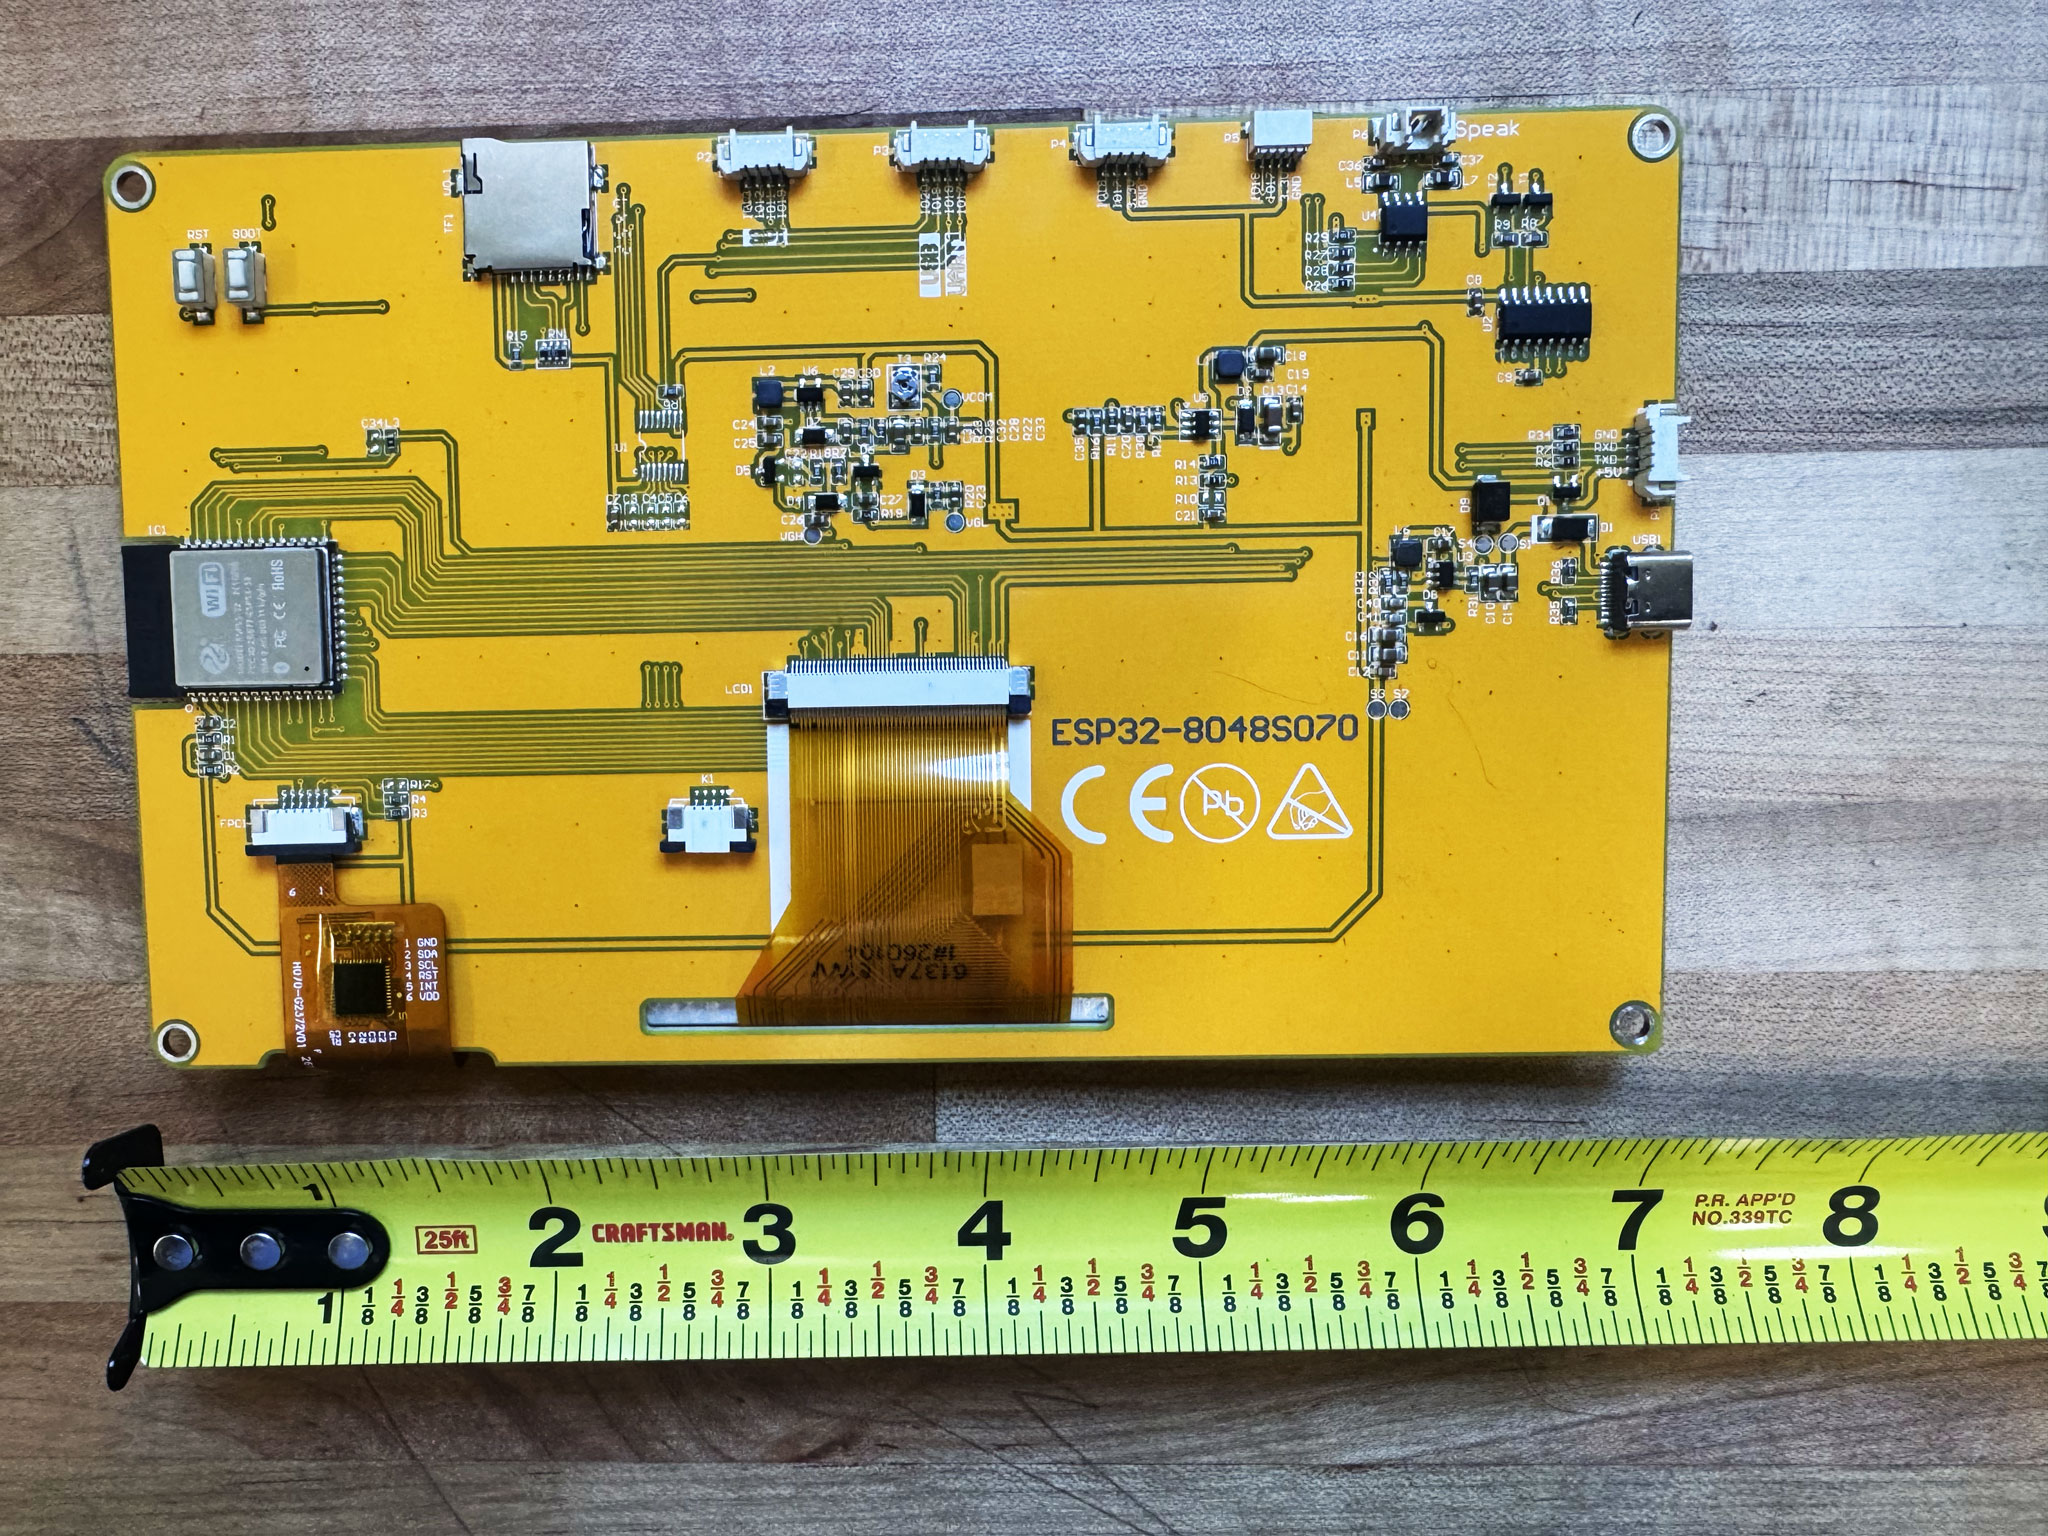
7″ Display (Sunton)
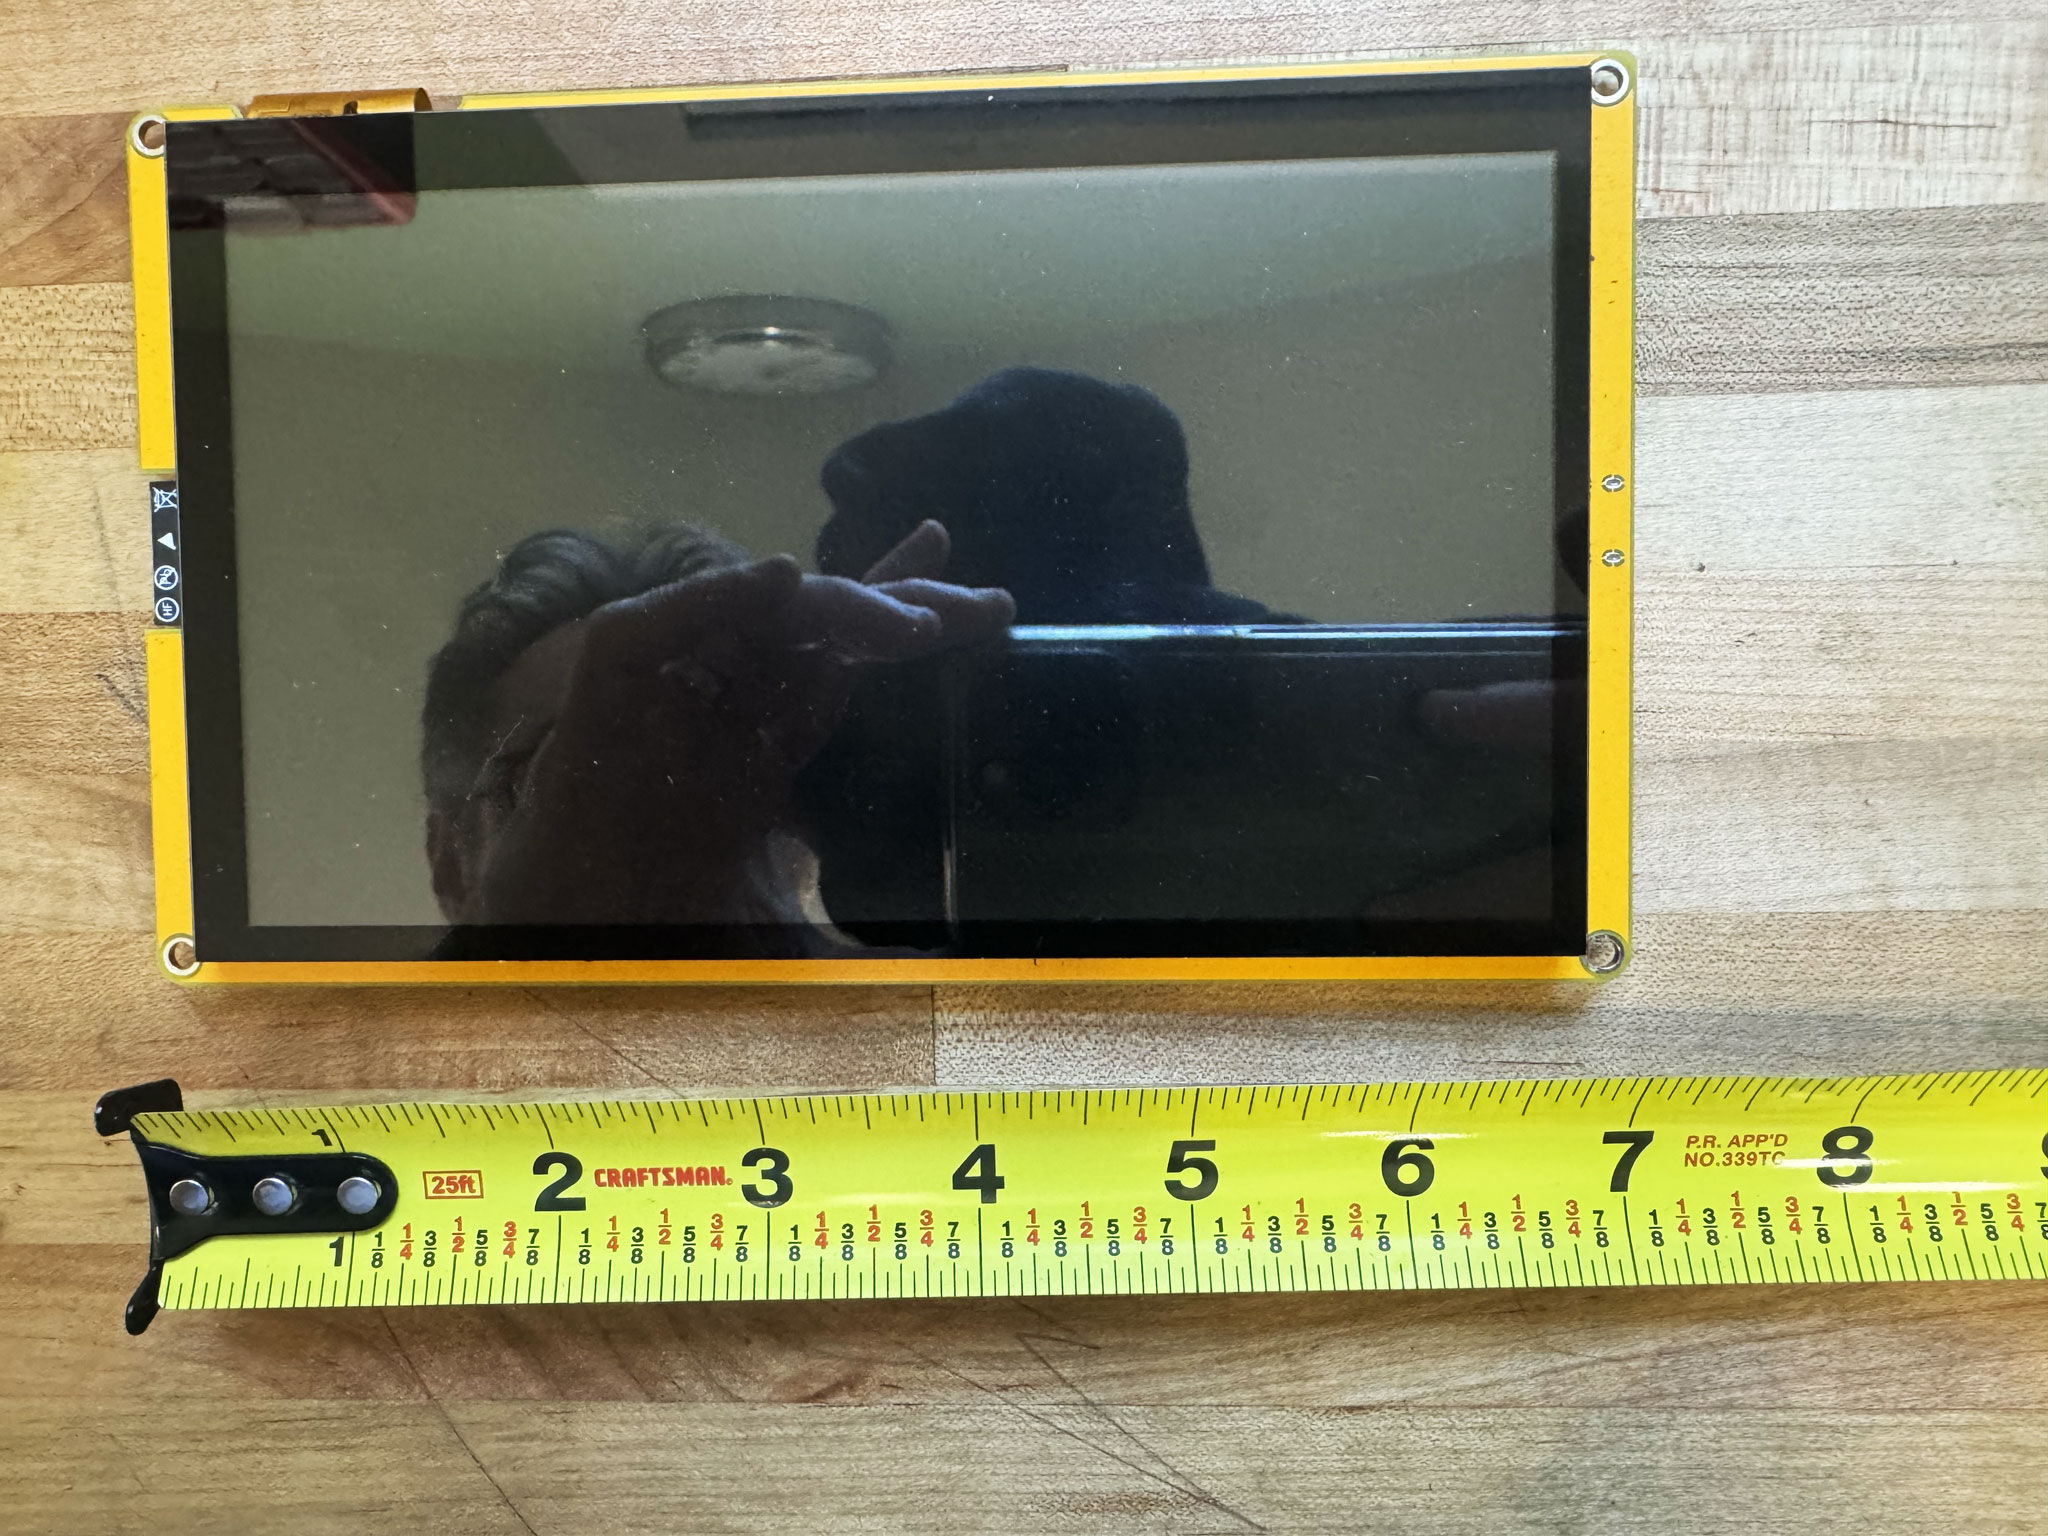
ESP32-8048S070 (no trailing “C”) / EC Buying ESP32-S3 7.0 (RGB, 800×480, 16MB flash / 8MB PSRAM)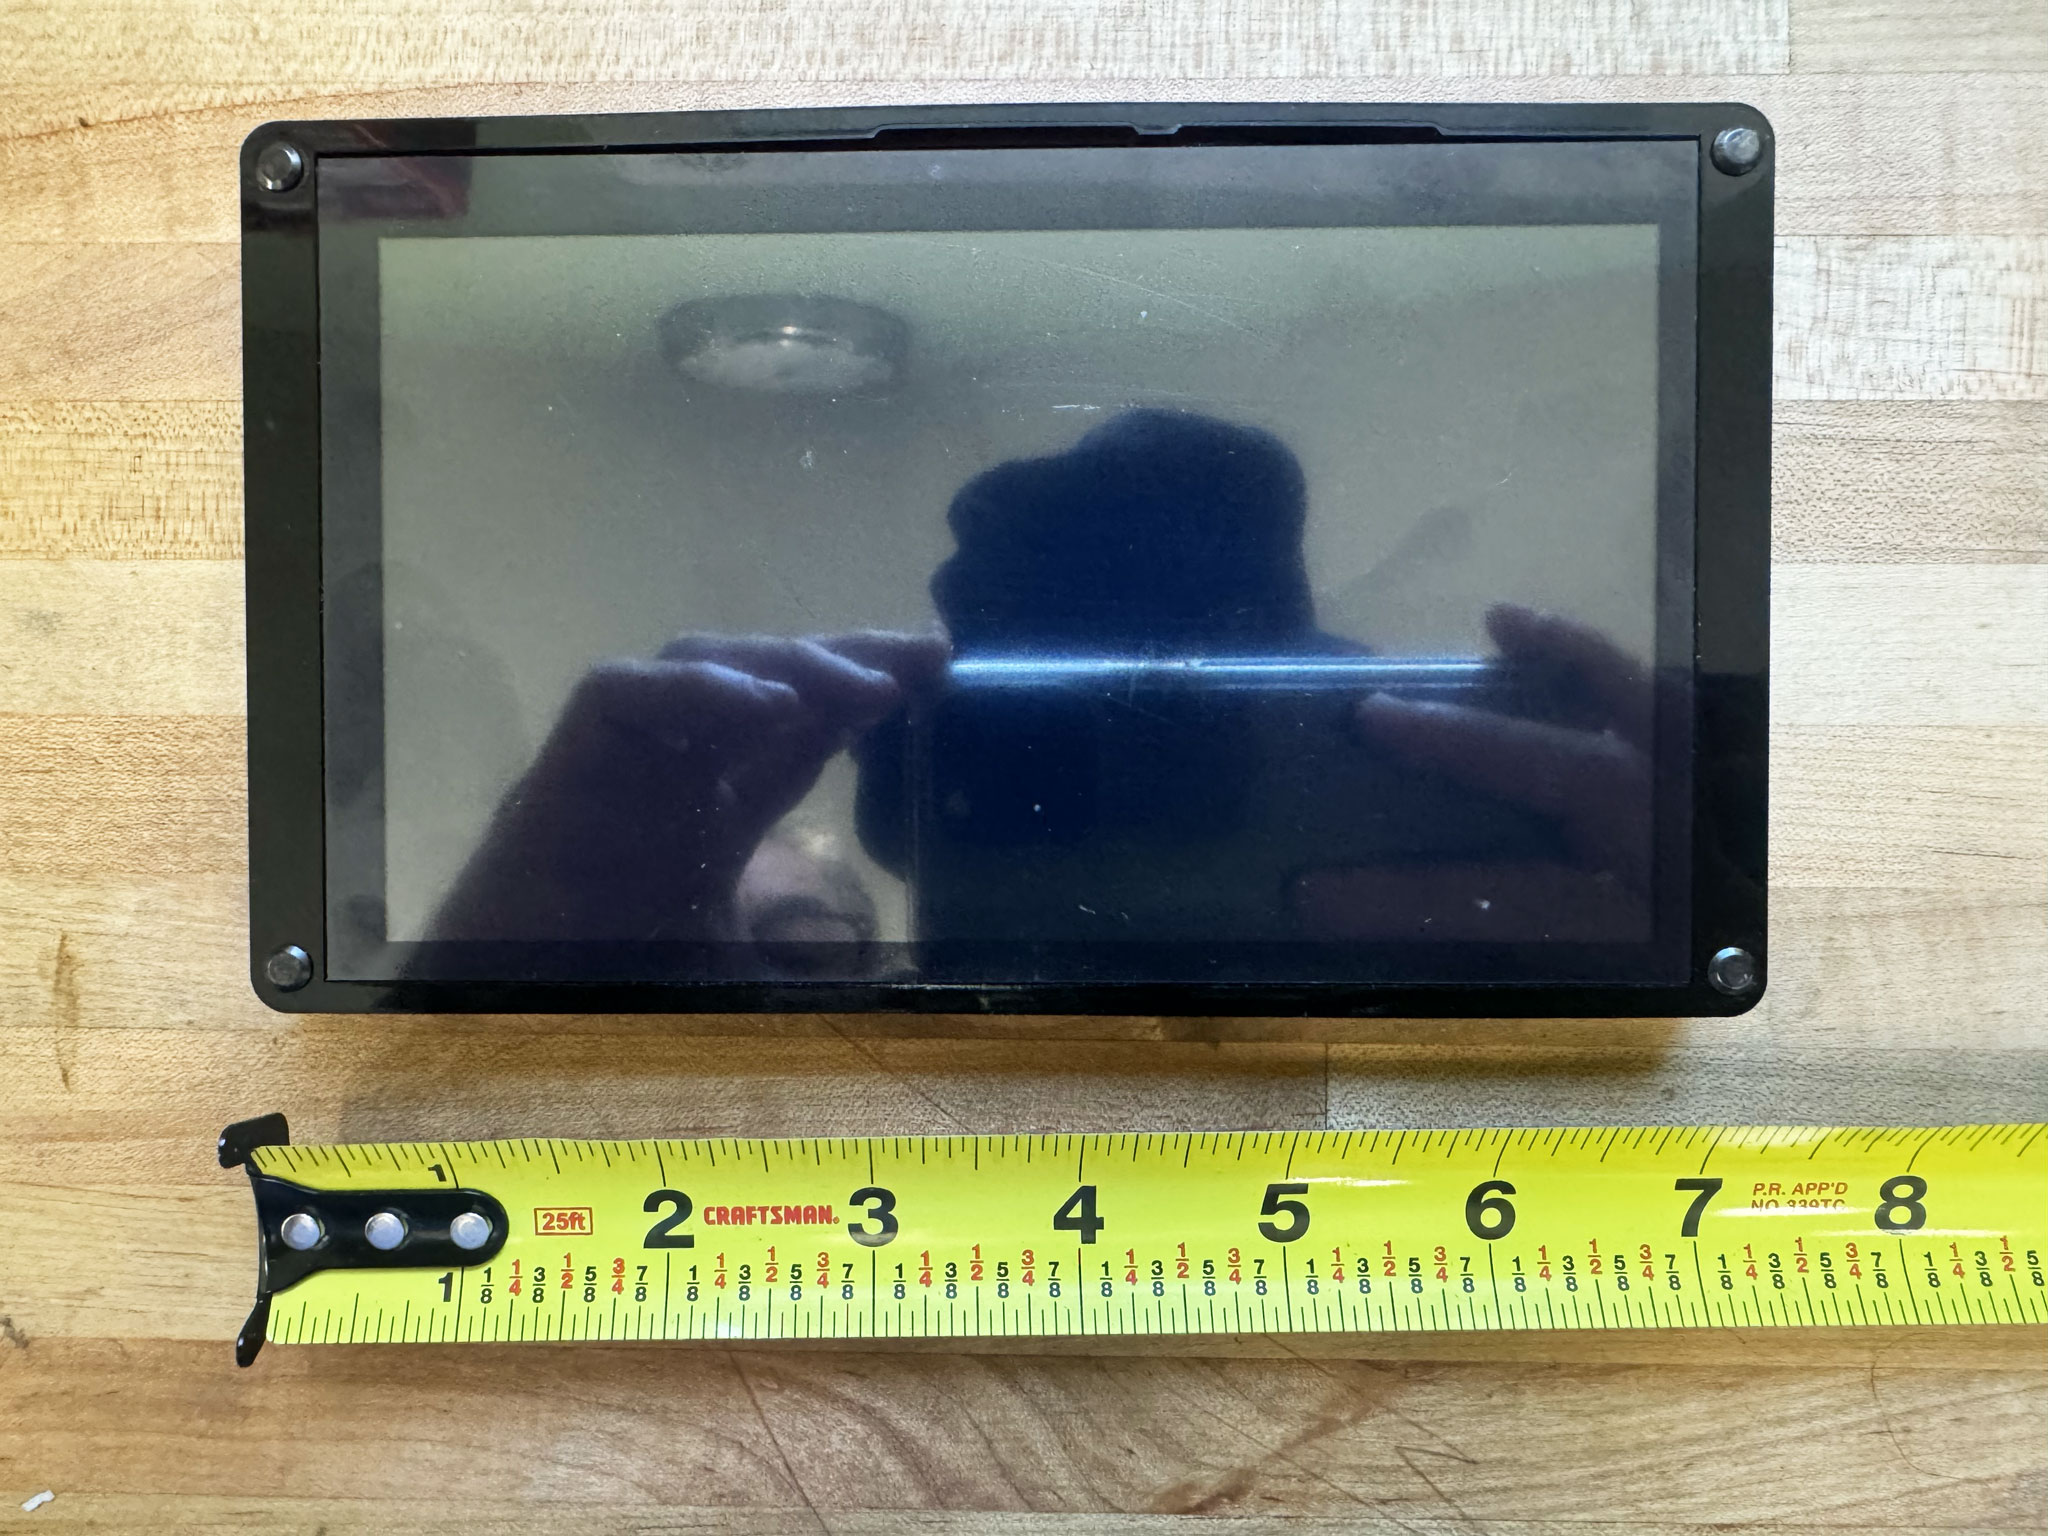
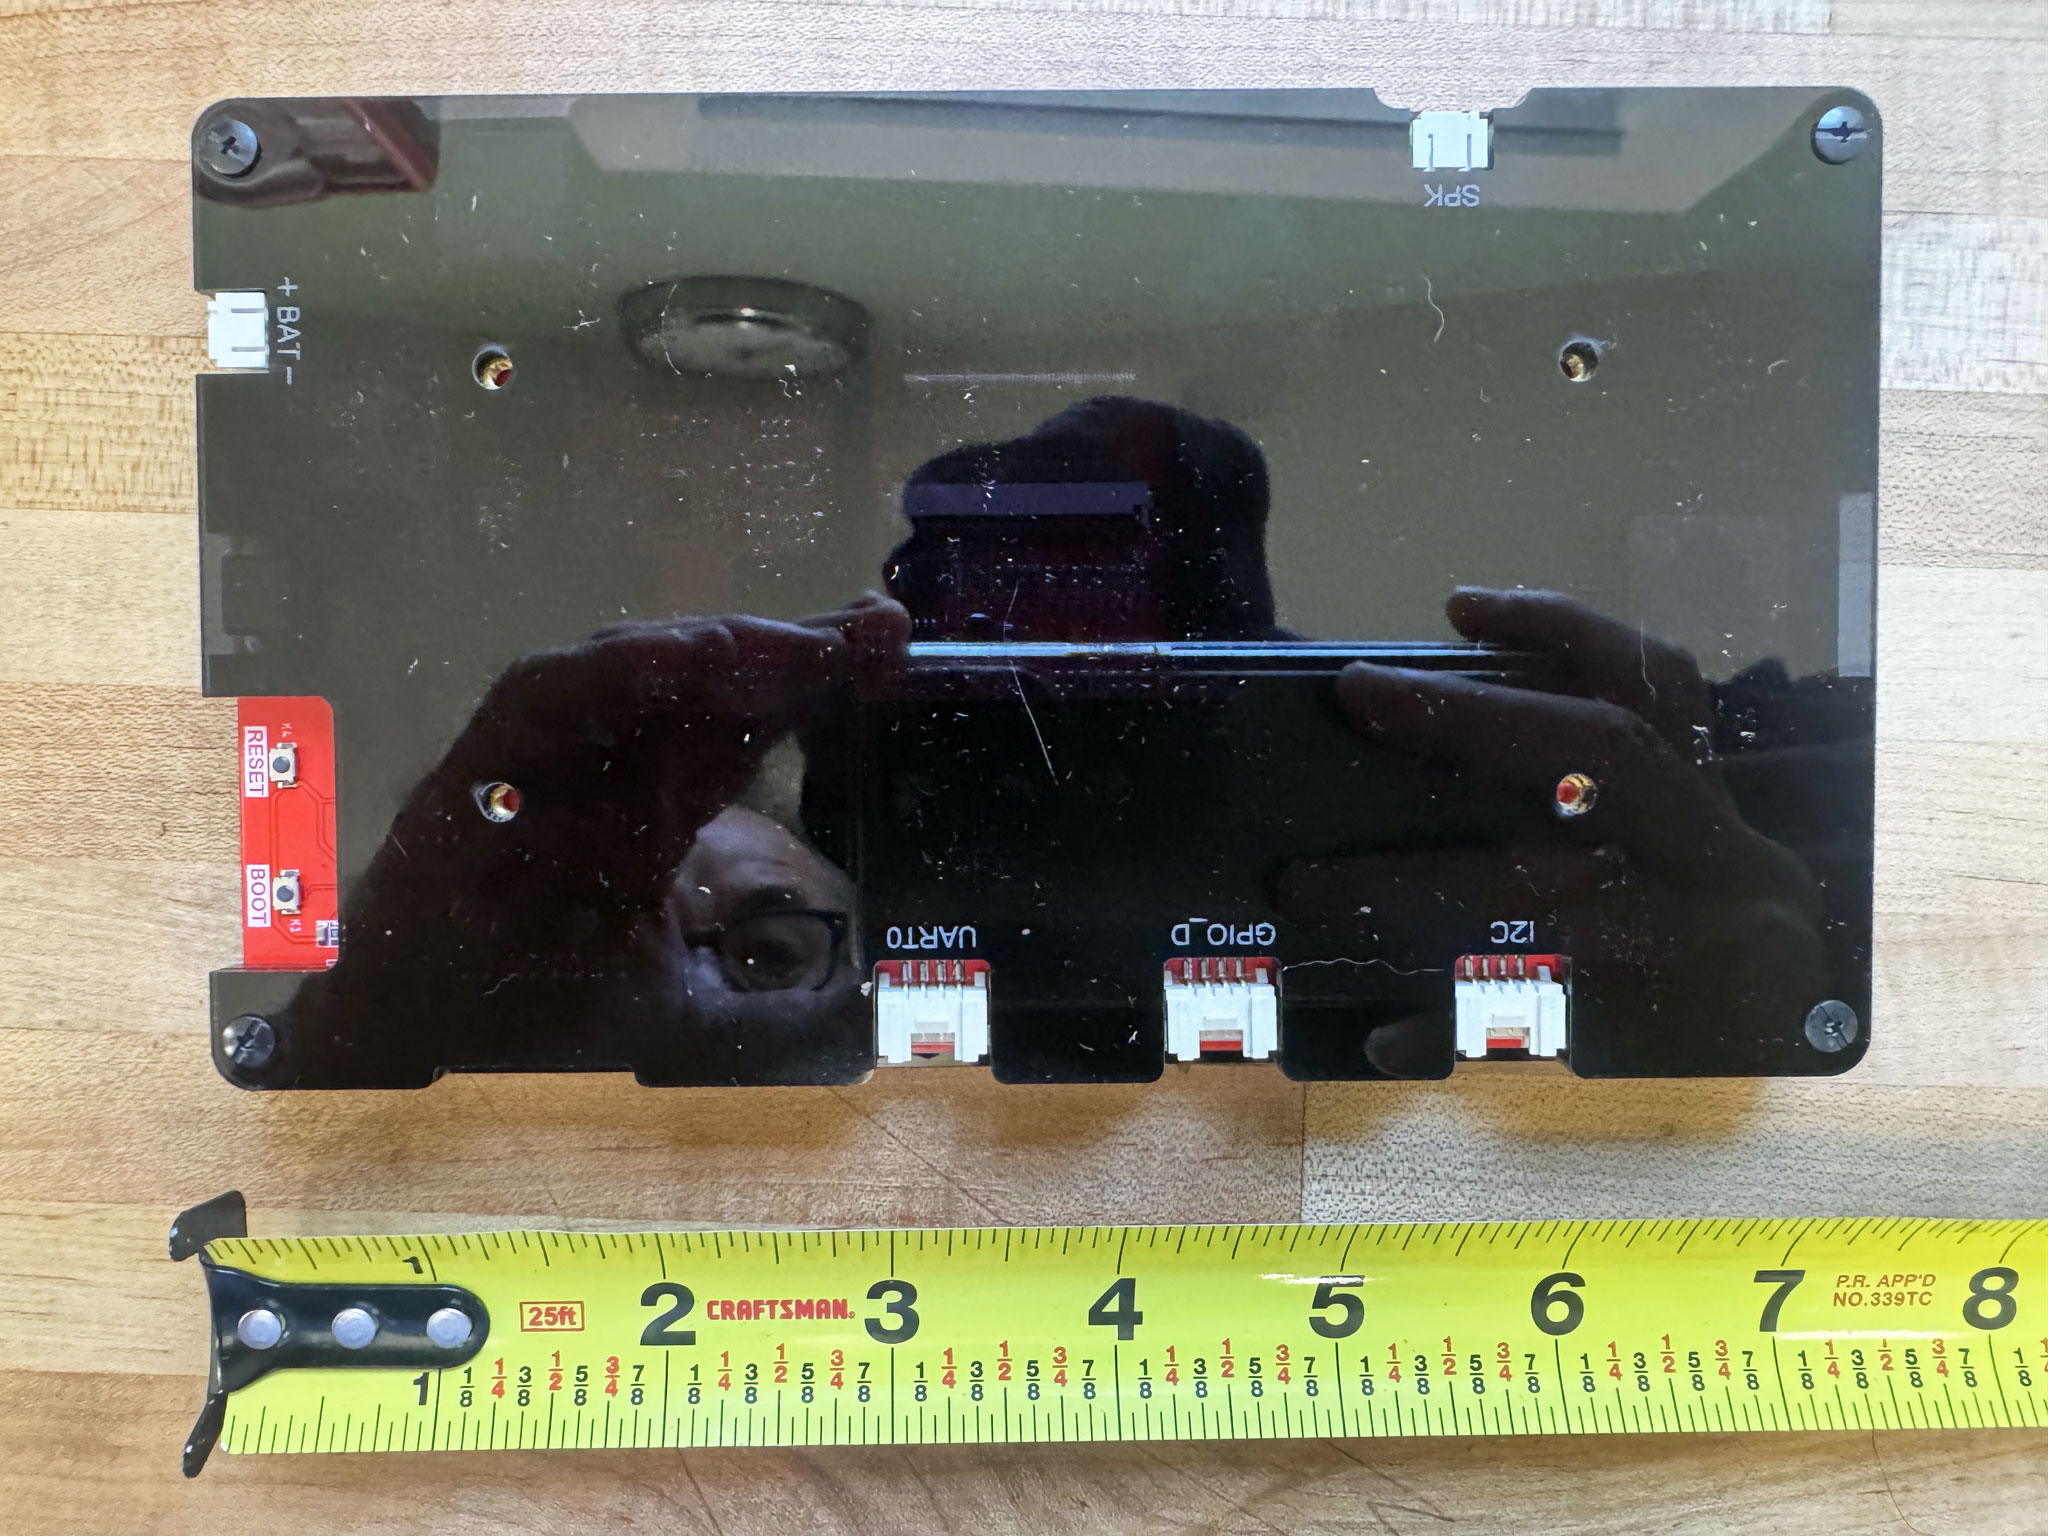
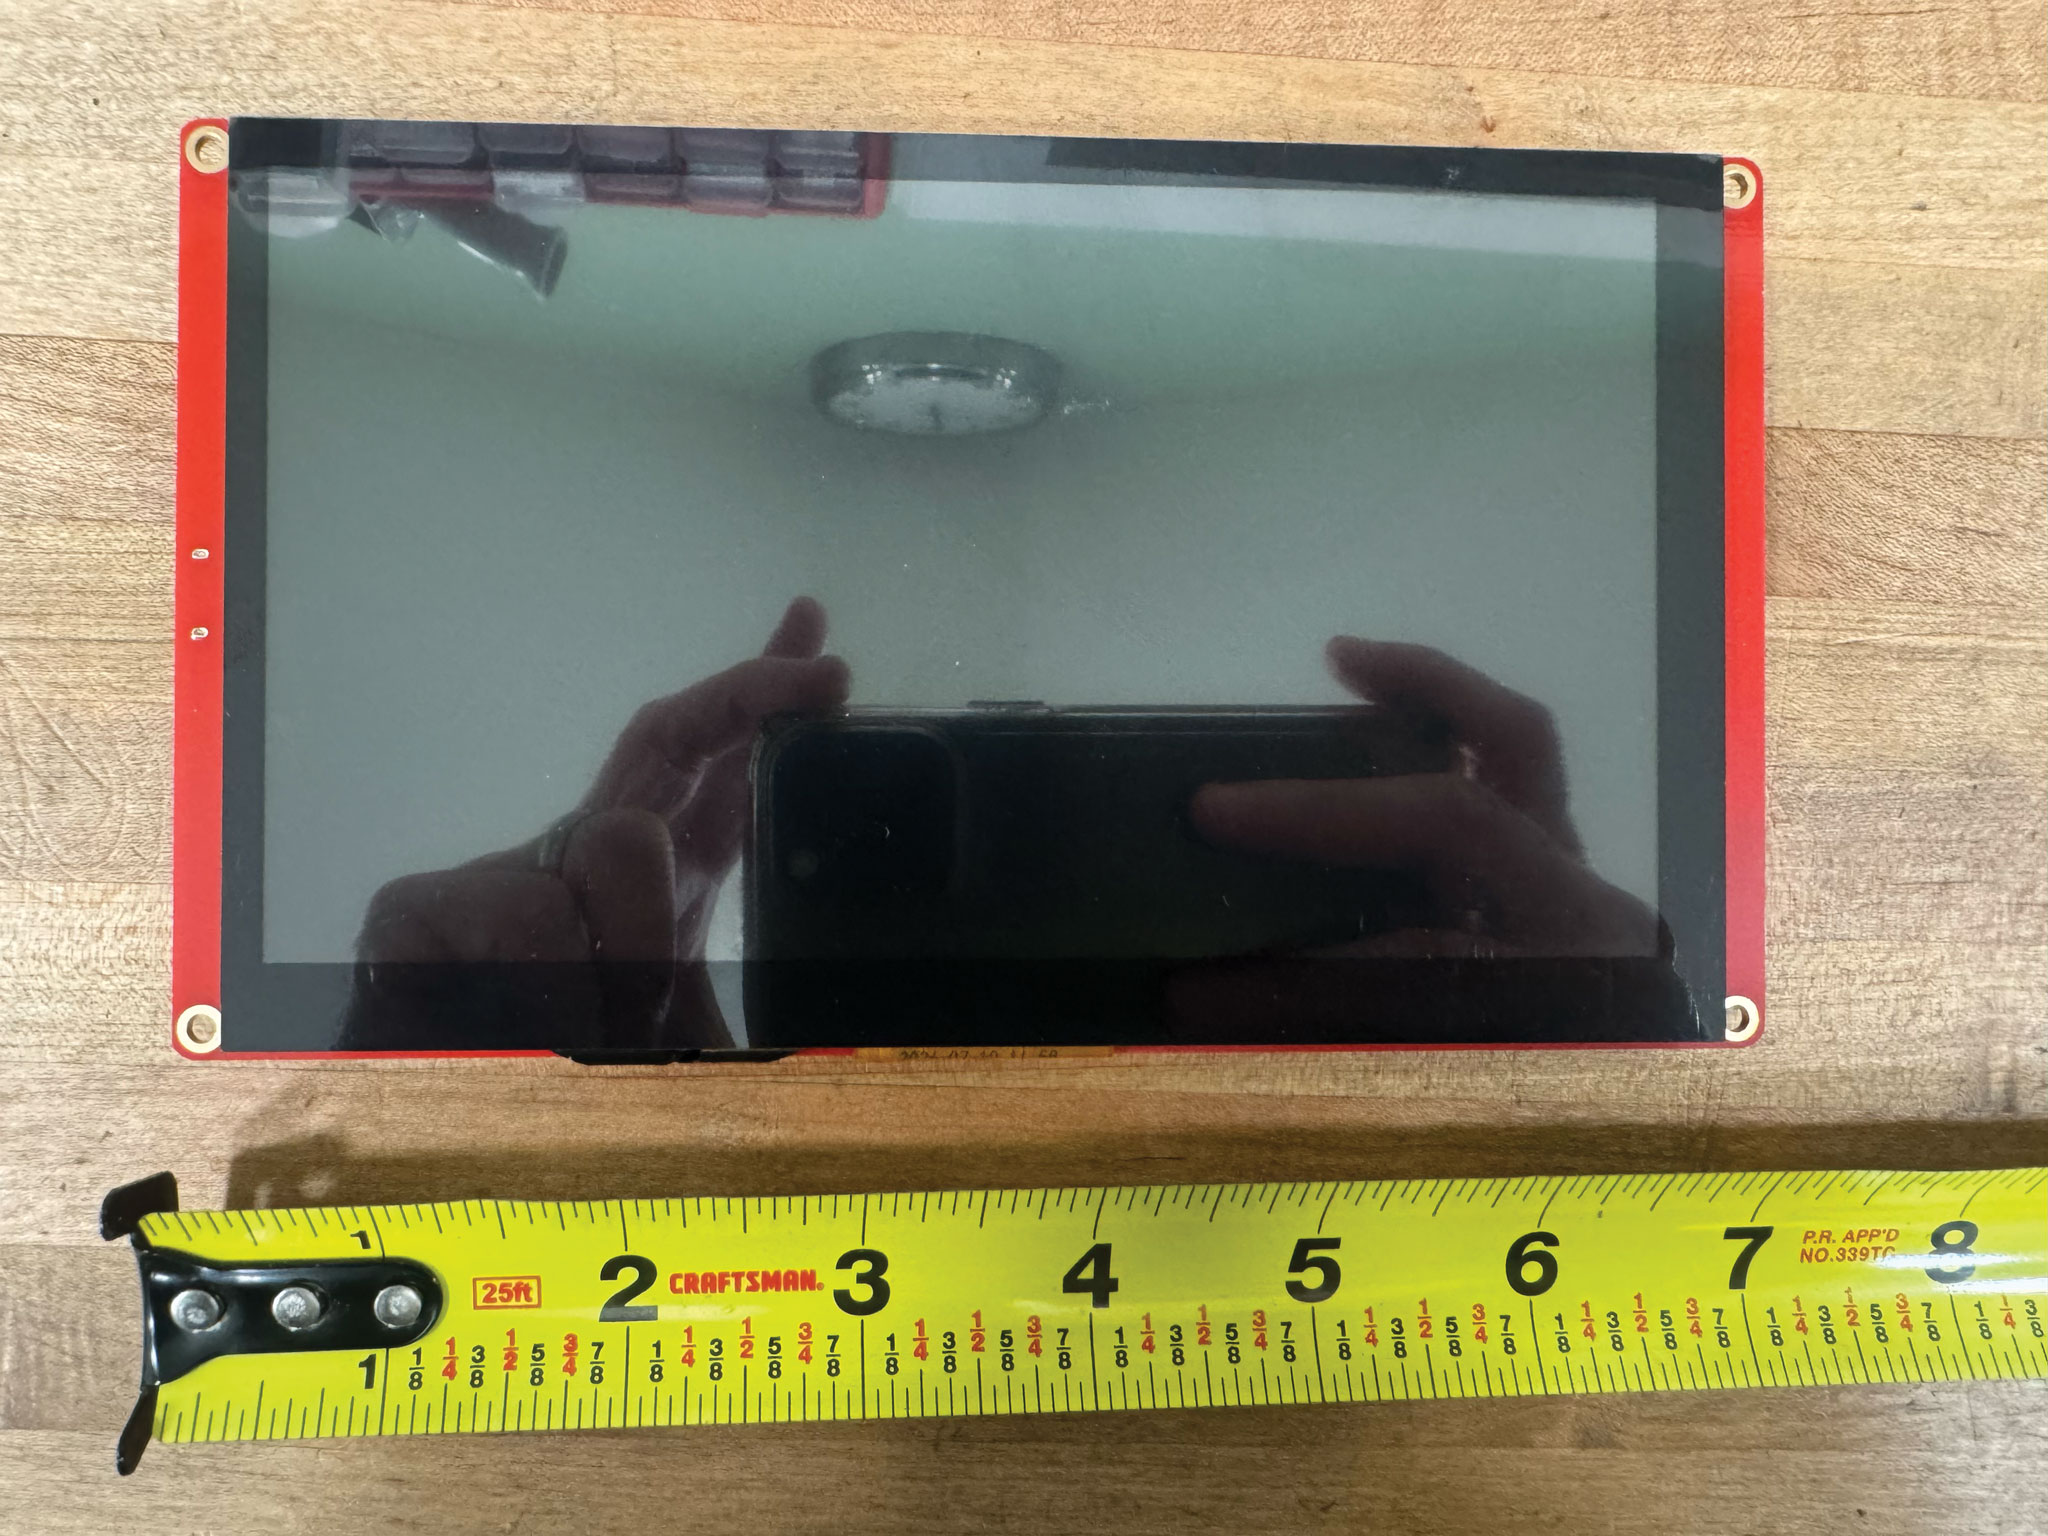
7″ Display (Elecrow Basic)
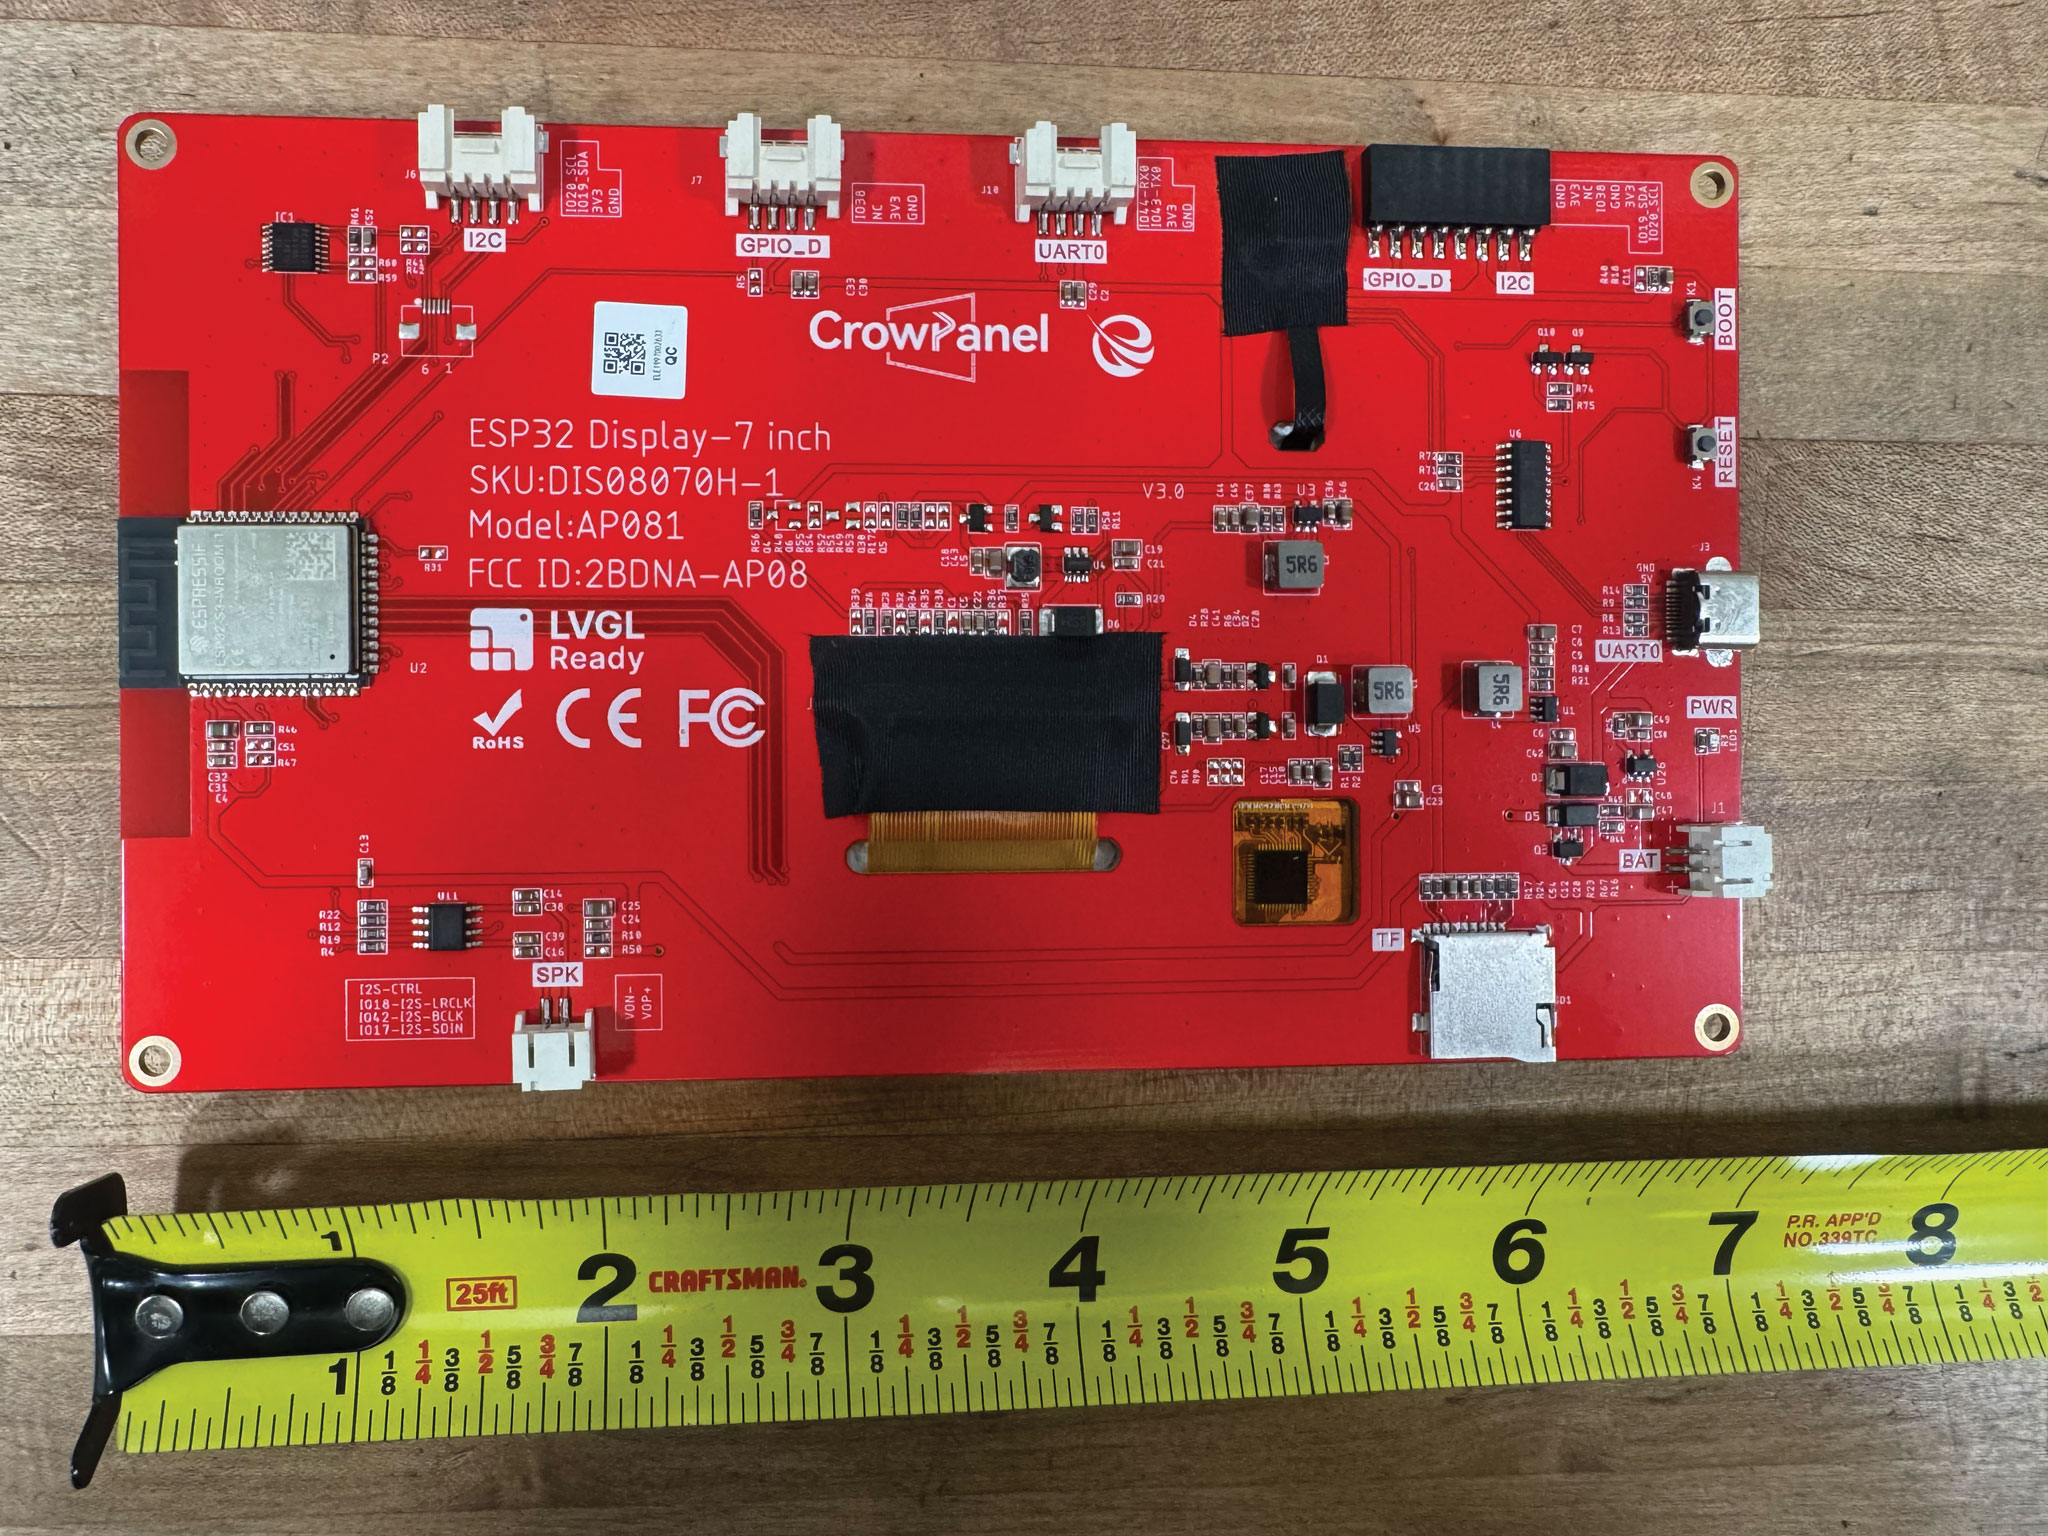
ESP32-8048S070C / Elecrow CrowPanel 7.0 / IoTeikXgo (RGB, 800×480, 4MB flash)Also sold without a case (red board, same electronics); both work the same way.
7″ Display (Elecrow Advance)
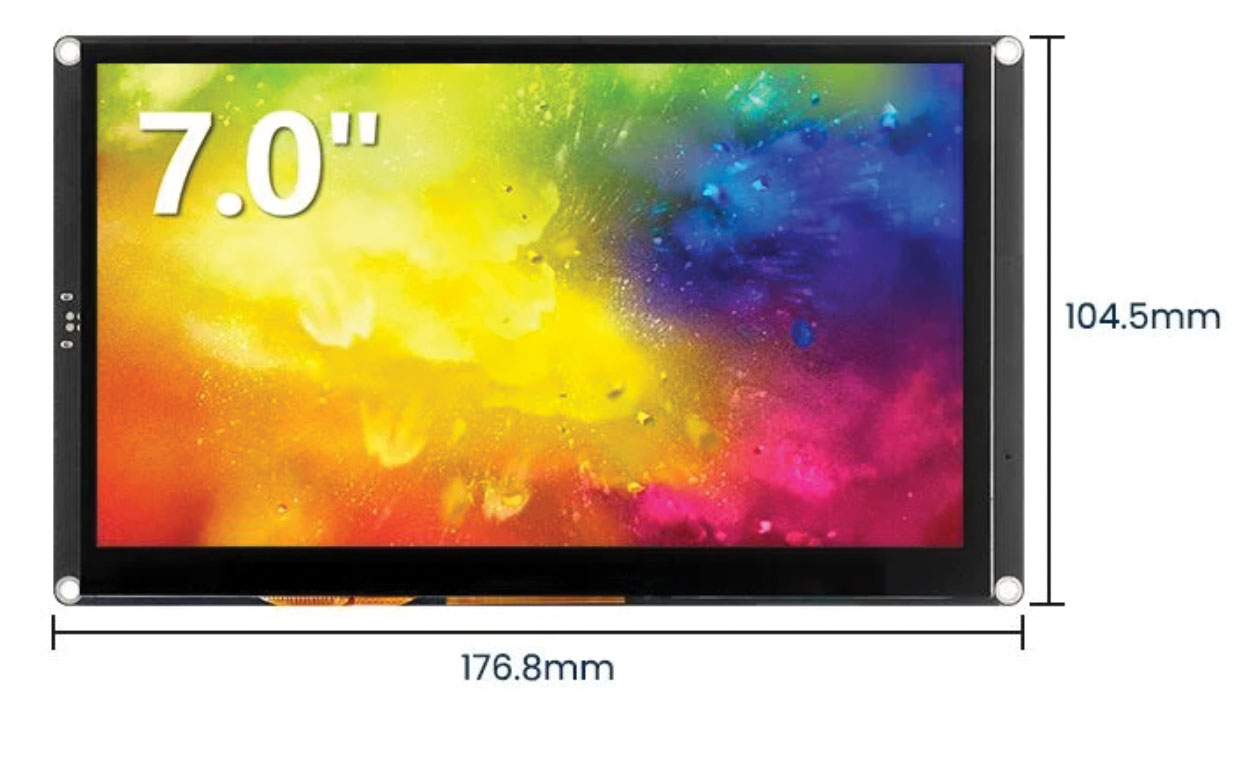
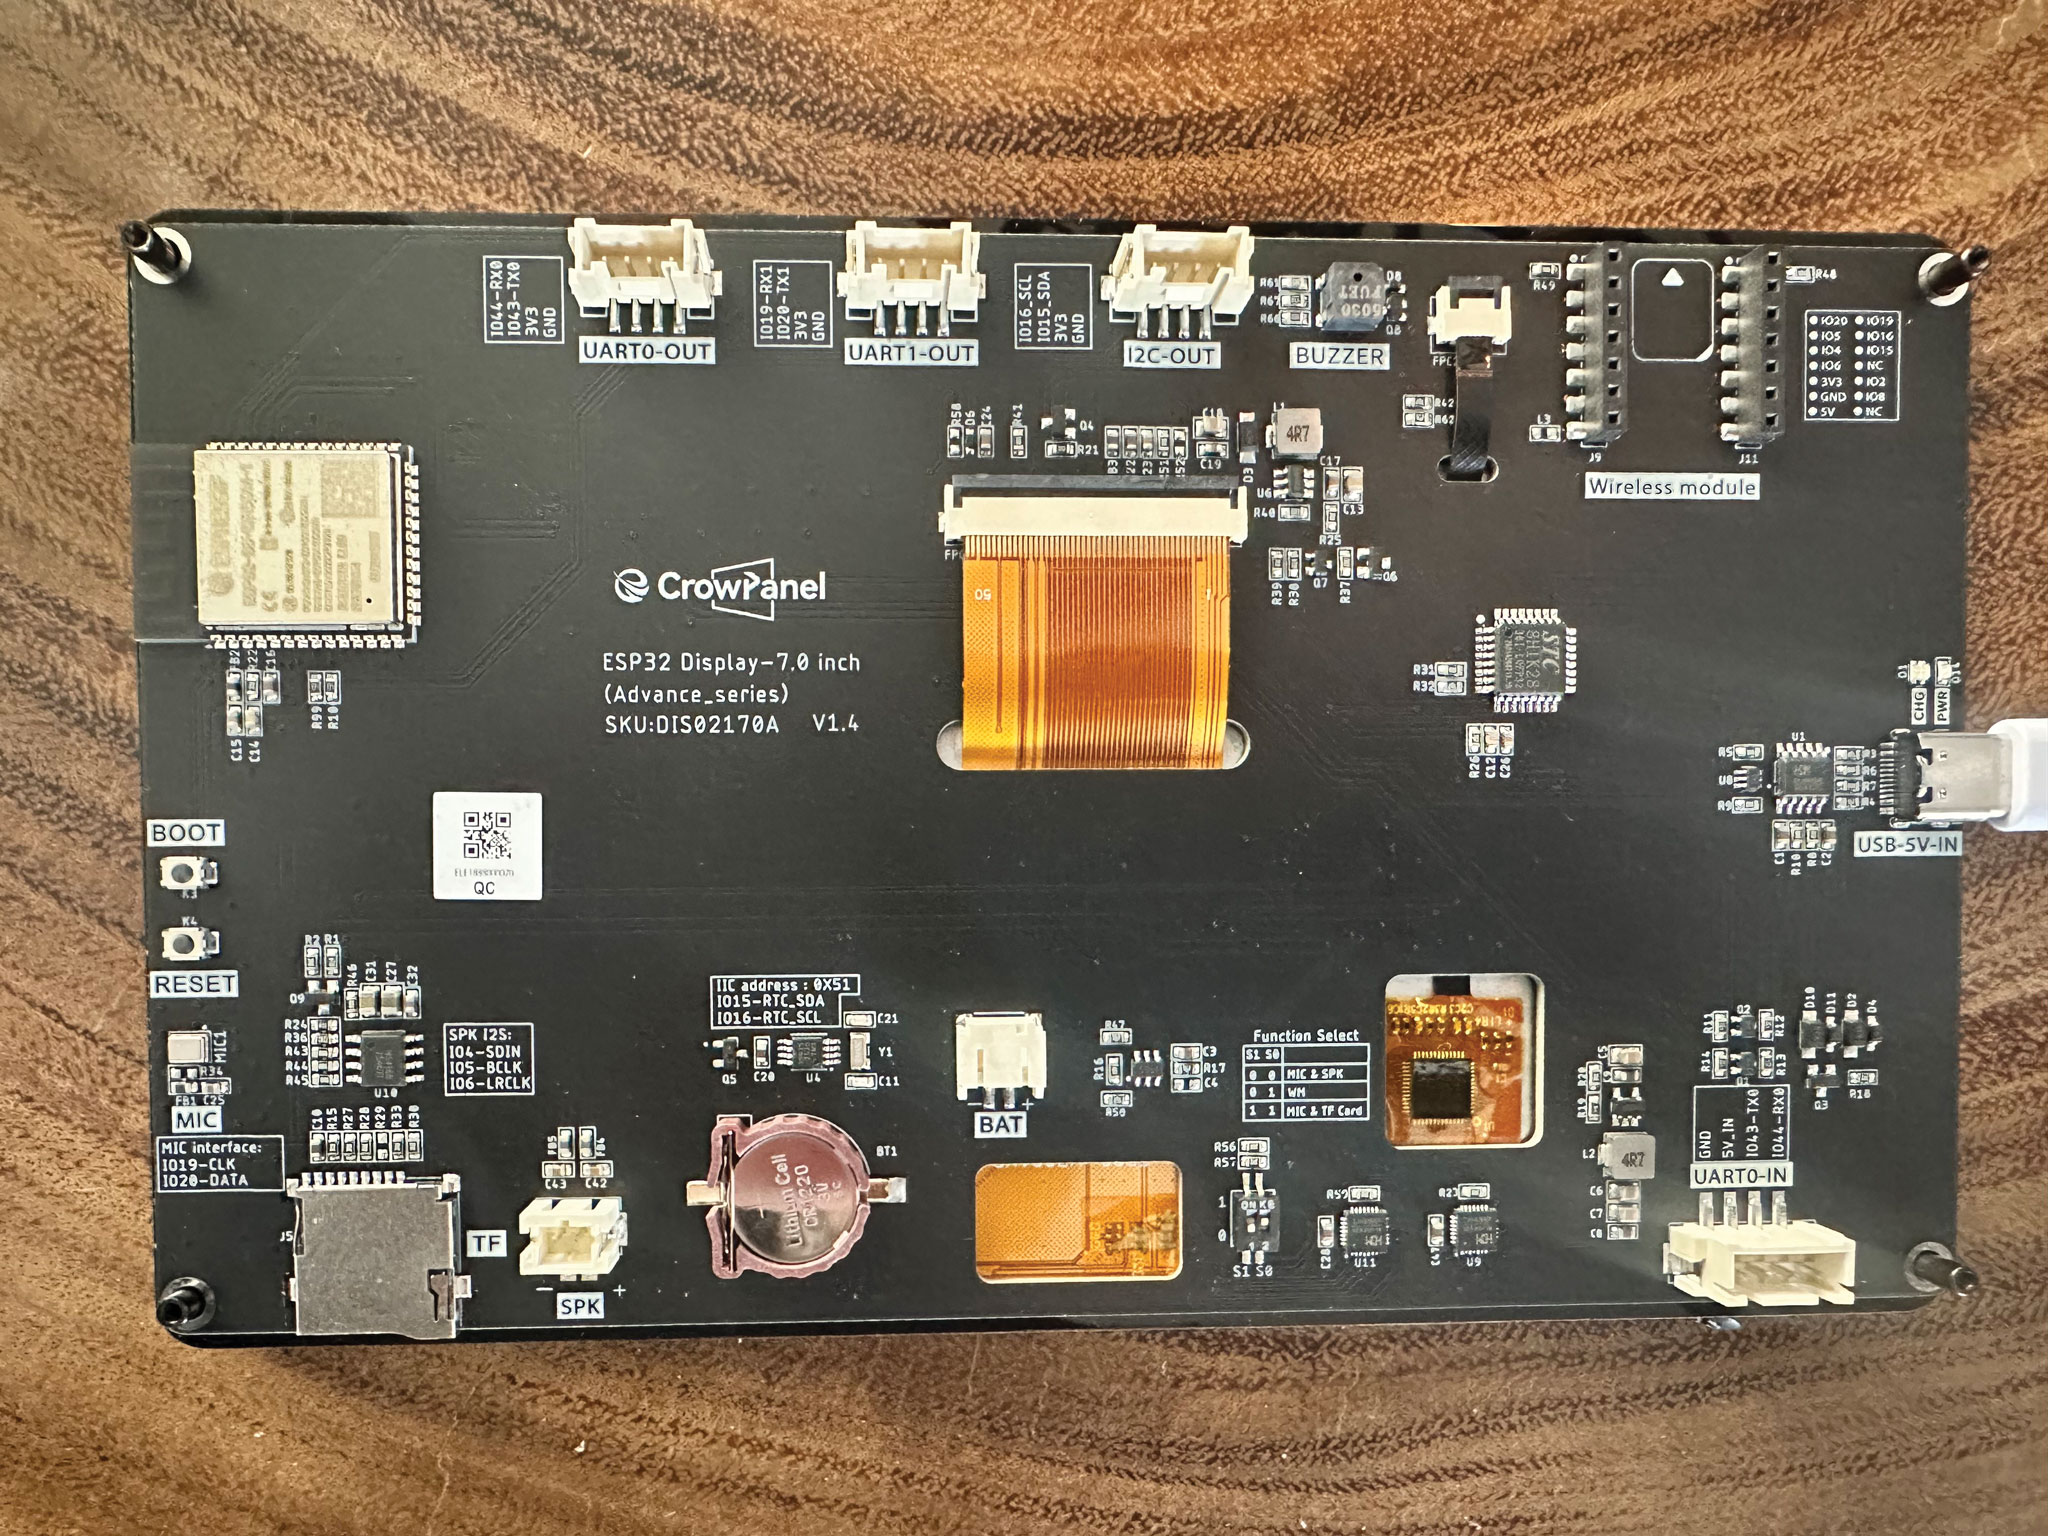
Elecrow CrowPanel Advance 7.0 HMI ESP32-S3 (800×480, SKU DIS02170A)Same board family as the 5″ Elecrow Advance with a bigger screen, but it has its own firmware: pick 7″ (Elecrow Advance) in Companion. Needs hardware version V1.3 or newer (printed on the back of the board). One USB-C port, used for both flashing and normal operation.
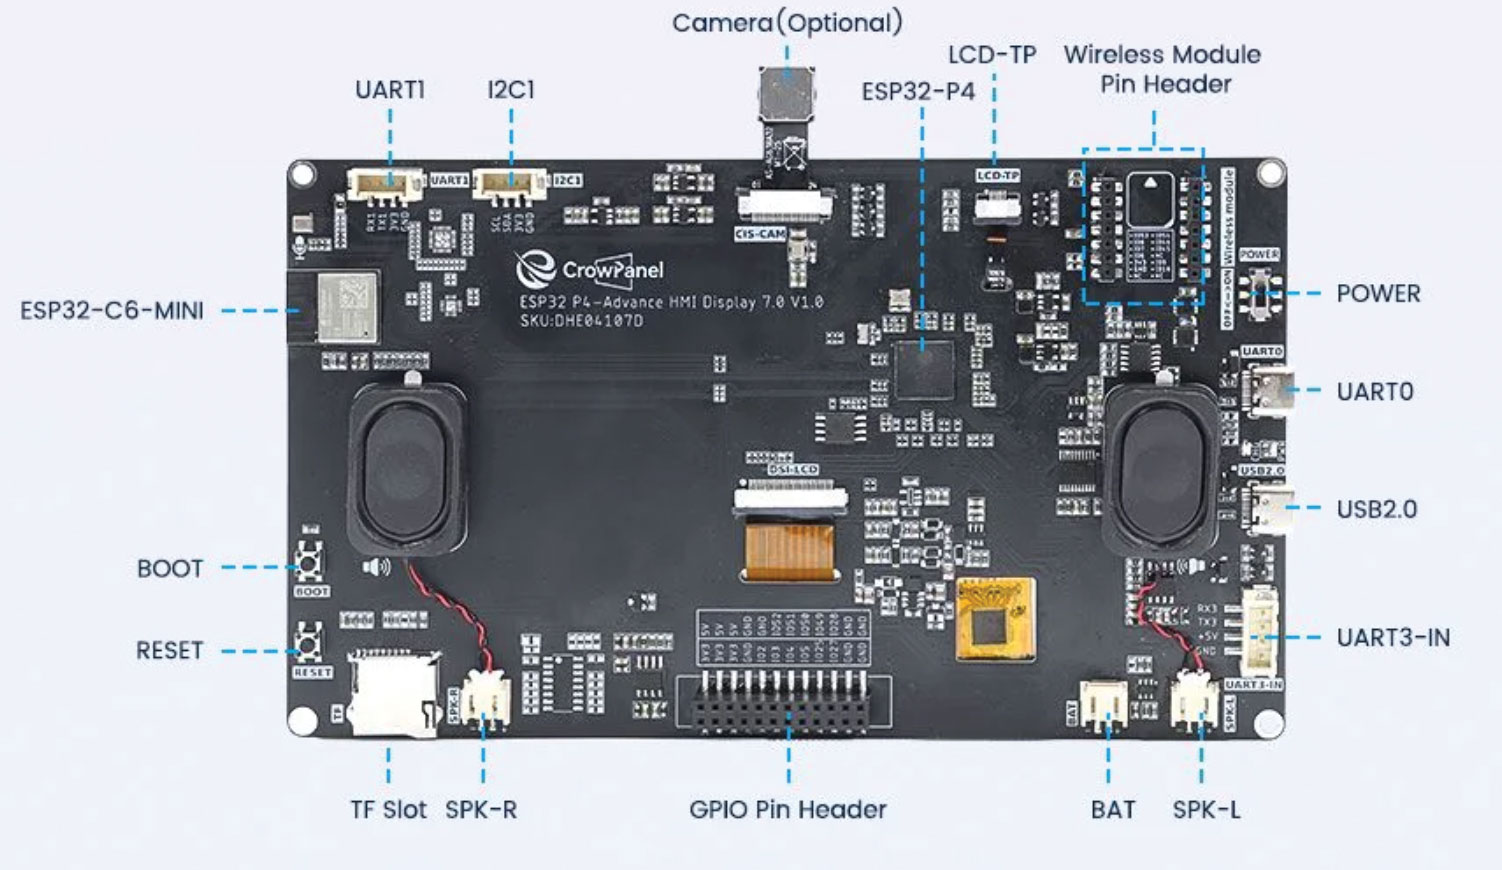
7″ Display (Elecrow AI)
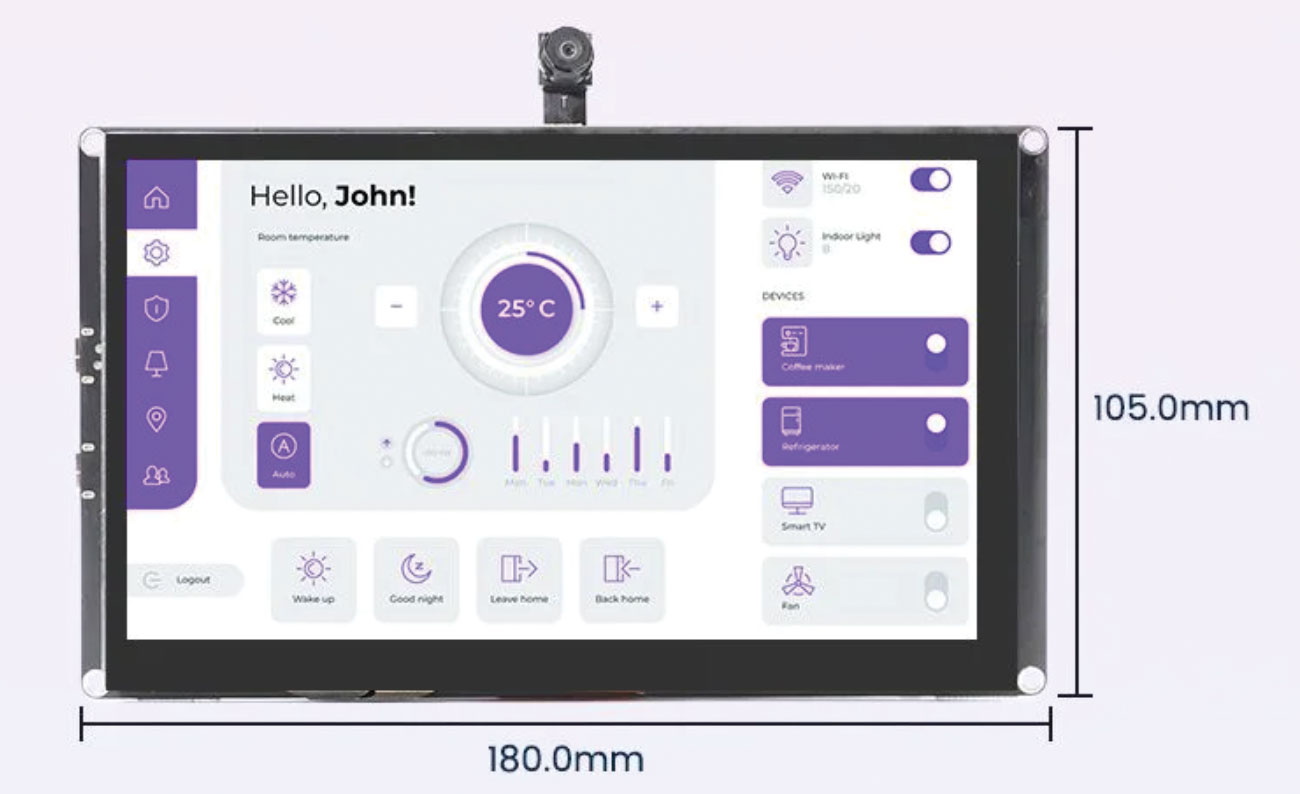
Elecrow CrowPanel Advanced 7inch ESP32-P4 HMI AI Display (1024×600)Built-in stereo speakers play short chimes for certain events, like unlocking a RetroAchievement. Use the USB port labeled UART initially for the first flash, then use the USB 2.0 labeled port for normal operation and ongoing flashing. Not the same board as the 5″ Elecrow AI.
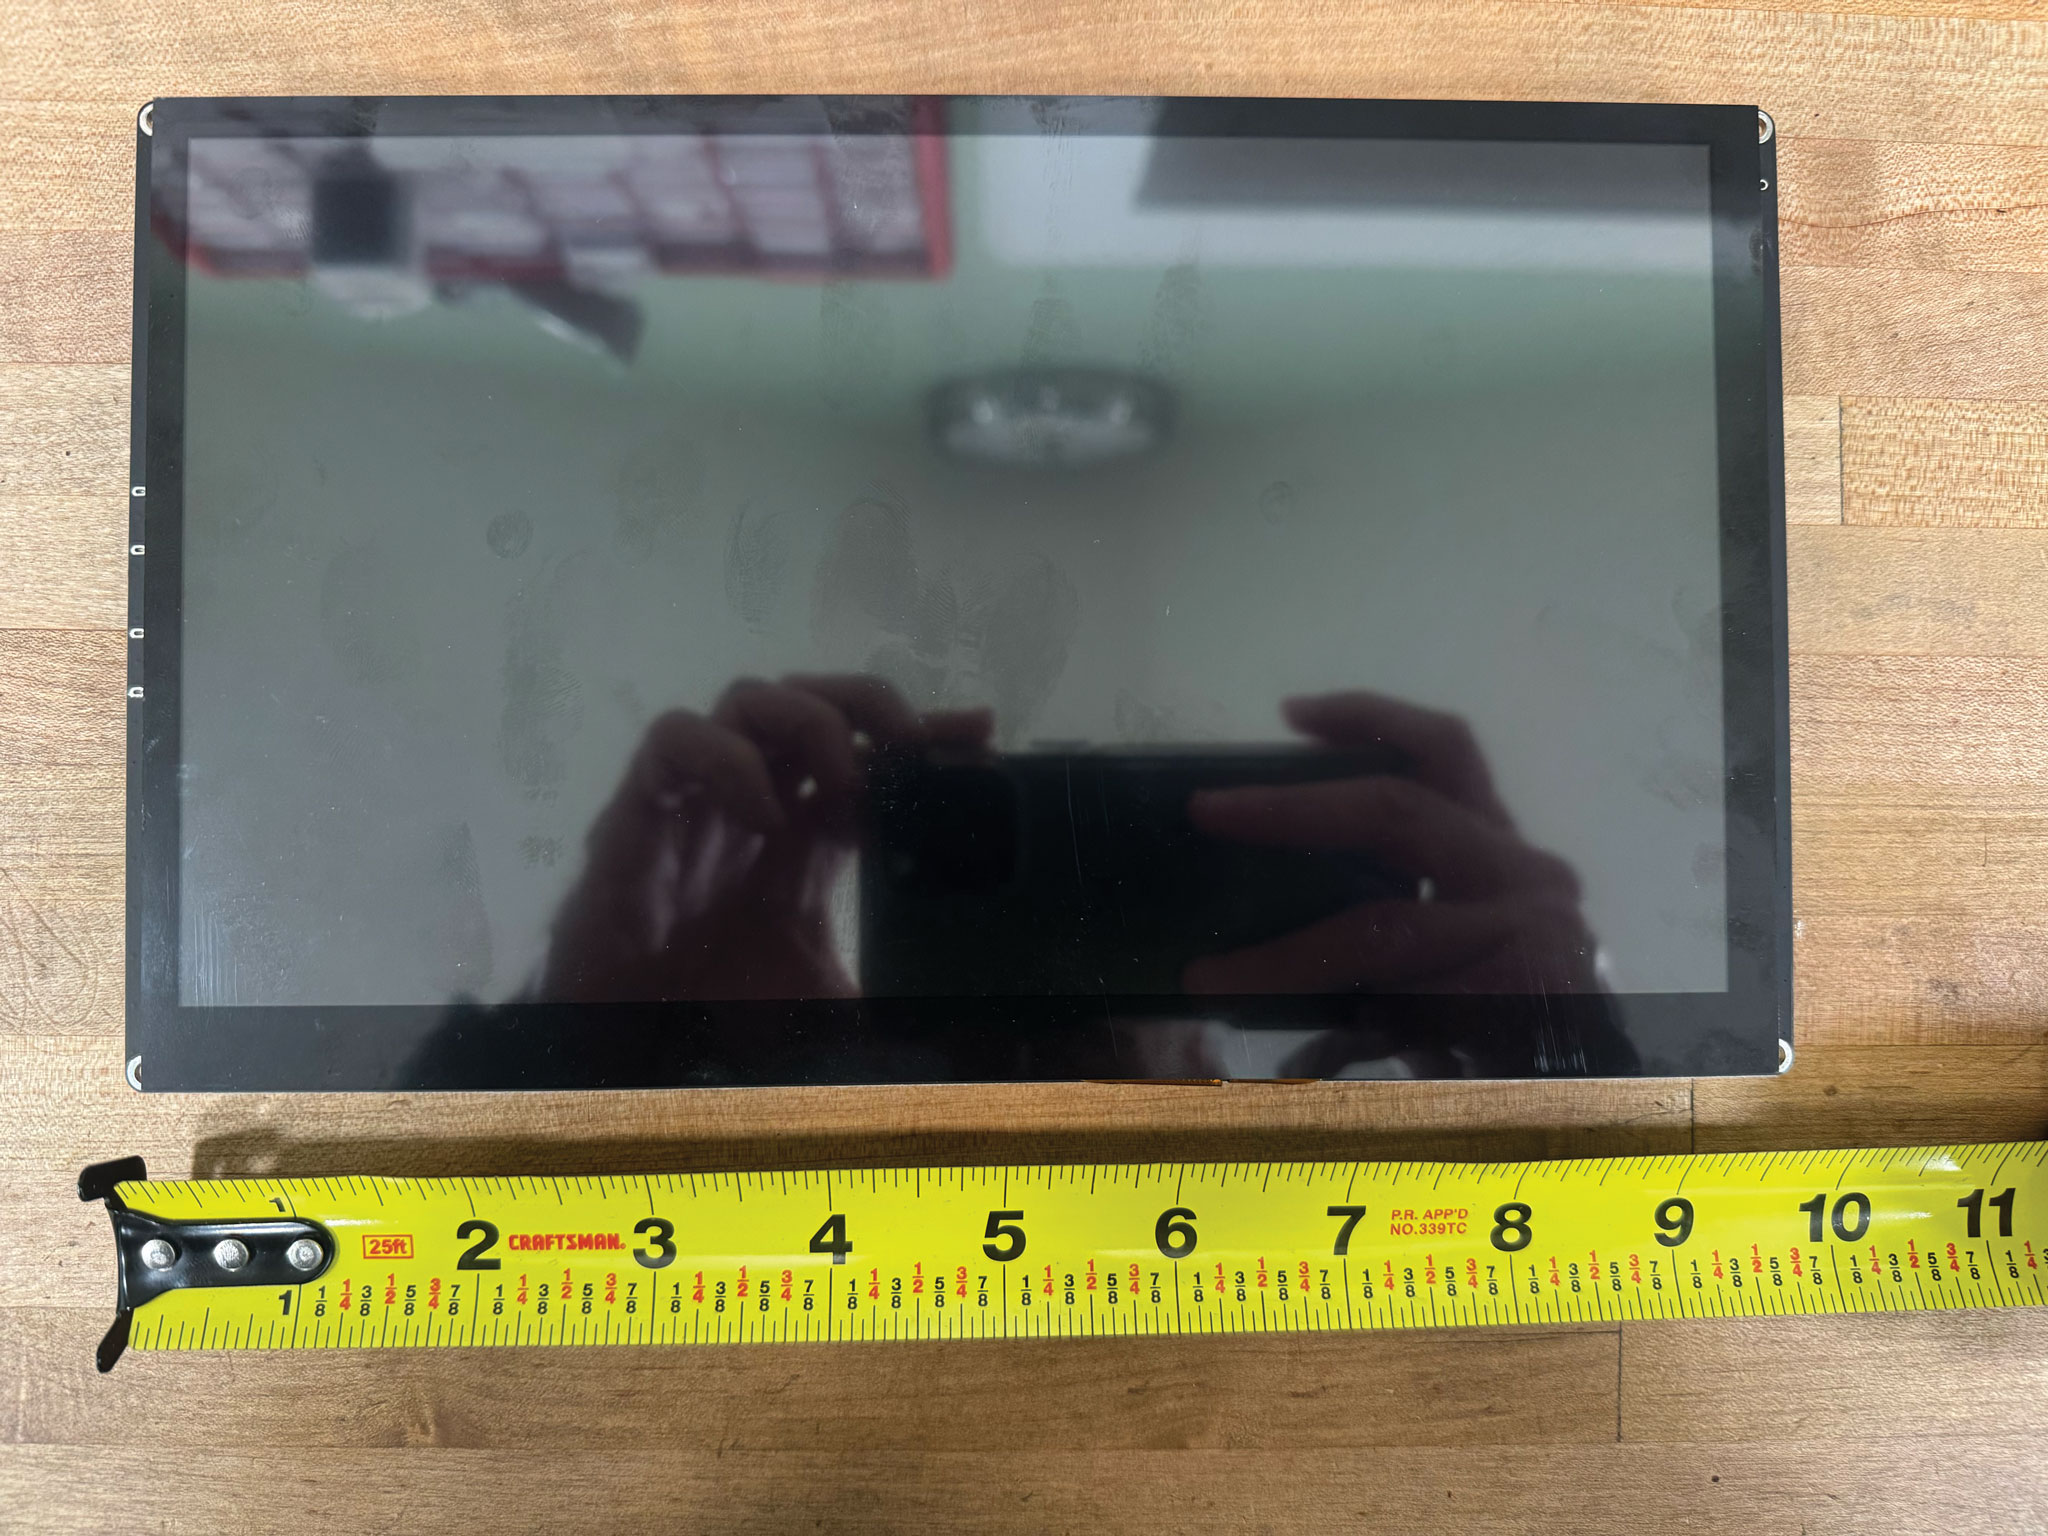
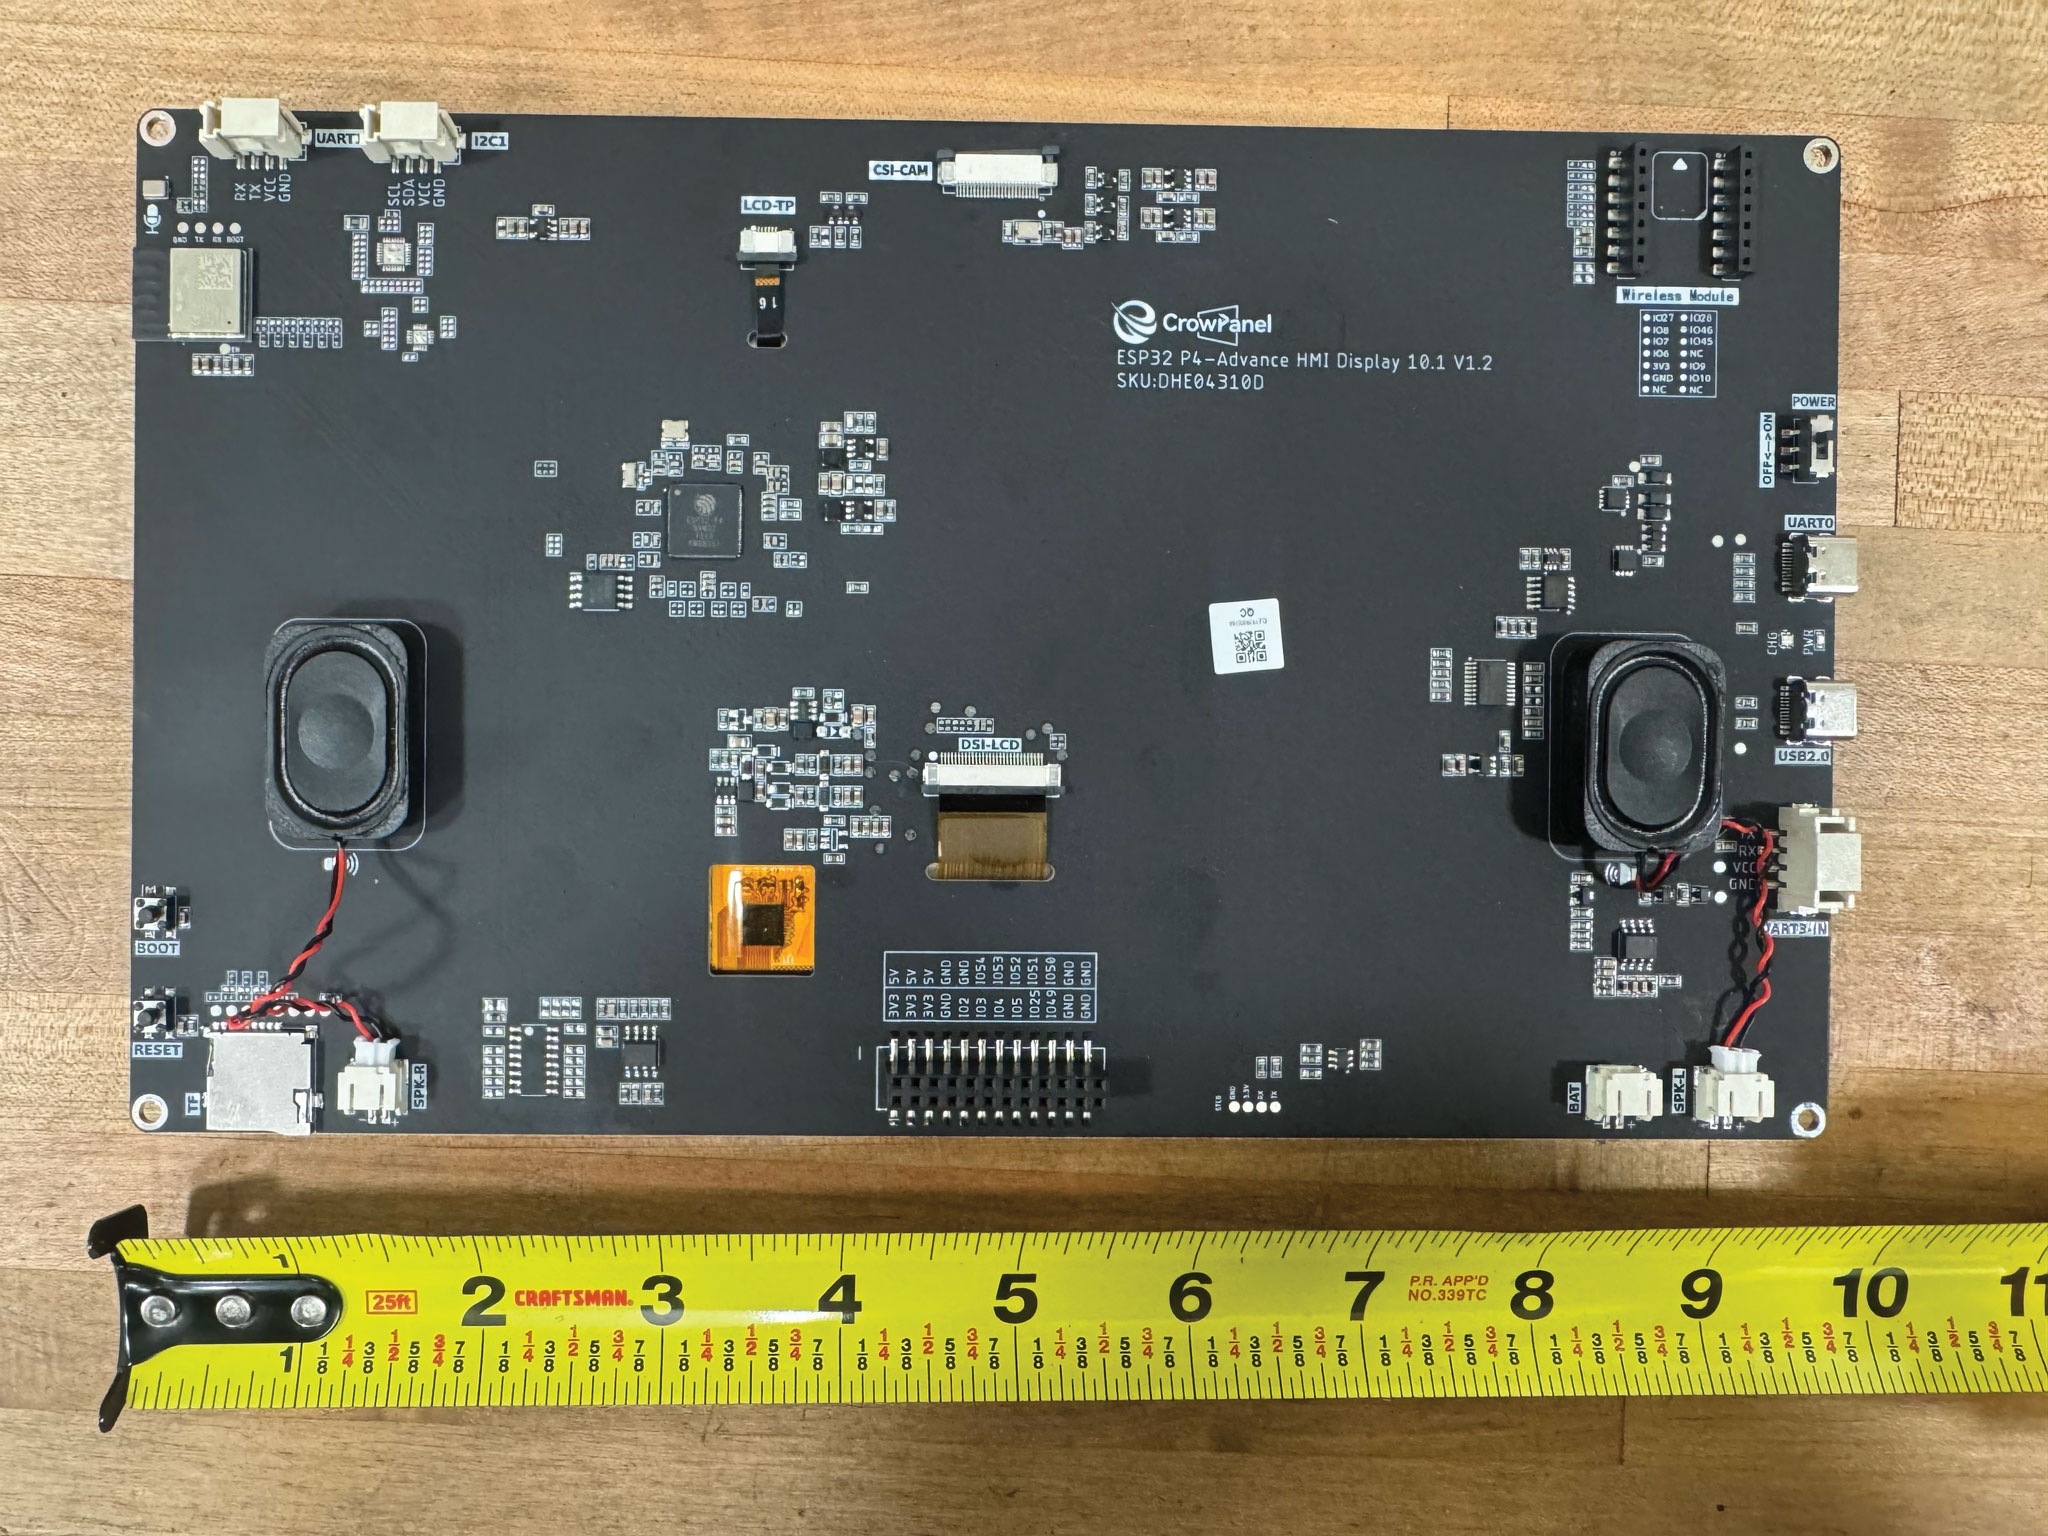
10.1″ Display (Elecrow)
Elecrow CrowPanel Advanced 10.1 ESP32-P4 HMI (1024×600)Built-in stereo speakers play short chimes for certain events, like unlocking a RetroAchievement. Use the USB port labeled UART initially for the first flash, then use the USB 2.0 labeled port for normal operation and ongoing flashing.
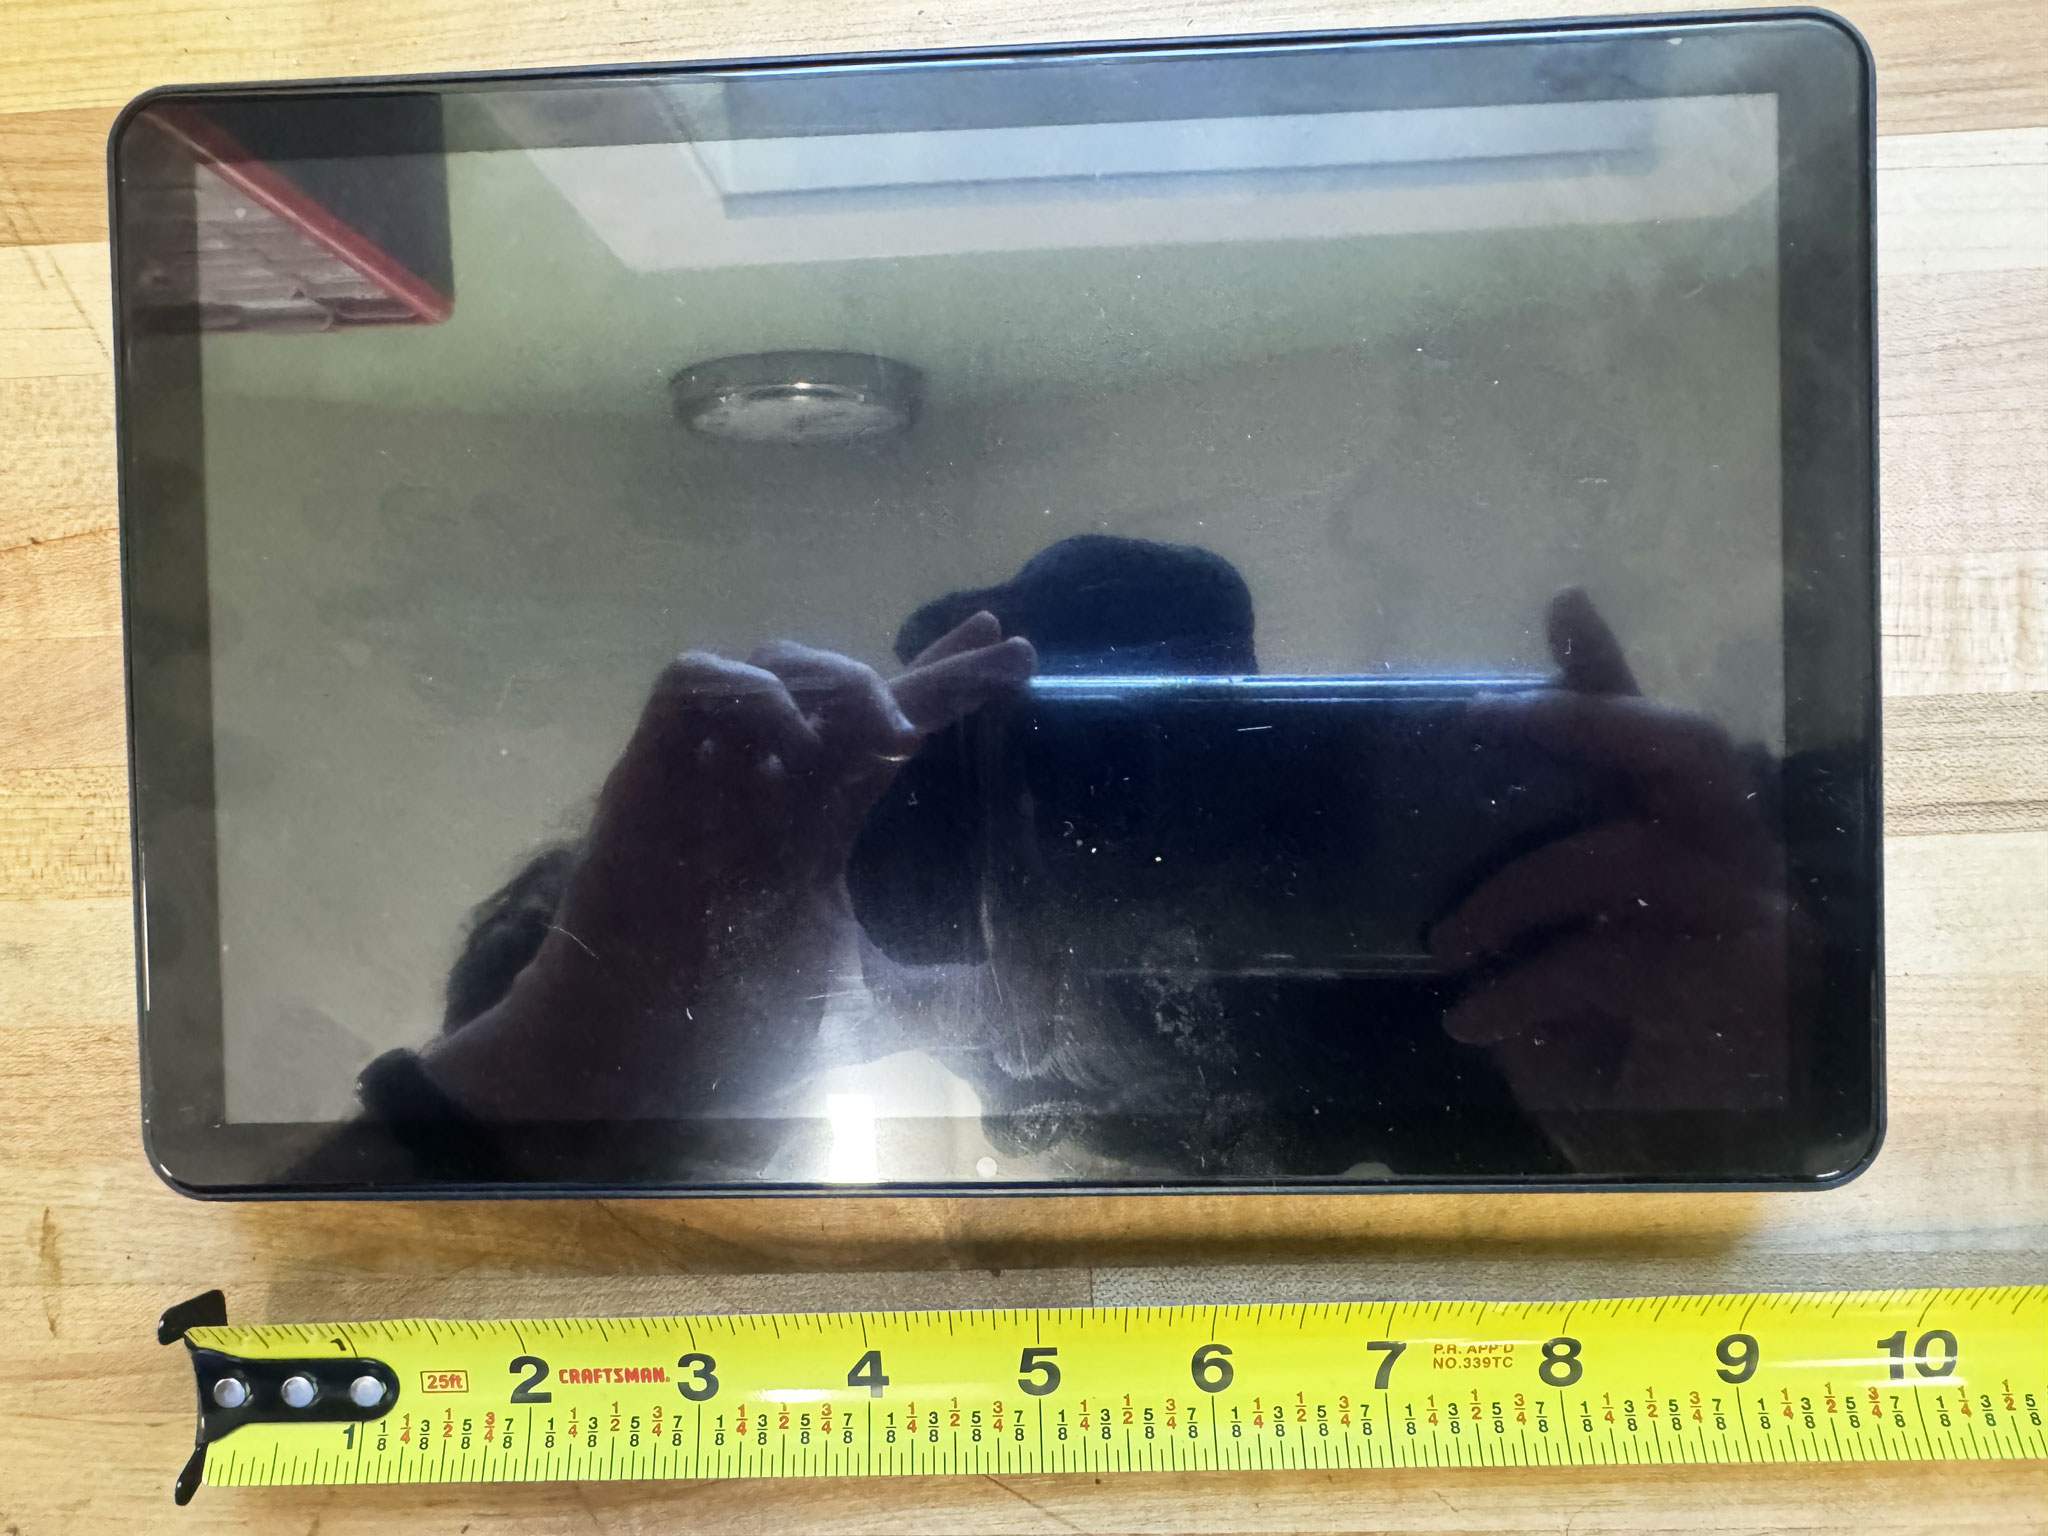
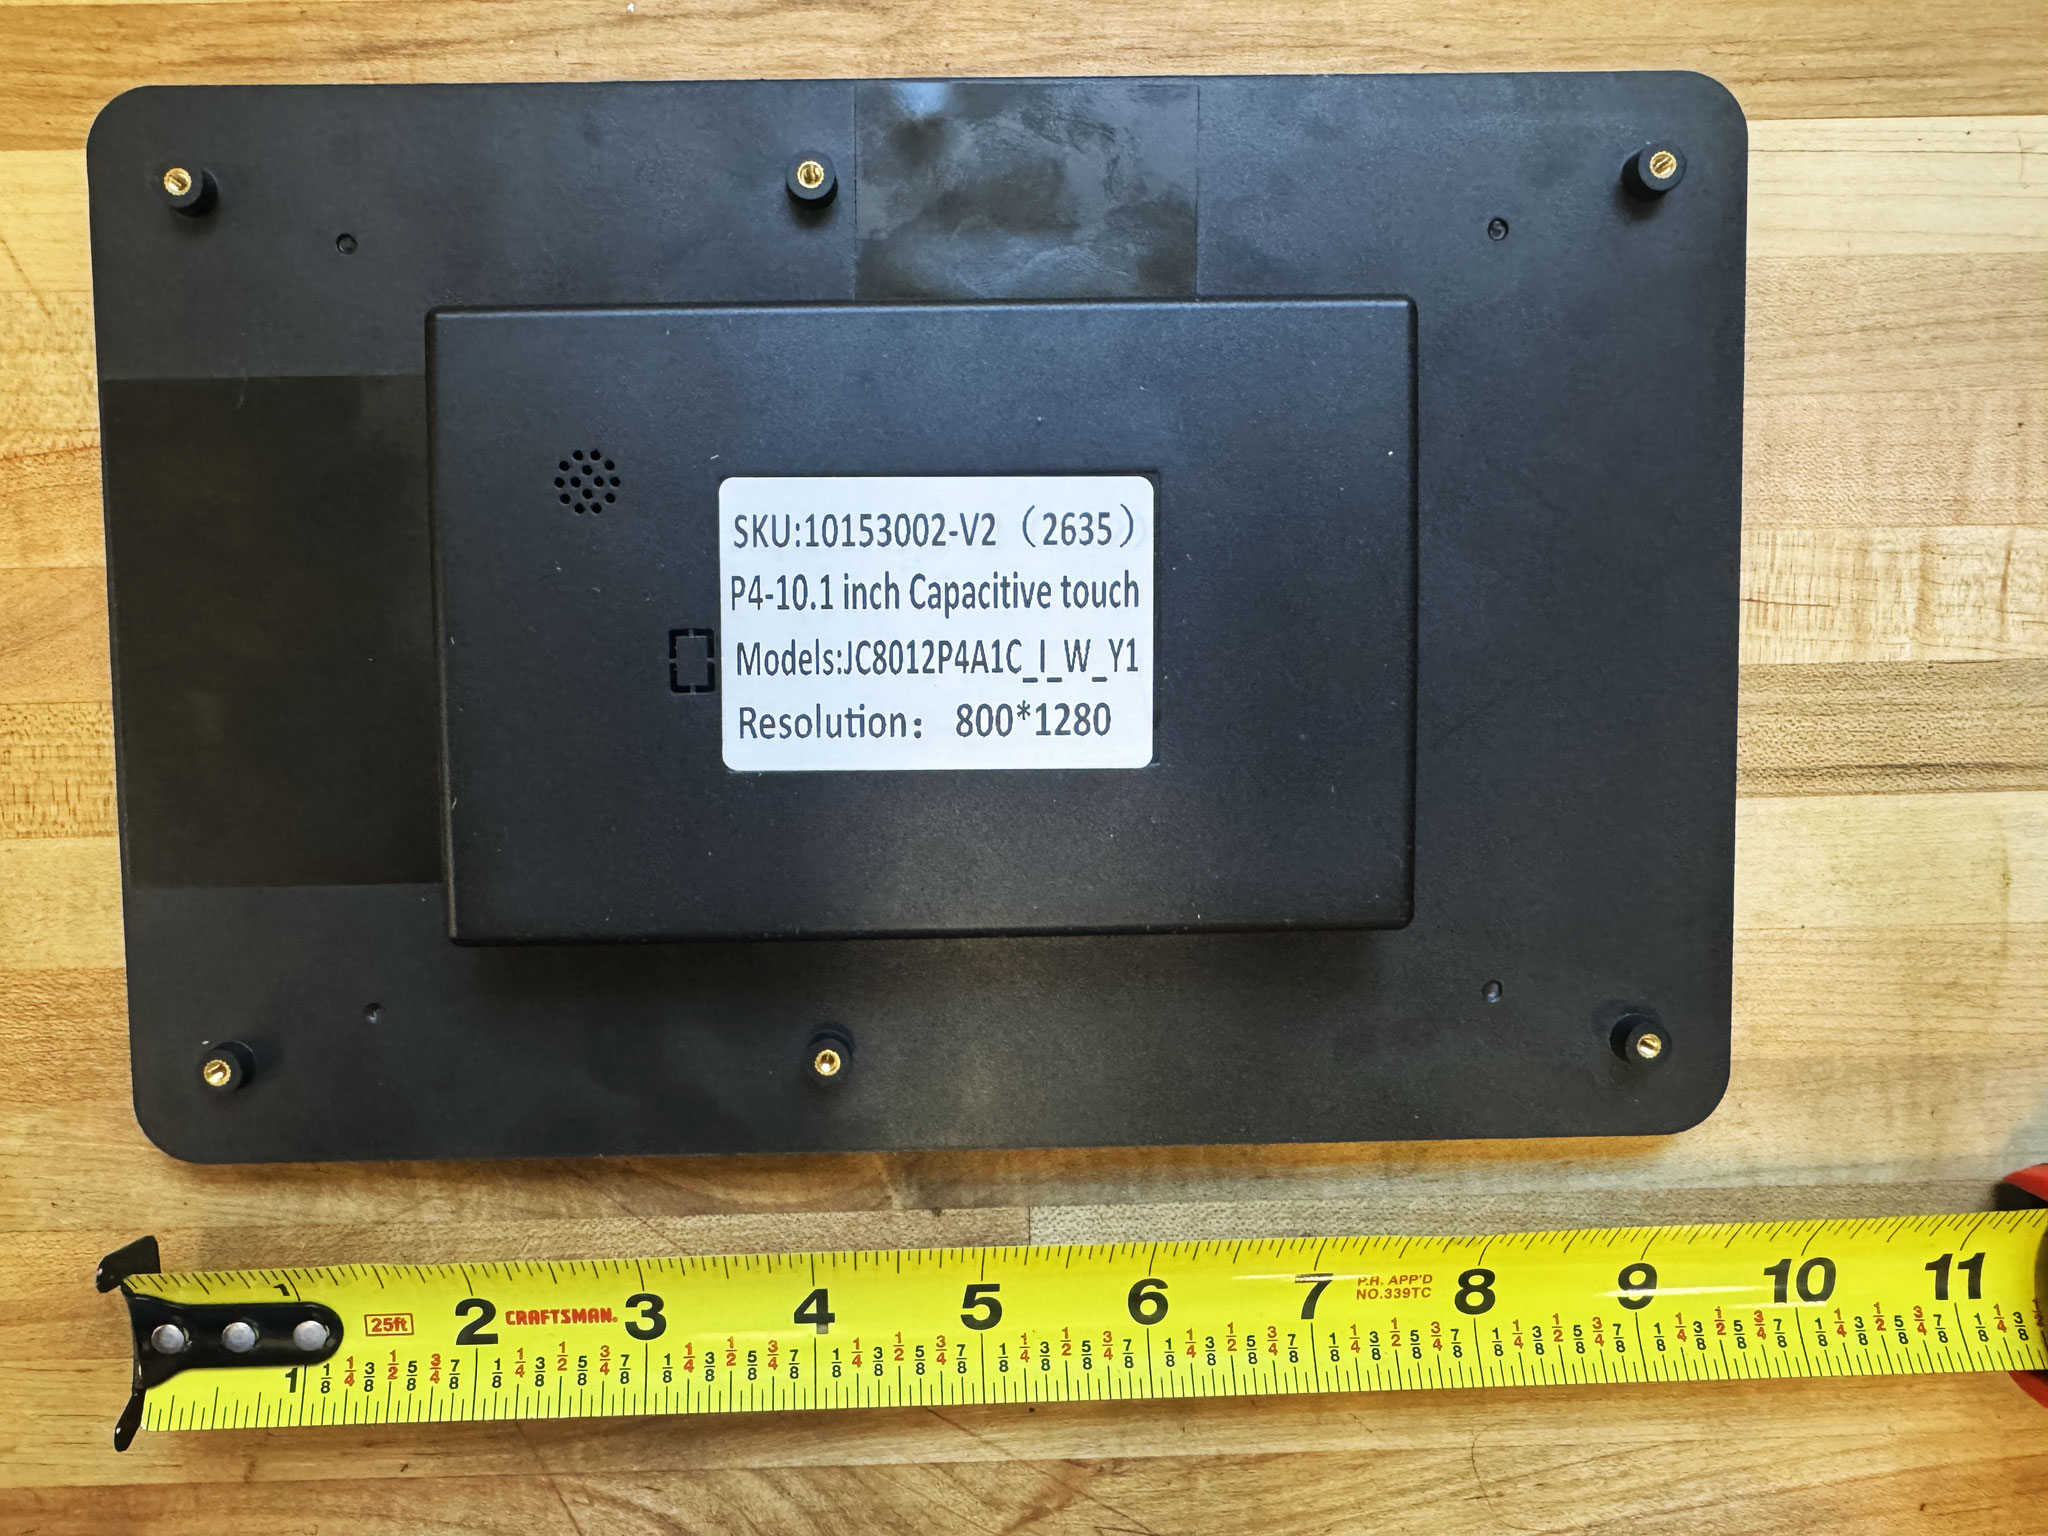
10.1″ Display (Guition)
Guition JC8012P4A1C_I_W_Y1 (older version: JC8012P4A1C_I_W_Y)Built-in speaker plays short chimes for certain events, like unlocking a RetroAchievement. Has an optional battery, so it can be tapped in and out of full power-off right from a power icon on its boot screen. Use the bottom USB port (labeled UART) initially for the first flash, then use the top USB port afterward for normal operation and ongoing flashing. Two hardware versions exist and need different firmware: check the label on the back. If the SKU ends in -V2 (Models JC8012P4A1C_I_W_Y1), pick 10.1″ (Guition) in Companion and the web flasher; if it doesn't (SKU 10153001, Models JC8012P4A1C_I_W_Y), pick 10.1″ (Guition V1). With the wrong one the screen stays black.