
1. Purchase the LILYGO T-Display S1 Long or the Waveshare 3.49″. The LILYGO is highly recommended as it’s black case will blend in cleaner and more importantly, it’s USB-C connection is located in the back vs. on the side which means you won’t see the USB cable from the front.
2. USB connect the LILYGO or Waveshare to any PC or Mac running Google Chrome and then use the Pixelcade Sidekick Web Flasher to flash the respective firmware.
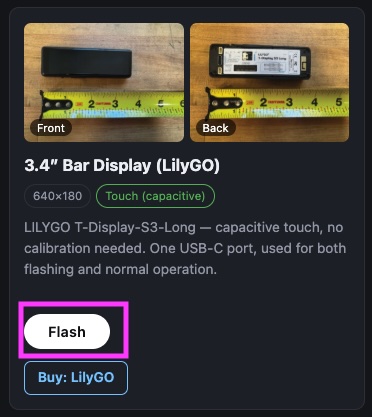
3. Now connect the LILYGO or Waveshare to a USB port on the back of your Build-A-Cade and attach with velcro or another adhesive as a topper.
4. Install the Pixelcade Software for RetroPie by running the command below. Easiest way is to ssh into your retropie. Note you will need to enable ssh in the raspi-config menu and be connected to your WiFi if not already.
ssh pi@retropie.local
password: raspberry
And then copy and paste the installer command below
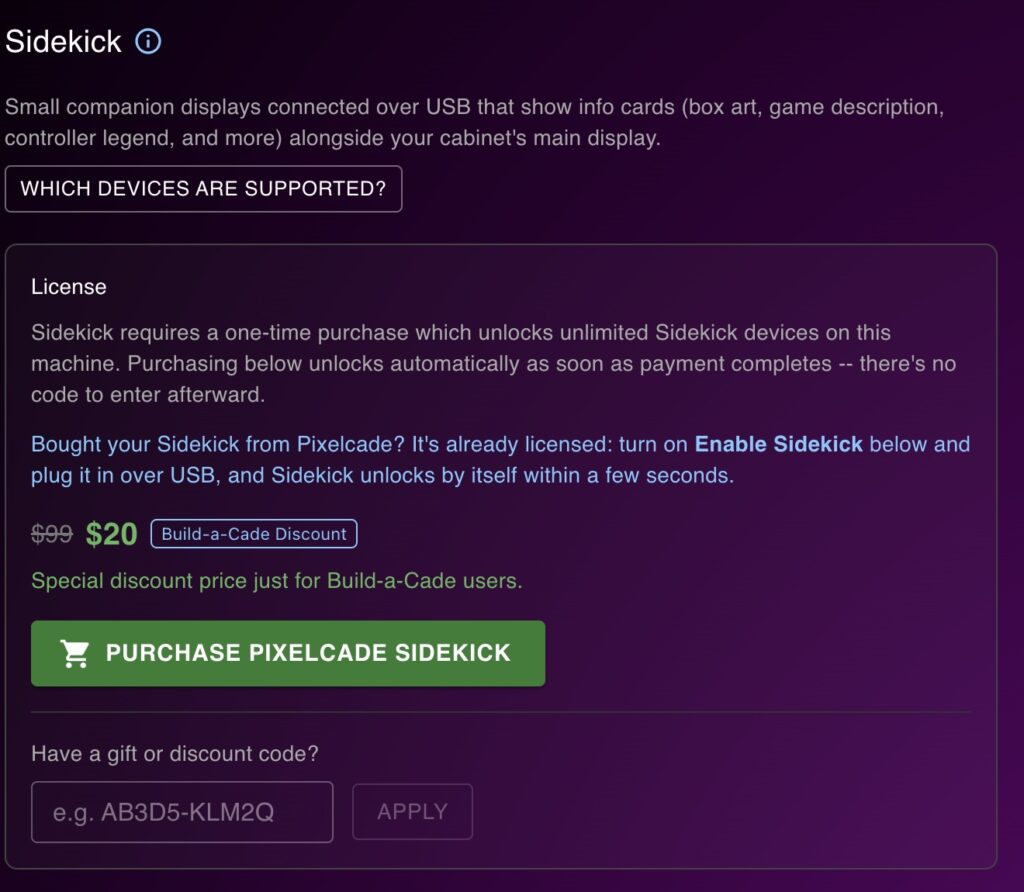
5. Using the Pixelcade Mobile app, go to Settings and then the Sidekick tab. Purchase the Sidekick unlock for $20. Note $20 is a special price for Build-A-Case users only as Pixelcade Sidekick is normally $49 for existing Pixelcade LED or LCD users or $99 for net new users.
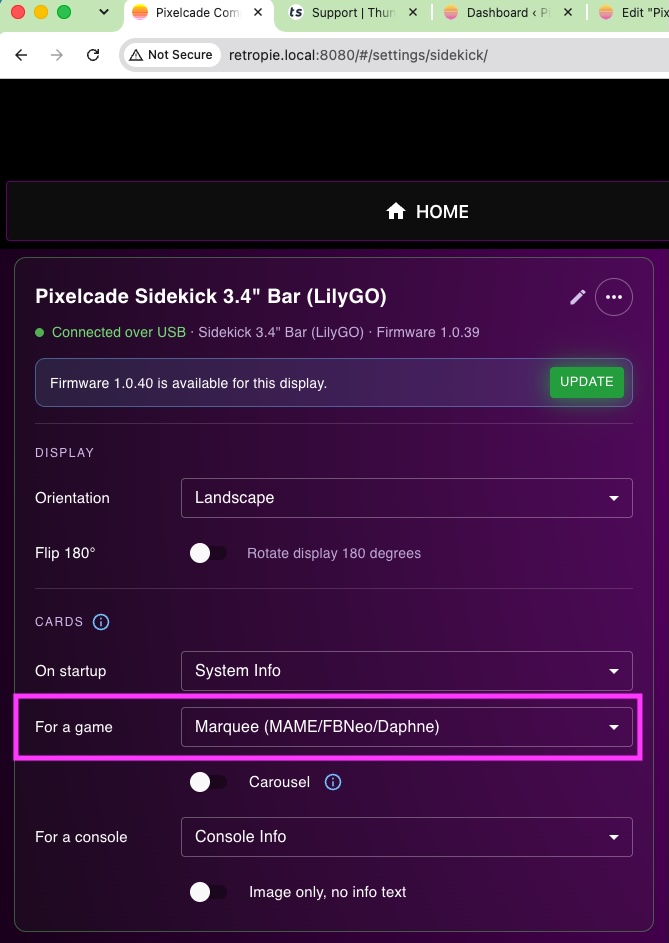
6. Within the Sidekick tab, set the Game card default to Marquee.
1. Purchase the LILYGO T-Display S1 Long
2. USB connect the LILYGO to any PC or Mac running Google Chrome and then use the Pixelcade Sidekick Web Flasher to flash the 3.4″ Bar Display (LilyGo) firmware.
3. Follow the video below to complete the hardware installation.
4. Then start with Step 4 above to complete the Pixelcade software installation and setup.
